- October 25, 2018
- Nail care
- Katerina Belokon
Nail extensions are a fairly popular procedure both in professional beauty salons and at home around the world. It has a huge number of advantages and is aimed at creating an attractive appearance for your hands. To perform this procedure, you need to use a special product - camouflage gel.
Is it possible to extend nails with camouflage gel?
Nail artists use two types of extensions - using acrylic and gel. At the same time, gel extensions have a number of significant advantages. This material does not harden when used; it needs to be dried under a special lamp, and this allows adjustments to be made without much effort. In addition, the gel coating is breathable, due to this, this method is considered the most gentle.
There are many types of gels for performing extensions. They differ in color, consistency and application method. Among such a large number, it is worth highlighting camouflage, which, unlike others, allows you to create the most natural look of extended nails.
How to choose molds and clamps
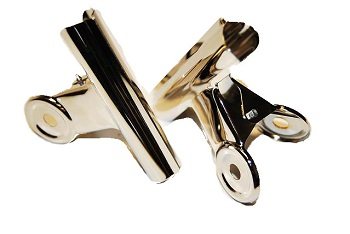
Arch Modeling Clamps
Without clamps, you won’t get a beautiful arch bend. For high-quality manicure, clips in the form of clothespins are used. They should be small in size, a little tight and hold the arch tightly when modeling with gel. Each master himself determines which clamps are easier for him to work with: wooden, plastic or iron.
The forms are sold in sets, and it is desirable that there is a large selection among them for all possible nail shapes. It is convenient to use reusable tin forms: they can be easily adjusted to any nail. Some customers prefer disposable materials, but this will also cost more.
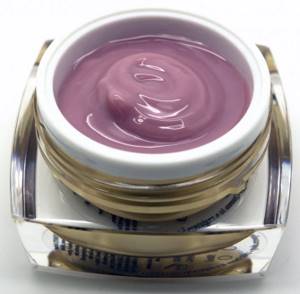
What is camouflage gel for nail extensions
Camouflage gel is an innovative and fairly new product in the nail industry, but it has already taken pride of place. The name itself makes it clear that it serves to mask all imperfections of the nail surface.
This product allows you to give your nails a flawless and fairly natural appearance. The color palette of camouflage gel varies from light pink to flesh-colored. The consistency also has varying degrees of viscosity. In other words, camouflage gel is a kind of sculptural manicure material for modeling an artificial nail plate.
Gel camouflage, depending on the consistency and method of application, is divided into 3 types:
- single-phase;
- two-phase;
- three-phase.
Coating features
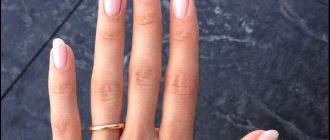
The word “camouflage” came to us from the French language, translated from which it means “camouflage”. We used to call camouflage the spotted green-brown clothing worn by the military. Many people think that camouflage polish is also green, but this is a misconception. Camouflage gel is a coating that was invented to mask an imperfect nail plate or artificially lengthen it. These polishes come in different shades, but they are all natural and as close as possible to the skin tone: peach, nude, pinkish. There is also a transparent camouflage polish, but it is used either to create a French manicure or to strengthen your own nails. Surprisingly, the texture of the coating after hardening looks the same as a regular nail. Therefore, it is not always possible to distinguish a natural nail plate from an artificial one. But such a result can be achieved if the work is done efficiently. If there are bumps or chips on the nail, air bubbles are visible, or the artificial layer peels off, then this manicure definitely does not look like a natural one.
Two-phase camouflage gel for extensions
Two-phase material has a less thick consistency. The principle of working with it remains unchanged, the only thing is that it is performed using 2 components - a base (finishing) product and a modeling gel.
The base layer is used to bond the nail surface and the gel coating, the base layer is formed with a modeling component, and the formed plate is leveled and secured with the finishing coat.
This product is not particularly popular, since its application takes the same amount of time as a three-phase one, but the result is less durable.
Correction
The natural growth of the nail does not slow down as a result of the procedure, and the manicure requires periodic correction every 3-4 weeks. The correction process includes the following basic steps:
Arch modeling correction process
- growing the plate with similar material;
- correction of the arch, alignment of its shape;
- filing the edges.
The correction should be carried out by the master who did the manicure. Only he will be able to take into account all the nuances and features of the client’s nails.
At home, correction is also possible with proper preparation, because arch modeling is taught for a long time, studying all the subtleties and features of the extension process.
The video tutorial will tell you how to correct arched nail modeling:
Arched modeling allows you not only to grow long nails, but also to make them flawless, correcting all the unevenness of the plates and bringing them to a uniform look. To perform arch modeling, you need sufficient experience and the availability of all the necessary materials and tools.
Three-phase camouflage gel for nail extension
Giving length to nails using three-phase material requires special training. The system of its application itself consists of the use of 3 components:
- base;
- top product;
- main gel.
The consistency of the main gel is liquid and tends to foam, so you need to work carefully. To achieve the desired effect, you need to apply a large number of layers, and this takes a lot of time. The reward for patience will be a strong manicure that is resistant to any kind of damage.
Aftercare
Arched extensions look very beautiful, so I want them to please the eyes of its owner and everyone around her for as long as possible. To do this, just follow simple recommendations:
- During the first two days, do not use hand cream or other nourishing products.
- Avoid contact with nails with chemicals, including products containing acetone.
- Perform a light hygienic manicure weekly. To do this, use special files and buffs for artificial nails. Treat the cuticle with an emollient.
- Do not expose your nails to temperature changes or prolonged exposure to cold or heat.
- Make corrections once every two weeks.
- The extension procedure can be repeated after a month.
If you want to remove acrylic nails yourself, you need to trim the ends and soak your fingers in a special liquid for about 15 minutes. The gel coating is removed by cutting off with a hard abrasive cutter. During the break between extensions, it is necessary to regularly perform a hygienic manicure, moisturize your hands and nails with creams, and take strengthening baths with salt and oils.
@lashessvetic
Pros and cons of camouflage gel for extensions
Like any manicure product, camouflage gel has its advantages and disadvantages.
The advantages of camouflage nail extensions include:
- obtaining a smooth and as natural as possible nail surface;
- strengthening the stratum corneum of the nail plate;
- preventing the appearance of fungal diseases (the gel contains special antifungal components);
- this coating is breathable, which makes it completely safe for the nail;
- the extended coating is practically no different from the natural one;
- long service life, of course, with adjustments.
Disadvantages include:
- high price;
- periodic adjustments at least once every 3 weeks;
- if the built-up layer is damaged or chipped, immediate replacement is required;
- a complex removal process, which, if performed incorrectly, can lead to damage to the stratum corneum of the nail;
- ability to cause an allergic reaction.
Why does the base chip?
Have you tried all kinds of bases, but your nails still appear chipped and peeling? There are several explanations for this, for example:
- you violate the technology of applying the base coat;
- your nails are characterized by hydrosis;
- your nails are characterized by onychoschisis (layering of the nail plate);
- you work in a humid outdoor environment (for example, as a cook or florist);
- you are the owner of “rag” nails;
- your nail plate is thinned mechanically (for example, due to improper removal of the coating).
The first reason is clear - you just need to correct your mistakes. But what about the other reasons? Do you want to part with your long-lasting, flawless manicure forever?
Of course not! You need to go through the webinar “Complicated cases in base coating of nails” from the teacher of the ParisNail school Velmitina Zaitseva.
You will receive a detailed algorithm for applying and fixing the material, learn all the secrets of the teacher and be able to avoid material detachments!
Technique for nail extension with camouflage gel
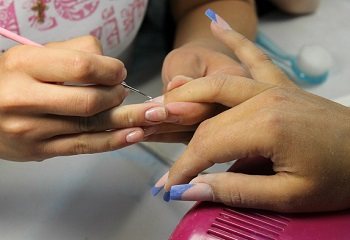
The procedure for nail extensions with camouflage gel is complex and is performed in several stages. It can be done in a salon or on your own, naturally, subject to certain techniques and rules.
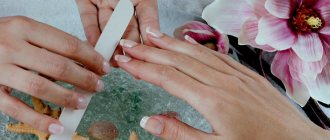
The first step is to prepare the nail plate and process the cuticle around it in order to set the shape. The uneven surface of the nail is carefully filed down, and the cuticle around it is removed. Shake off the dust, degrease the surface and apply primer. Then remove the form from the adhesive base and position it so that its center coincides with the center of the natural plate.
The next step is nail extension. To do this, use a special brush to pick up a small amount of camouflage gel. They begin to distribute it evenly from the middle to the free edge, forming the desired shape of the future nail.
Then dry the grown fragment under a lamp for about 2 minutes. Then cover the natural nail plate with base gel and dry for about 10 seconds, this is necessary for adhesion (some manufacturers do not provide this step).
Before applying the gel, the base coat is applied again to the entire surface, but without drying.
Using a brush, take a drop of gel and apply it to the center of the nail plate. Without lifting the brush, with smooth movements they begin to distribute it evenly over the entire surface. The main thing is not to touch the cuticle. The distance between the cuticle, side ridges and the applied layer should be up to 1 mm. Then, using smooth movements from left to right, the helium mass is gradually lowered to the free edge.
Important! To form the correct architecture of the nail, you should distribute the gel in a thin layer near the cuticle and on the sides, and make the layer thicker closer to the center.
Having spread the gel evenly over the entire surface, it is dried under a lamp for 20 seconds, pressed and sent to dry again for about 2 minutes.
The final step is to remove the form and sticky layer from the surface of the nail. Make a gash down the free edge, giving it the desired shape. Sand with a buff until the surface is smooth and remove dust (you can wash your hands).
The extension is completed by applying a top coat (if additional decoration is not provided, then it is better to use a top coat without a sticky layer). Be sure to seal the end of the nail by brushing along the edge. Dry for about 1 minute.
The coating is completely ready.
You can learn more about nail extensions with camouflage gel from the video tutorial below.
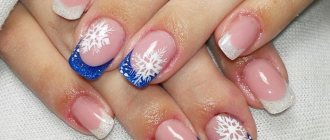
Design Variations
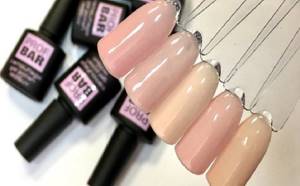
To make a natural manicure, you can use a camouflage polish in one of the following colors:
- Ivory;
- peach;
- beige;
- pink;
- light pink.
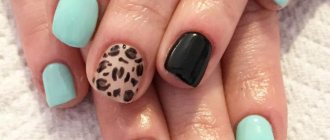
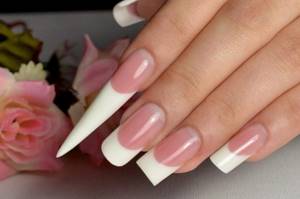
But you can come up with a more interesting design. To do this, you can add acrylic powder of any shade to the transparent base. By the way, she can do not only natural tones. For an original manicure, you can use red, black, gray powder. Its presence turns the glossy coating into a matte one, and the camouflage varnish looks different. So, to make a military nail design, you can add dark green powder to the composition. This varnish is ideal for creating a French coat. The nail plate is extended to the required length and its edge is painted white. If your nails are short or long but brittle, then you won’t be able to create a French manicure without camouflage. To create a real French manicure, you need to use a clear camouflage polish. But if you add a little peach or pink powder to it, the color will turn out very delicate. This option is ideal for a wedding look.
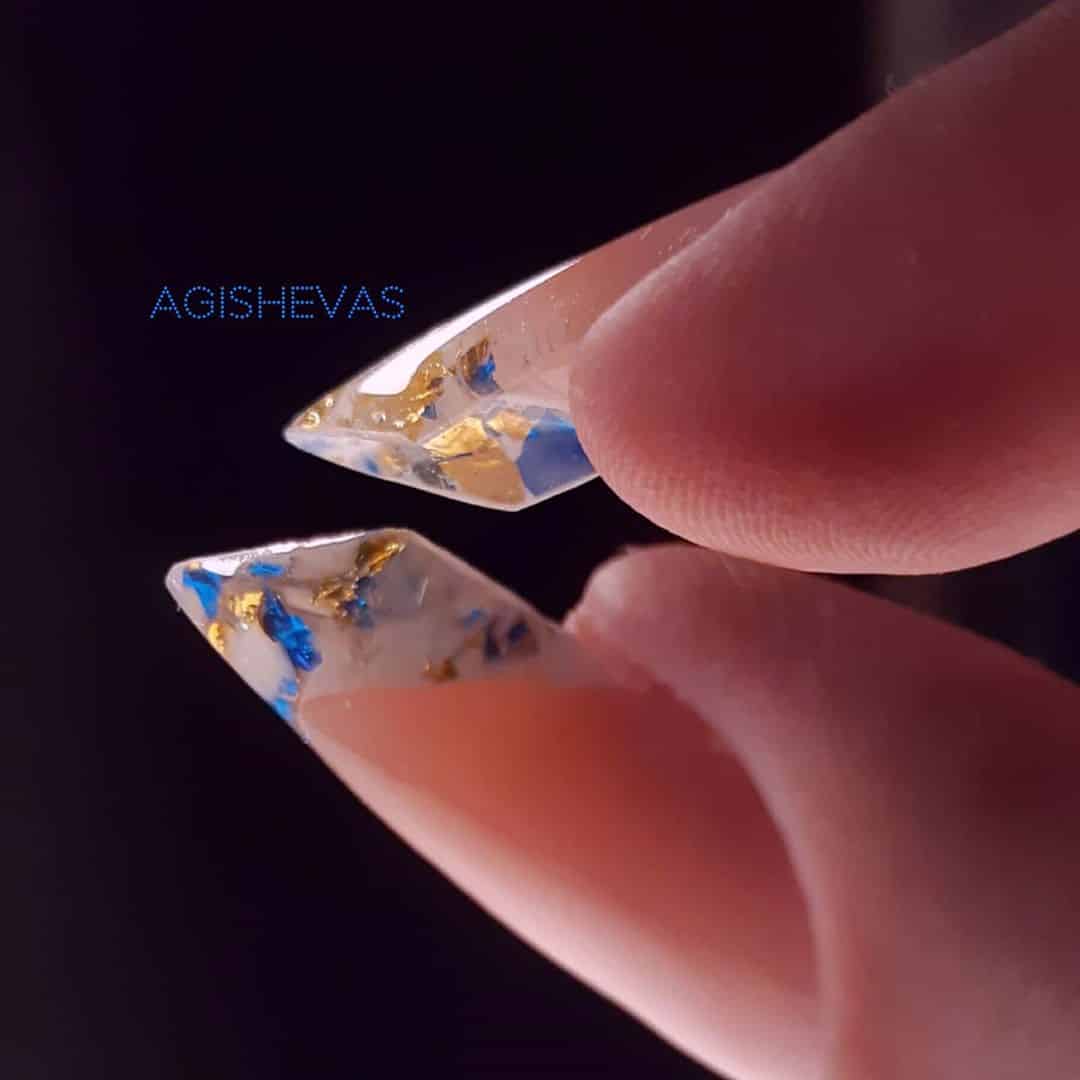
With this versatile product you can bring your wildest ideas to life. So, on a long, completely transparent nail, designs made of bright shiny stones will look beautiful. You can also apply glitter and any patterns on it. But still, natural beauty is in trend, so nails extended in this way are rarely decorated. Sometimes you can play with shades. Nail specialists advise owners of fair skin, for example, to opt for a transparent or cool-toned varnish. This subdued color palette is also suitable for winter manicure. Ivory and beige colors suit white-skinned beauties. And in the summer it is better for them to choose soft peach or other warm shades of nail polish.
But dark-skinned girls can use it all year round. For skin with a reddish tint, pink or pale pink is suitable.
Which camouflage gel for nail extensions is better?
When choosing a camouflage gel, it is best to rely on your ability to work with it. As a rule, beginners are advised to use single-phase material. The extension technique using it is the simplest. In this case, the application of an additional base is not required, and the extension is carried out in 1 layer.
Important! If a more durable coating is required, it is recommended to use three-phase material. It lasts much longer, but working with it is more labor-intensive.
It is better to choose a two-phase gel if you want to master the extension technique with a three-phase product. Their application system is identical, but the consistency is a little thicker, which prevents the appearance of bubbles. The result is a neat manicure, but not as durable.
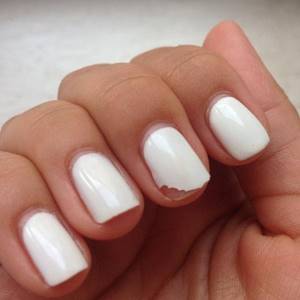
Why does the base sag?
Sometimes it happens like this: immediately after the procedure you enjoy a perfect, flawless manicure, and after a while a “dip” appears across the nail (as shown in the picture).
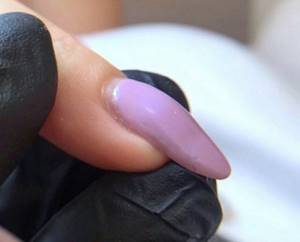
Why is this happening?
The thing is that in the stress zone (at the junction of the free edge and the nail bed), the base shrinks. This effect can only be achieved on long nails, because the stress zone is also a bend zone when pressure is applied to the free edge, and the length just puts stress on it.
Bases are soft gels, and they, in turn, as we said above, can be elastic or not.
Elastic bases perfectly strengthen the nail plate when leveling, because they are flexible, tenacious, and when the free edge moves, they, like an elastic band, move with it. But this is precisely why shrinkage occurs.
There are bases that contain solid plasticizers. Solid materials do not move with the nail and, accordingly, do not shrink. But keep in mind, UNDER HEAVY LOAD, almost any base will give minimal shrinkage.
What to do?
Strengthening with acrylic or hard gel, but this is a completely different procedure. In addition, the harder the material, the worse it soaks and the more difficult it is to cut.
Top brands
On the cosmetics market you can find a huge number of different brands that produce manicure products. This abundance makes it easy to choose high-quality and budget products. Thanks to reviews from girls and professional manicurists, we can highlight several brands with high-quality and relatively inexpensive products:
- “Kodi” is the most popular gel that helps you quickly and easily create a beautiful and durable manicure. It has a fairly large selection of shades for any natural nail color.
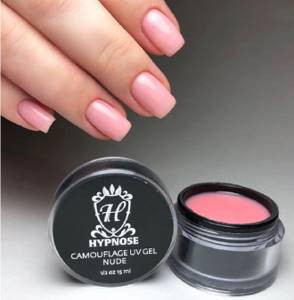
- “Hypnosis” is an equally popular brand that is used by many professional hairdressers in beauty salons. Helps strengthen the nail plate and is highly resistant to chips and cracks.
- "Pop Neil." A huge advantage of this camouflage gel is its large packaging volume. It lasts a long time and is famous for its high quality.
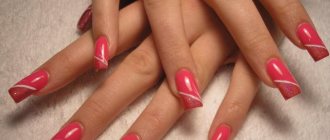
Arch method
One of the most popular and prestigious types of extensions is arched nail modeling. This simple method consists of giving the plate arch a certain shape (high degree of curvature). The main task of this modeling is to create a C-curve that maintains the proportions of the width and length of the nail. As a result, nails become incredibly strong.
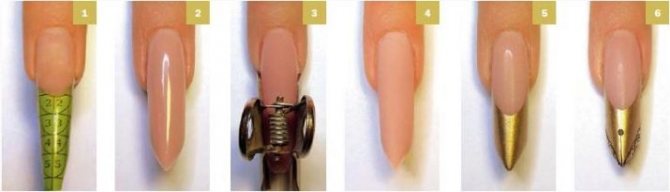
The following step-by-step diagram will help you carry out this modeling:
- saw off the free edge of the plate (up to 2 mm);
- polish, removing the natural shine;
- degrease and coat the plates with primer;
- Apply a thin layer of gel and dry (UV lamp);
- take the required form and fix it;
- add the necessary bend (should coincide with the smile line);
- create a gel base at the border of the nail and the form and dry it;
- carefully remove the dispersion layer;
- Apply the next layer of gel (amply on the border and middle);
- dry (no more than 10 minutes);
- remove the sticky layer of gel and correct the smile line with a nail file;
- Cover the free edge of the plate with a base layer of gel and dry again;
- we remove the forms and fix the nails with a vice (to give the necessary silhouette);
- dry under the lamp for 5-7 minutes and remove the clamps;
- cover with a thin layer of gel polish;
- dry.
To learn how to perform gel extensions on forms, see the following video.