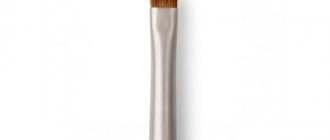
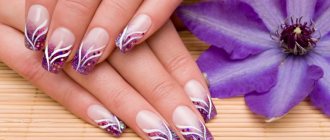
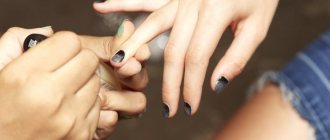
Properly selected manicure brushes will help you create a unique, inimitable design - they can be used to apply the finest patterns and fantasy designs, decorate your nails with sparkles and rhinestones, create gradient transitions, and imitate various textures. Using this or that tool, you can bring your wildest ideas and ideas to life. But before you buy a set of professional manicure brushes, you should familiarize yourself with their main types, specific methods of use, and rules for caring for the purchased tools.
Features of manicure brushes
These tools are used to create a decorative design on the surface of the nail plate. Unlike ordinary brushes, they are made from denser raw materials. The fibers can be made from natural wool or synthetic fibers. Proper care will ensure long-term operation of the working tool.
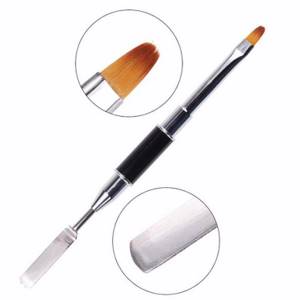
Models with natural bristles can be used when working with acrylic and polymer products. For production, fibers from the wool of sable, marten and even sheep are used.
However, synthetic materials are unable to perform the task. They are used for drawing lines using acrylic paint, applying sparkles, glitters and small rhinestones. The shape of brushes can be varied and have a specific area of use.
The cost of products with synthetic bristles is significantly lower than that of models made from natural bristles. After the work process, they need proper cleaning to prolong their performance.
For professional craftsmen, several product models have been developed, differing in license plates. This criterion allows you to have a clear idea of the shape of the model and the thickness of the pile tip.
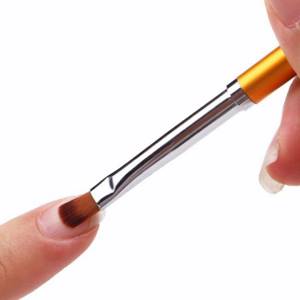
Beveled
Using an angled brush and drawing patterns is quite easy. Choose a tool with a natural dome, which retains the paint on the tool longer, gently applies pigment to the nails and does not leave areas without painting. Be patient, practice a little and you will be able to draw no worse than in the salons. The main thing is to adhere to a certain technique:
- The resulting pattern depends on the method of applying paint. We dip the cut of the dome in thick acrylic paint, the rest of it remains clean. If you type too much, you'll end up with a bold, incomprehensible drawing, but we want graceful lines. Place the brush perpendicular to the surface and easily lower it onto the cut
- Let's put paint on the brush in a different way. Let's put one of the sides of the dome directly into the paint. We apply this flat side to the surface and get the following element
- If you use the principle of applying paint from the first point, and place the brush on the cut with a little pressure and drag it a little, you can get an element for creating flowers
- Apply paint to one of the flat surfaces. We place the brush on the corner, while moving we lower it onto the entire surface with paint, and then lift it and finish painting with the corner of the brush
By varying the pressure on the brush we create the elements of the pattern. First, it is better to practice the technique on a stencil to learn how to feel the pressure and stroke of the brush.
Types of brushes
There are several types of working tools, each of which differs in purpose, width of the working surface, advantage and disadvantage. This list includes:
Dots
The main purpose of this tool is to put points. The size of the dot depends on the diameter of the ball. Used for design as an auxiliary tool. It is especially convenient to use for those who are not very good with brushes. With the help of dots you can create absolutely any drawing, fashionable abstraction. Let's look at the principle of use using a simple dot design as an example.
- We prepare nails with a hygienic manicure for the decoration process
- We use black gel polish as a base. Apply pigment to the nails in two layers and dry in a lamp for 30 seconds.
- We put white gel paint on the ball of one of the ends of the dots and put dots on the black pigment in the center of the nail from top to bottom. We used gel paint because it has a denser consistency, so the design will not spread
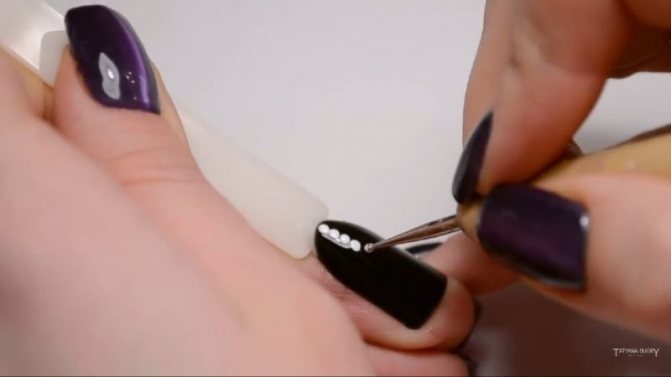
- Near every two points we place another point on each side. It turns out a series of peculiar cross-shaped flowers. No special skills are required to complete the design. With the help of dots, ideally shaped circles are always obtained, so you only need to pay attention to the symmetry and size of the dots
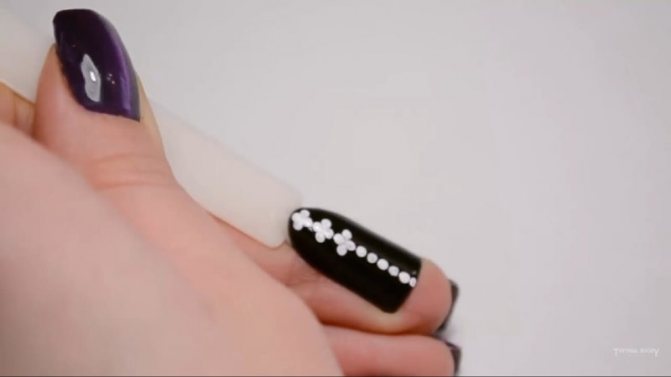
- We continue to place dots on the side surfaces of the nail. You can arrange them as in the photo, or in any order you want.
- We get such a lattice of white flowers. Dry your nails in a lamp for 30 seconds
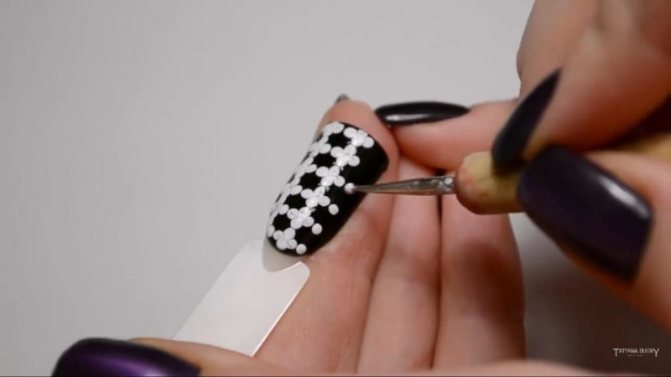
- Now, using a smaller tool, place black dots on top of the white dots. Of course, you have to dip dots into paint more often than with a brush, but getting uniform dots is much easier and faster
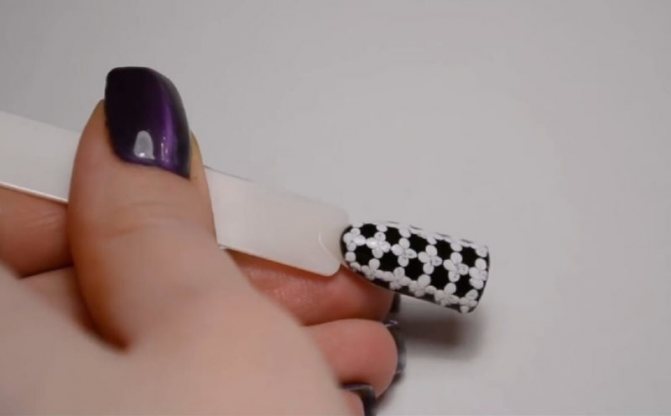
- Fill all the white dots with black splashes. Dry your nails in the lamp for 30 seconds. We cover the drawing with the finish and dry it in a lamp until completely dry. The pattern turns out to be very unusual, interesting, contrasting, and is made using ordinary dots
Using this tool like a pencil, you can create monograms.
Compositions made with dots are distinguished by their ease of execution.
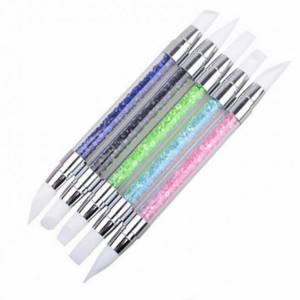
Gel spider and spider manicure
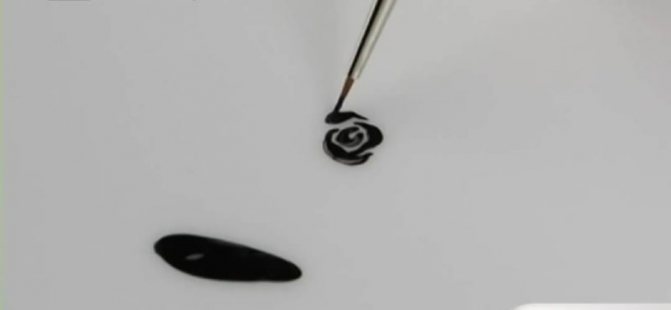
Shader brush
It is made by video rectangle. To create this shape, synthetic or thick natural pile is used.
This tool can be used to create a smooth gradient and draw large decorative elements.
Creation at home
For those new to nail art, we can recommend creating a manicure brush from a regular paint brush.
To create, you will only need ordinary tweezers and a paint brush itself. Using forceps, carefully remove the tufts of villi at the base of the brush, moving from the edge to the center.
You need to make sure that the brush is located in the center. We carefully process the resulting pile with scissors to the size and length we need. As a result, we get a completely complete tool for manicure. Caring for this brush is very basic.
Silicone manicure brush
Externally, it differs from ordinary instruments in the absence of bristles. Instead, the tip is made of silicone. These products were designed to work with polymers, gel and acrylic compounds. These tools can be used to process the cuticle and form the nail bed.
The advantages of such products are the minimum requirements when carrying out care procedures. It is enough to wipe their surface with gel polish remover. After this, they are rinsed in cool water to remove any remaining chemical liquid.
What brushes are needed for painting on nails?
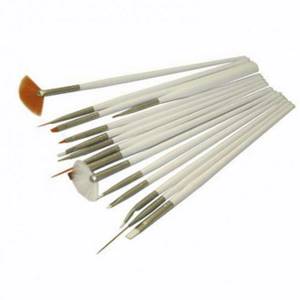
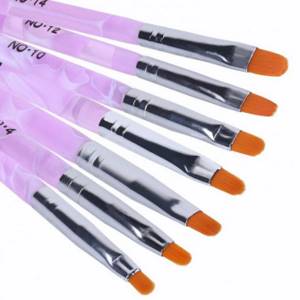
For beginners taking their first steps in creating nail designs, a basic set of tools consisting of a beveled, rounded and thin brush will help you create simple patterns.
You shouldn’t give in to the temptation and buy everything you can find - first, it’s enough to master the basic techniques of working with two or three tools. There is no need to spend money on expensive brushes made of natural bristles - at first you can safely train with synthetic ones, because they are relatively inexpensive, and besides, the materials with nylon bristles do not flow and are not absorbed. After acquiring the necessary skills, you can move on to professional natural brushes.
Beginners in nail design should take into account the following important nuances:
- a brush made of natural bristles is preferable to use for drawing, while synthetics are ideal for nail extensions when you have to work with dense, viscous substances;
- the shorter the handle, the more comfortable it is to hold the tool;
- It’s more profitable to buy sets, since each brush in it has its own “understudy”.
Unused brushes have a special protective coating, which should be removed after purchase. The stuck together fibers are separated if they are kneaded with circular squeezing movements, after which the bristles should be wiped with a smooth cloth.
Another important procedure is degreasing, which is also recommended to be performed immediately after purchase. A cotton pad is moistened with a special degreaser and used to wipe the villi, carefully separating them. After this, wipe the brush dry with a clean napkin.
How to use manicure brushes correctly?
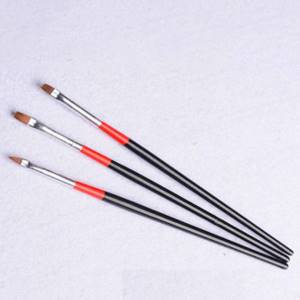
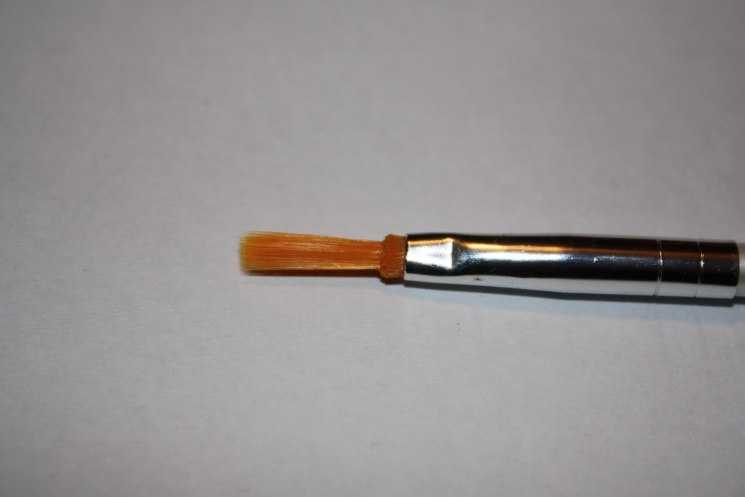
Each brush has a specific area of use. For example, to create Chinese painting, choose a thin, beveled and square brush. The pile of such products can be from 3 mm to 2 cm.
A small amount of coloring pigment is applied to the tip. After that, the working tool is fixed at one point and a smooth movement is carried out to give the desired shape.
Thin brushes are used to work on individual areas. The liner has a long pile, allowing you to create a clear decor. The standard set contains 3 working tools of different lengths.
A fan brush is chosen to perform gradient techniques, abstraction, and even distribution of shiny decor. To make a smooth transition, it is enough to carefully distribute the colorful composition over the entire area of the nail using point movements.
To prevent glitter from accumulating in one area, the wide fleecy part is dipped into shiny decor and distributed throughout the design using tapping movements.
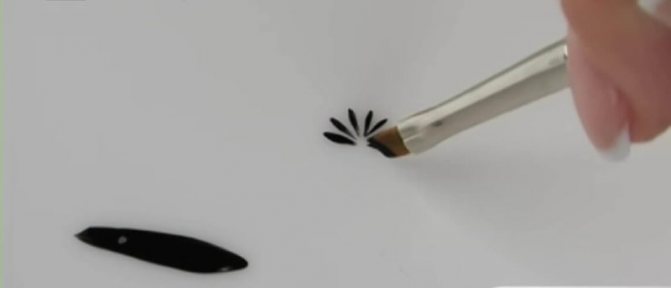
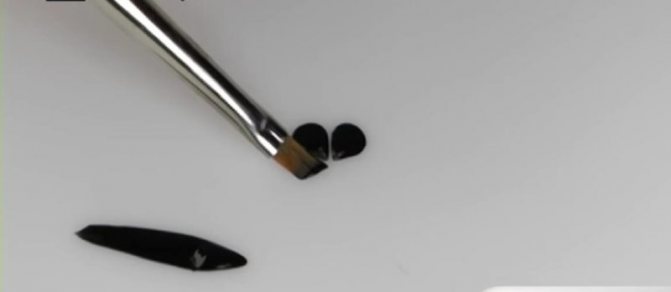
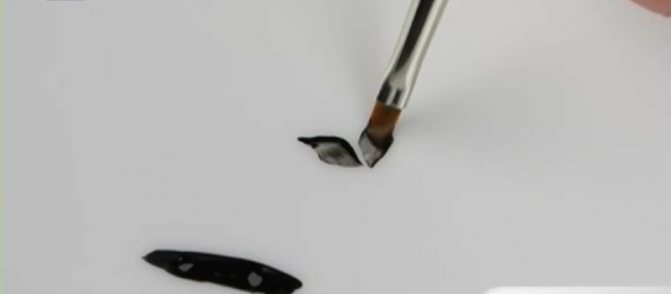
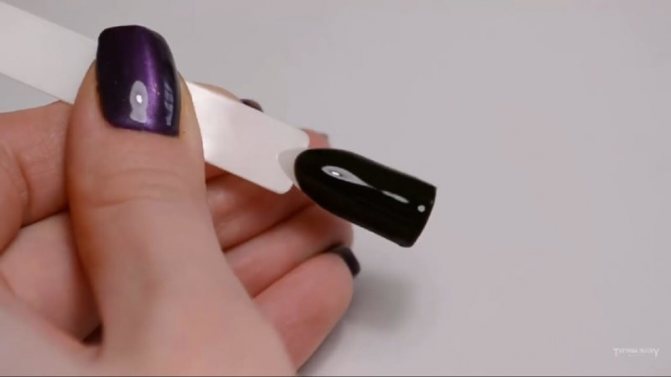
Spot
The brush is used to make small drawings. The paint is applied to the tip, and the brush goes almost perpendicular to the surface.
By varying the pressure on the brush you can get small petals.
By combining pressure on the brush and arcuate movements, we obtain an element with which you can depict a flower.
The dotting brush is easy to use, and with some skill, it can replace several other tools.
How to care?
In order for manicure brushes to last for a long time, they need high-quality cleaning. As a rule, they are wiped with a special solution. It allows you to remove residual paints, polymers and chemicals.
It is forbidden to use ordinary water for work. The fact is that the surface of manicure brushes is covered with protective wax to prevent deformation of the working surface.
If you leave it for a long time in a container with cool liquid, then after a while the tip will begin to actively lose lint, thereby causing voids to appear. When adding paints, the risk of defects in decorative design increases.
What can be used to clean working tools? Experienced professionals recommend purchasing special formulations. They have a gentle effect on the condition of natural and synthetic pile.
If such compositions are not at hand, then you can use nail polish remover. Apply a small amount to a cotton pad and apply smooth movements from top to bottom.
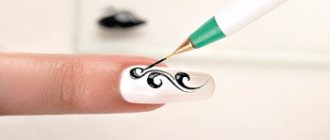
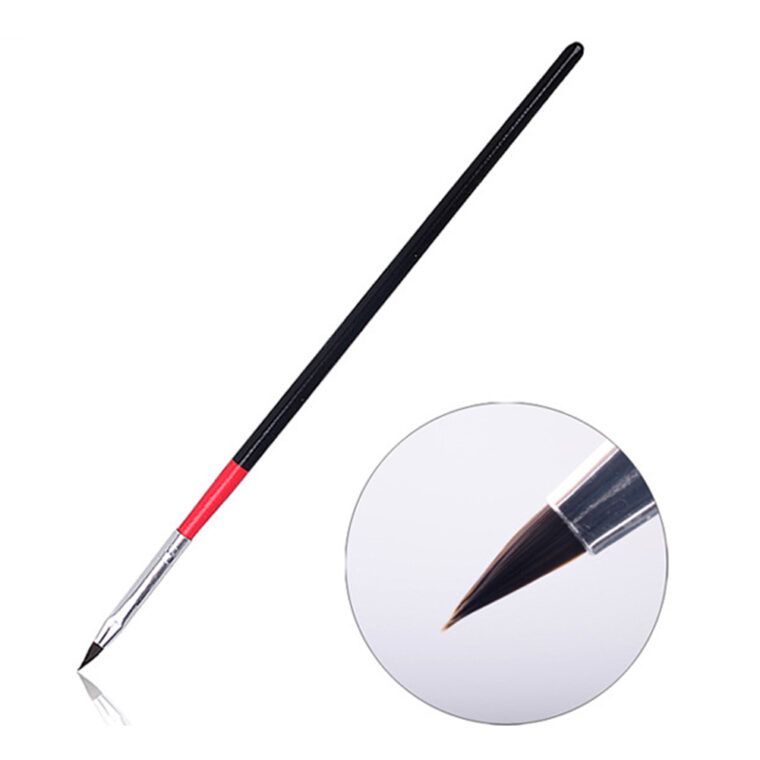
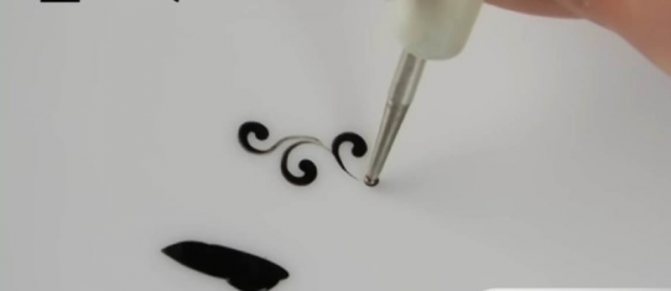
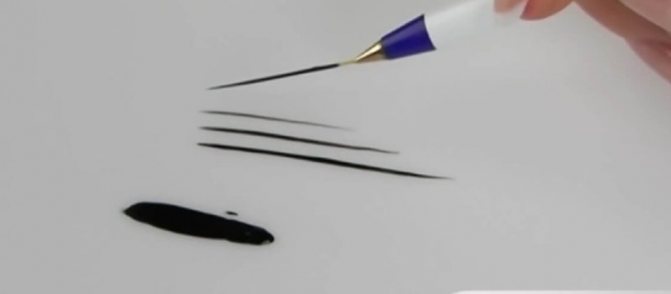
Liner
A liner or hair is very convenient for drawing straight, thin lines. Paint is applied to the brush to its full length. Dip a tuft of lint into the paint and drag it through the paint layer several times on all sides.
Place the brush on the surface and drag. You will get a straight, long line. Depending on the required length of the strip, the brush is placed with the entire working part on the surface or partially.
If you put paint on the tip of the dome, place the brush vertically and drag it with pressure, you will get a thin, elegant monogram. A combination of such elements can decorate the entire nail or complement the created design.
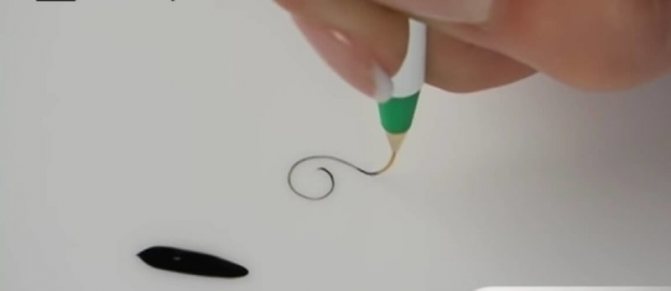
If you hold the brush at an angle of 30 degrees to the nail surface, it is convenient to carefully draw interlocking lines that can become part of a geometric pattern.