Healthy eating as an important element of recovery
Although after nail extensions they have to be restored, girls are still not ready to completely abandon this procedure. Because for a while they get the opportunity to enjoy the beautiful shape of their nails and perfectly selected nail art. Moreover, the hands look well-groomed, so today many girls are required to sign up for a coated manicure.
Of course, any procedure can have negative consequences. And this case is no exception. You have to pay for beauty. But in no case should you refuse restorative therapy after nail extensions. Because this will help quickly eliminate existing problems and improve the appearance of your nails. The most important element of this restorative therapy is proper and balanced nutrition.
It is necessary to include in your diet those foods that contain large quantities of useful minerals and important vitamins. Such products usually include: eggs, nuts, fish, vegetables, fruits, berries and herbs.

It would not be amiss to introduce beef into the diet. Because it is rich in important microelements and has a reduced calorie content. A healthy diet must be varied. There is no need to create a monotonous menu. Because this will only make the problem worse.

File the ends of the nails
The longer a woman wears a manicure, the more the shape of her nails wears out. This is especially noticeable among those who work at a computer and type on a keyboard: the ends of the nails of their index and middle fingers become slightly slanted, as if they were specially filed crookedly. You can correct the situation in just a minute by using a file to align the longer side of the nails with the short one.
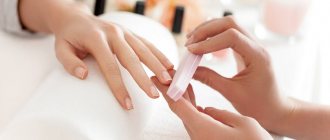
By the way, while wearing it, you can and even need to refresh the shape of your nails yourself so that the manicure looks neater. The main thing is to keep the file perpendicular to the nail and not to cut through the growth points - the places where the nail plate begins to touch the skin on the sides.
@jet_set_beauty_nails
Vitamins and dietary supplements for beauty and healthy nails
If the problems are not too serious, then a regular healthy diet will help cope with them. Of course, we are not talking about situations where the deterioration in the appearance of the nail plate after extensions is associated with certain diseases or injury.
In this case, it is better to go to the clinic rather than self-medicate, which can lead to the disease becoming advanced. Sometimes nail correction after extensions can help eliminate some defects.
In other cases, you can use special pharmacy vitamins. Today you can buy vitamins A and E at the pharmacy, which are available in the form of ampoules and are inexpensive.
Thanks to this, they can be considered a universal budget product that can significantly improve the appearance of the nail plate and make it a little thicker. This is especially important if the nails are too thin and this causes pain.
Due to insufficient thickness, nails hurt after extensions. The method of using these vitamins is extremely simple: you need to rub them into the nail plate every day. After 7-14 days, the first results will be noticeable.
In addition, you can buy vitamin B5 at the pharmacy. Many people forget about it when looking for a product that will help restore nails after extensions. And in vain, since this vitamin is very necessary for nails. If you rub it with other vitamins into your nails, they will recover faster.
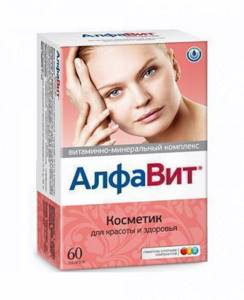
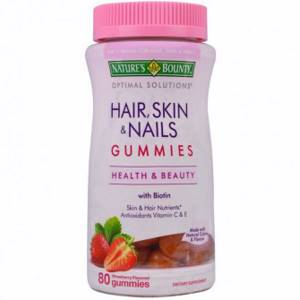
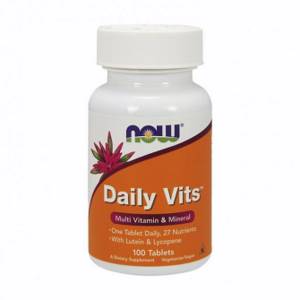
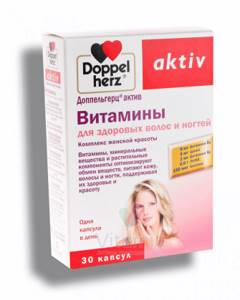
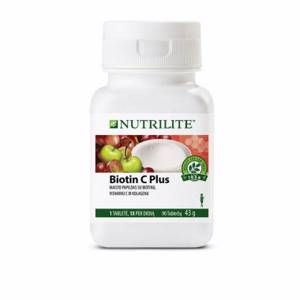
It would also be useful to use special dietary supplements, which can be purchased not only in specialized stores, but also in pharmacies. They contain a large amount of useful minerals and vitamins.
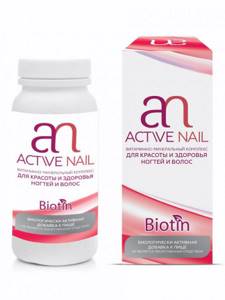
Many of them are designed specifically to improve the appearance of hair, nails and skin. They drink such drugs in courses. Typically the course duration is 21 days. You can repeat the course, but only after a certain period of time.
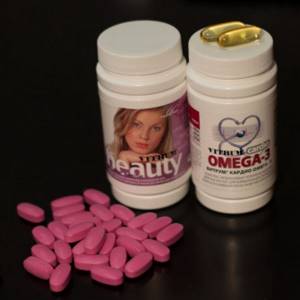
It is worth noting that making a decision to purchase such nutritional supplements on your own is highly discouraged. You must first consult your doctor. This can be explained by the fact that their use is not always justified.

It is best to start by rubbing the vitamin into the nail plate and monitor the improvements that follow. If this method does not give the desired result, you can think about purchasing dietary supplements.
Grind the keratinized skin of the periungual ridges with a file
Roughness on the side rollers and burrs bring not only unpleasant tactile sensations, but also spoil the appearance of the manicure. You can get rid of them yourself using plain water and a glass nail file.
To do this, you need to moisten your fingertips with water, then blot them with a dry cloth and sand the keratinized skin in one direction, first with the hard side of the file, and then with the softer side. If there are old hangnails on the skin, then before grinding they need to be cut off with scissors, but it is better not to touch fresh and painful ones yourself.
Drug therapy
In some cases, only special medications can correct the situation. For example, if a girl noticed the problem too late and solved it untimely. After all, if you don’t take care of thin and weakened nails after extensions, even more serious problems may appear.
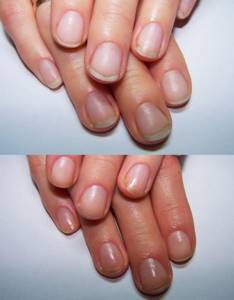
Of course, self-prescribing any medications is strictly prohibited. Because only a doctor can do this. The doctor develops the optimal regimen for taking the prescribed medications. And this is the secret of success.
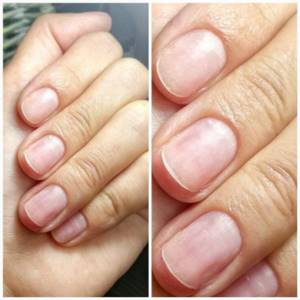
Many people mistakenly believe that it is only important to choose a high-quality and effective medicine. However, if you take it incorrectly, you should not expect a positive result.
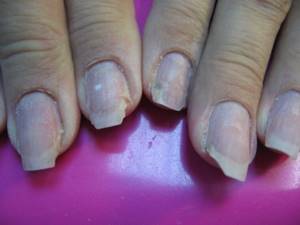
However, it will not be superfluous to find out which remedies have proven themselves to be effective in eliminating problems caused by weakening of the nail plate. After all, many girls panic and try to figure out what to do after nail extensions when the first signs of a weakened nail plate appear.
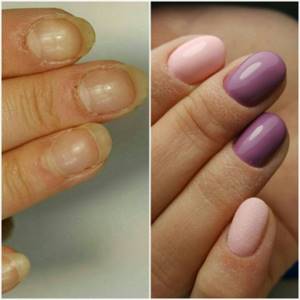
Such effective drugs usually include Kalcemin, Priorin and the vitamin complex Vitrum Beauty. The cost of the listed drugs is not so high. Therefore, everyone can afford to buy them. And this is their important advantage.
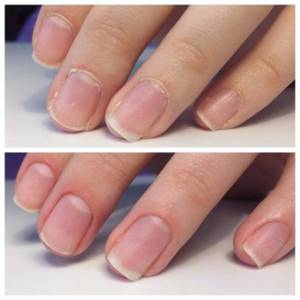
Correction of acrylic coating
On the day when you plan to perform the correction, it is undesirable to take baths and use fatty creams, as this may later lead to peeling of the artificial material.
Before starting the procedure, the hands of the master and the client must be treated with an antiseptic solution. If there is no watercolor design on the nails, but just a regular varnish coating, remove it with nail polish remover.
Using an orange stick or a manicure spatula, push back the cuticle. If there are any peelings, we cut down this area with a router. We file down the entire surface of the artificial nail with a file with an abrasiveness of 120-150 grit.
Using a sanding buff, you need to remove the shine from the area between the extended and natural nails and file it with a 180 grit nail file. Using a small brush, carefully remove any accumulated dust.
Apply degreaser and primer and wait for them to dry. The next step is to apply acrylic to the entire prepared surface.
Pour liquid for acrylic into a small container, pour acrylic powder into another dry cup.
We take a brush in our hands, form a small ball, which we apply to the entire surface of the nail plate. A layer of acrylic is laid out on all nails in turn and smoothed with a brush in the direction from the cuticle to the edge of the nail.
Note! Acrylic should not get on the cuticle area! As a result, an air sac is formed, which in the future will cause the material to peel off! After laying out the material, we level the top layer with a 100-150 grit file and give the nails the desired shape. In the cuticle area, it is advisable to use a soft nail file that is not so aggressive and will not damage the skin. Polish the nails with a buff.
The last step is design. You can simply varnish the finished nails or create a design chosen by the client. Finally, treat the cuticle and side ridges with cuticle oil.
Correction of acrylic nails video
This procedure is carried out in no more than an hour. But when creating a complex design, it can take much more time.
Therapeutic varnishes and coatings
When wondering how to restore nails after extensions at home, we must not forget about one more product that can really help.
It would seem that if we are talking about restoring nails after extensions, then the use of varnishes is prohibited. But this prohibition applies exclusively to decorative means.
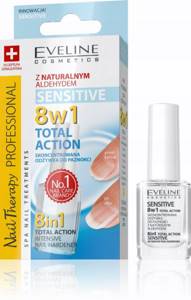
Many manufacturers have long been presenting to customers a line of medicinal varnishes that are designed to help eliminate visible defects in the nail plate that appear after nail extensions.
The main difference between such varnishes is the absence of harmful components that could aggravate the situation. They necessarily include various vitamin complexes. It is for this reason that such a coating not only does not cause harm, but also contributes to the rapid restoration of nails.

For the best effect, such varnishes are applied in several layers. Of course, this coating must be worn without decorative varnish. That is, nail art is prohibited until damaged nails are completely restored.
If you forget about the ban, then there is no point in looking for ways to strengthen your nails after extensions. After all, such a coating will slow down the recovery process. Depending on the severity of the damage, recovery may take from one to several months.
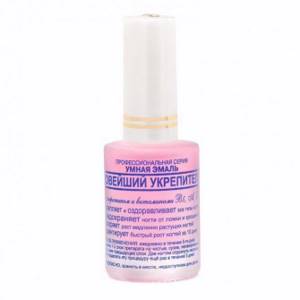
Push back cuticles with an orange stick
The more often a woman moves the cuticle away from the nail plate, the slower it grows, and the more neat her manicure looks in the intervals between corrections. A metal pusher or an orange stick is suitable as a tool for pushing back the cuticle.
For home use, we advise you to take a closer look at a wooden stick, because it is difficult for it to damage the nail plate. You need to move the cuticle once every 3-4 days, without putting pressure on the nail. If the skin is rough and dry, your hands should be steamed before manipulation.

@nails_blooming
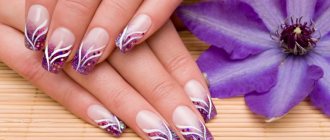
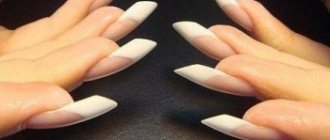
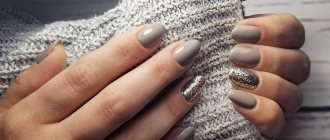
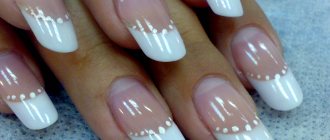
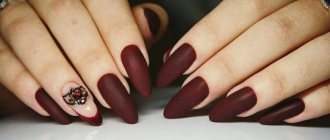
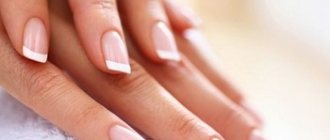
Photos of nails after extensions
Correction of gel nails
It is advisable to perform a classic manicure the day before the procedure. Otherwise, the area of the cuticle may bleed when filing the nails.
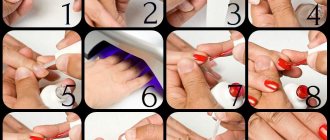
Preliminary preparation is the same as for gel correction - this is treating your hands with an antiseptic and removing the varnish coating, if any. We also push back the cuticle with an orange stick or a manicure spatula.
We treat any unevenness and exfoliated areas with a file of 100-120 grit, and the regrown part of the natural nail with a file of 180 grit. Using a brush, clean the entire surface of the nail from any dust that has formed.
Apply degreaser and primer to the nails. These products remove excess fat from the nail and dehydrate it to ensure good adhesion of the natural nail to the artificial nail and prevent fungal infections from penetrating under the layer of artificial material.
Next, apply modeling gel to the area of the regrown natural nail. We do not remove the sticky layer after 30 seconds of baking in the lamp. The second layer of the same gel must be applied to the entire surface of the nail and polymerized for three minutes. If necessary, you can apply a third layer of gel.
Now we remove the sticky layer with a special tool and give the nails the desired length and shape. Use a brush to remove dust.
Then we degrease the resulting nail, cover it with a layer of finishing gel and bake it in a lamp for about 3 minutes.
We remove the sticky layer, make a design or simply cover the nails with varnish. Treat the cuticle with oil.
Important! If you want to radically change the shape of your nail, correction will not help you. In this case, you need to repeat the extension procedure.
Regardless of the material chosen, the correction procedure is not as complicated as it seems at first glance. You only need special materials and tools and a little knowledge, or better yet, experience.
