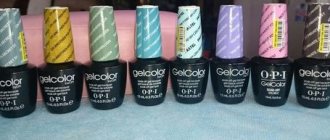
Today, gel polish is surprisingly popular, due to its durability, beauty and safety. Anyone can experiment with it, so knowledge of how to remove gel polish will be useful to every girl.
The nail industry does not stand still, and traditional methods of nail polish removal are being replaced by methods with devices that greatly facilitate this process.
Traditional method of removing gel polish
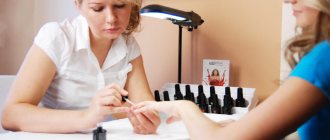
Most people practice removing gel polish in the traditional way, when a cotton pad or small napkins soaked in a special liquid (remover) are applied to the nails, and a layer of foil is placed on top. After 10-15 minutes, this compress is removed along with the gel polish. It is better to remove the residues with a manicure spatula.
However, this method has its drawbacks. The biggest difficulty is that it is quite difficult to independently apply compresses to the other hand when one is already formed. In this case, you can remove the gel separately on each hand, but then the whole procedure will take more time. Another problem may be the inability to tightly wrap the fingers of the other hand in foil.
What are clothespins for removing shellac?
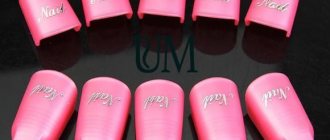
Special clothespins for fingers, designed for the most effective removal of shellac, appeared relatively recently, but have already gained popularity. This tool, presented in the form of convenient caps made of plastic, is very simple and easy to use. Such clothespins, together with cotton wool soaked in a special shellac remover, are very firmly and reliably fixed on the fingers. And then, after some time, these caps are easily removed - as a result, the nails are completely cleared of shellac residues.
Using such clothespin caps to remove shellac is very easy and simple; after carefully viewing the photos and videos, you can cope with this procedure without any problems. One of the most popular companies producing clothespins for removing shellac is Mirage; the products of this company constantly receive the most positive reviews.
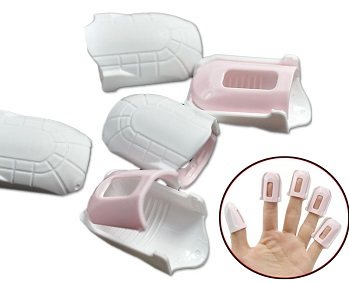
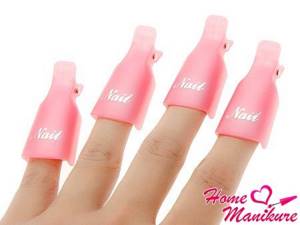
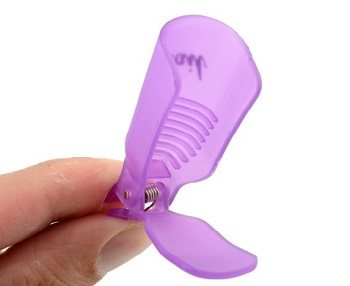
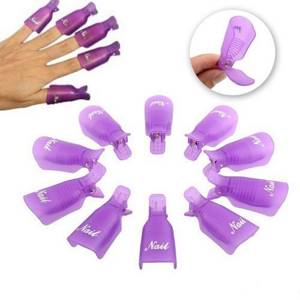
Gel polish remover clips
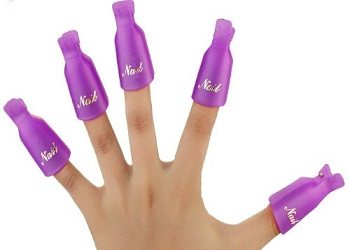
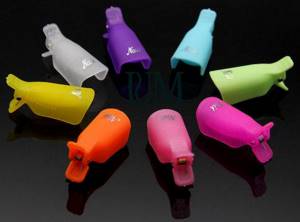
To make the process easier, manufacturers have come up with reusable nail clips. They are also called clips, caps or clothespins. They really look like plastic clothespins. It is noteworthy that all the clips in the packs are the same size, but this does not cause discomfort. The devices do not fall off the little finger and do not put pressure on the thumb.
There are clamps for arms and legs, they differ in size and design shape: for legs they are slightly wider.
The design is very easy to use. The plastic clips are designed so that you can quickly and easily squeeze and unclench them on your fingers. With their help, the process of removing gel polish is much cheaper, because the clips are universal and reliable, and foil is not always at hand.
Advantages of clamps
Gel polish remover clip set
- Ease of use
- Durability
- Versatility, for example mother and daughter can use one pair of clamps
- Fixation density
- Prevalence and reasonable price
- The effect of removing the gel is not inferior to the method with foil
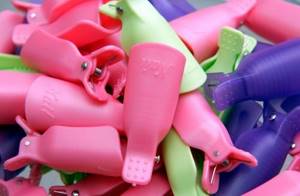
Typically, clamps are sold in packages with a separate compartment for each unit, which will prevent them from getting lost or broken.
Review of popular clamps
- Chinese clamps are of good quality and low cost. Thanks to this, Nail Art Equipment firmly maintains its leading position. Bright design options and reliable springs are loved by thousands of fans of gel polish coatings.
- The “Magic” brand enjoys well-deserved respect among professional craftsmen. Korean-made tools have only five clips in the set and are more expensive than their Chinese counterparts.
- offered women tools suitable for pedicures. The caps are distinguished by their increased size and low cost.
Clamp Manufacturers
The most popular manufacturers of clips for removing gel polish are Mirage, Reusable Keeper and Makartt. The design of the tools from the first two companies is the same, but Makartt presented their own version. If in the first case the design looks like a clothespin, then here the clip opens using a recess on the top cover. This can be a pain when all the fingers are closed and you have to use your fingernail to catch the notch to open the clamp.
Makart clamps
It cannot be said that there are any significant differences between the clamps of these manufacturers. They are all made of plastic with a ribbed interior to securely hold a damp cotton pad. There are 10 or 5 pieces in a package (usually leg clamps are sold in 5 pieces). Designed for safe and harmless removal of gel polish from nails. Products from these manufacturers will serve long and reliably.
How to use clamps?
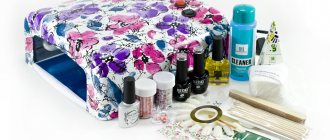
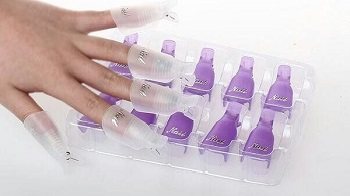
In order to quickly get rid of gel polish at home and do it efficiently, you will need a standard set of tools and products: special clothespins, remover, cotton pads, pusher and cuticle oil. If you have all this at hand, then you can start removing the coating from your nails.
- Soak a cotton swab in a special gel polish remover and apply it to the nail. Carefully secure the clothespin with the wide part facing up. Repeat this procedure with each nail separately.
- When the product and caps are fixed on each nail, you can rest a little and just sit. The average exposure time is 5 to 10 minutes. The products vary, so be sure to read the instructions. Strictly follow the manufacturer's recommendations .
- At the end of the specified time, remove one clothespin at a time, starting from the finger on which the product was applied first. Immediately carefully remove the softened coating using a pusher. It comes off without much effort.
- After complete removal of the remaining coating, the procedure can be considered almost complete. If you want to give your nails a little rest, carefully apply your favorite strengthening coating. It will not only give a healthy shine to your nails, but also protect them from mechanical stress.
- Don't forget about the cuticle. You applied a product that softens gel polish to your fingers. It is not surprising that the skin will not be happy with it, so you need to soothe and soften the cuticle by applying a special oil. Don't forget to massage your fingers a little so that the oil is better absorbed into the skin.
That's all! As you can see, nail clippers greatly simplify the task of removing old manicure done with gel polish. Now you'll want to get long-lasting manicures much more often than before. And if you still have any questions about using these wonderful clothespins, we recommend that you watch the video, from which you can get a visual idea of the procedure.
Removing gel polish using clamps
Using clips, you can eliminate the need for foil entirely. Some people still add it out of habit, but this is unnecessary.
Clip clip
For the procedure you will need a nail file and a spatula, nail polish remover or a special remover, and cotton pads. Experts advise smooth layer of gel polish before removing it This will allow the liquid to penetrate deeper and faster into the gel layer.
Soak small pieces of cotton pads and apply to the nail . Secure the clamps and leave for 10 minutes .
The big advantage of this method is the ability to re-close the clamp if the varnish has not yet peeled off. If the varnish does not budge, you can hold the clamp for another 15 minutes. There will be no harm from this.
Gel polishes are difficult to remove at low temperatures, so you can use a hair dryer or UV lamp to speed up the process. The main thing is not to heat the clips for too long, so as not to soften the plastic.
remove cotton pads using circular movements . Remove leftovers. It is advisable to carry out a restoration procedure after removal. The clamps do not need sterilization if used by one person. Otherwise, you can wipe them with alcohol.
This video tutorial provides instructions on how to use clips when removing gel polish compared to the traditional method.
What are the advantages of clothespin clips?
Plastic caps designed for removing shellac have a number of undeniable advantages and benefits. Let's consider the most important among them.
- The products have a universal size, so they will fit perfectly on the fingers of any woman.
- The procedure for removing shellac using clamps is completely painless and harmless to health.
- The clamps use comfortable springs that are both elastic and tight, thanks to which they are held tightly and do not slip.
- When using such caps, the need to use foil completely disappears.
- Since these products are reusable, you can forget about any problems and difficulties associated with removing shellac for a long time.
Thanks to all these positive qualities characteristic of shellac remover clip-on caps, these convenient products deserve only the most positive reviews.
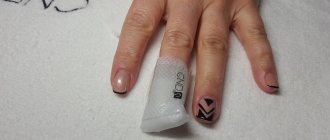
Nail clip transparent
Clamp for forming an artificial nail arch.
Used to fix the arch when pressing gel and acrylic nails.
The artificial nail arch forming clip is an indispensable tool when modeling acrylic and gel nails to create the perfect arch.
Using such a clamp, achieving a perfect beautiful arch is very easy!
For proper work, you will also need sticks for pressing the arch and metal backings for the forms.
Why press your nails at all?
Regardless of whether we work with gel or acrylic, on tips or on forms, at a certain stage of polymerization the nail should be pressed. A pressed nail looks beautiful and aesthetically pleasing, but the main function of the press is to create a strong nail and its correct architecture.
The degree of compression is measured by the size of the arch or C-curve of the nail as a percentage of the full circle.
The percentage of the C-curve depends on the method and type of nail modeling, on the shape of the future nail and the desired result.
In salon nails, the arch is usually 20-30%. This attitude is quite enough to create elegant and durable nails. But there are nail shapes in which the percentage value of the C-curve is very important, otherwise it will distort the appearance of the shape. For example, the Pipe shape requires an arch of 50%. The stiletto also cannot be less than 50%, otherwise it will look overweight.
In competition nails, the size of the C-curve is usually described in the rules. Most often it is 50%. Competition nails are made quite thin (the thickness of a business card), of medium length, these parameters go well with a 50% arch.
Correctly pressed nails always look harmonious and beautiful, but violation of generally accepted rules can lead to unpleasant consequences, for example, the so-called “Pressed nails.” They don’t look very nice, and excessive pressing can lead to injury to the nail bed, pain (pulsation in the finger), and onycholysis (detachment of the nail from the nail bed). Therefore, you need to press gently and gradually, without making much effort. The client should not experience any pain during this process. If a person is in pain, it means you are doing something wrong - you are pressing too hard, or the material has already hardened enough that it can no longer be pressed without applying force.
When is the right time to press your nails?
You should press when the material has already set, does not stretch and does not stick to your nails or tweezers, but is still not hard enough and gives in. This needs to be done smoothly, starting from the place where the free edge begins, but the natural nail has already ended. It is important to compress the material, and not the nail itself, so as not to injure it. The movements should be “twisting”, i.e. we do not squeeze together, but as if we want to bend the wire around some round object. The sides should lower due to compression, but at the same time remain parallel to each other.
For proper work, you will also need sticks for pressing the arch and metal backings for the forms.
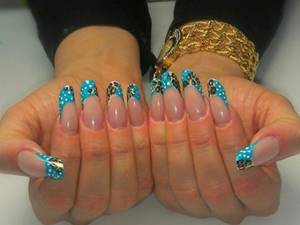
Arched square nail design. Arched almond nail design
In the photo you can see how beautiful and graceful square and almond-shaped arched nails are.
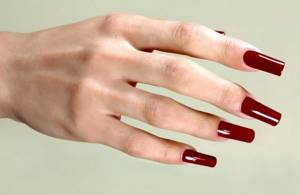
Red square arched nails.
Arched square leg design.
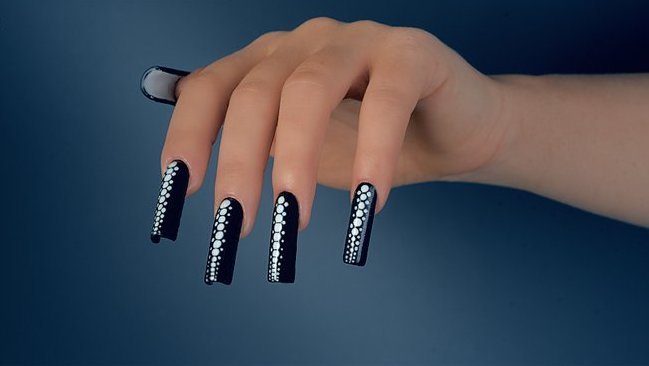
Arched square nail design: sophisticated black and white combination.
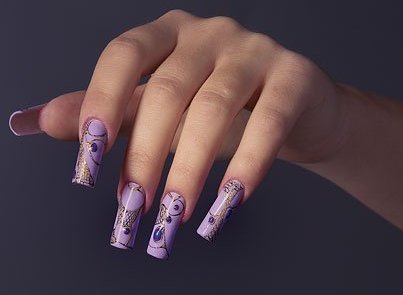
Arched quadra design with gold.
Arched oval design.
Arched almond design.
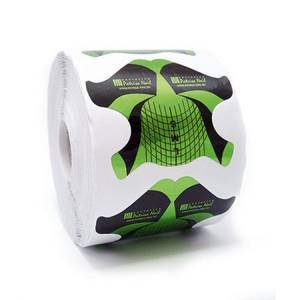
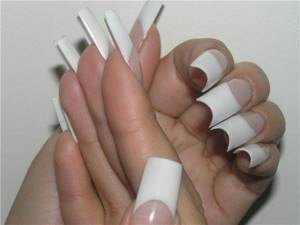
Arched nail extension and modeling with gel and acrylic: forms
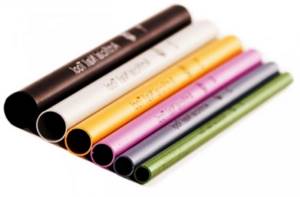
Tubes for arch extensions.
Arched extension is carried out using:
- Tips. The master selects tips of the desired shape and uses them to create a nail with a C-shaped silhouette. The method is not very common.
- Disposable and reusable bottom forms. The most popular nail. Creating an arch occurs directly on the nail, this will strengthen it and smooth it out if it is thin or uneven. The lower forms are reusable plastic and metal, and disposable, made of foil. They can be purchased at manicure supply stores.
- Tools for compressing the arch. For beginners, it is better to purchase a set of plastic or metal clips that fit on the nails. They hold and model well, but can cause discomfort to the client - they squeeze too much. You need to be interested in his feelings. If you've gotten good at doing arched nails, try buying special tweezers or a hard clip. Using them requires effort. but they're worth it.
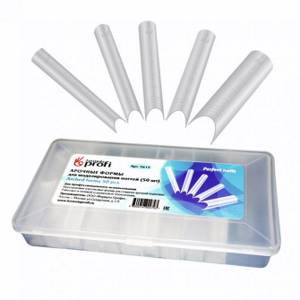
Arched forms are reusable.
Arched forms are disposable.

Clamp.
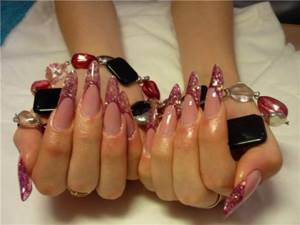
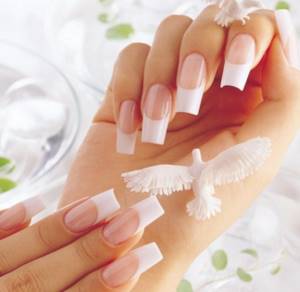
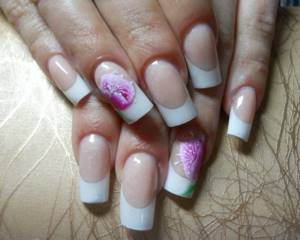
Arched French nails: design, photo
Arched silhouette m French - design - an ideal combination in manicure. The nails turn out impeccably beautiful and very delicate.
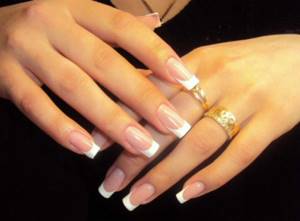
French arched nails.
Arched long French nails.
Arched French nails for a wedding.
Arched French nails with a pattern.
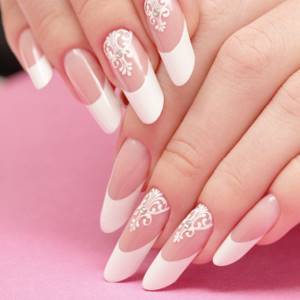
French arched nails with lace.