What to do if a chip or detachment of the material is discovered
Chips and detachments are not always a problem for a master. The condition of the client's nails, internal pathological problems and diseases are also one of the factors that should be taken into account.
Let's look at the most common causes of chips and detachments of material, as well as how to work with them in most cases.
The first thing to do is to analyze the cause. These could be: problems with the lamp, with the coating, with the technician’s technique, the characteristics of the client’s nails, the client’s working conditions, when hands and nails are exposed to increased physical stress or exposure to a chemical environment.
Points for analyzing the causes of problems with coating durability:
- On which fingers and how often do chips occur if the client is a regular;
- How long after application of the coating does the problem appear?
- Perhaps the lamp has failed or the lamp model is old and cannot cope with modern nail coatings. The recommended replacement period for UV lamps is every 12-18 months with an average and large flow of clients;
- Sometimes it is enough to simply replace light bulbs or diodes whose resources have been exhausted;
- Insufficient lamp power to polymerize the coating; it is necessary to either replace the device or set a higher intensity, correlating with the polymerization time;
Every time a client comes to you for the next procedure, analyze in which areas and why there may be chips and detachments in order to select the right materials and technique for the new coating.
When a new client comes for a manicure, in addition to a visual examination of the condition of the hands and nails, it is worth asking him a number of questions. They will immediately eliminate possible problems with the wear of artificial turf. For example:
- What problems did you have with manicure and gel polish in the past?
- In what areas did chips and detachments appear?
- What type of activity does the client have?
If he works with household or other chemicals, or often comes into contact with water or dust, these factors must be taken into account.
List of 18 possible causes of chipping and peeling that manicurists encounter:
Gel polish does not last - reasons for technology and materials
First, let's look at the reasons from the first group.
1. Poor cuticle treatment. If you do not properly remove the pterygium (the fringe-like skin on the nail near the cuticle), it will create detachments in this part of the nail. In 90% of cases of gel polish detachments at the cuticle, this is precisely the cause.
2. When covering your nails with gel polish, do not skip the preparatory stage of removing the gloss with a file. To do this, use a buff or file 180-240 grid. By sanding the nail, we lift small scales on the surface of the nail, thereby helping to strengthen the adhesion to the material.
3. If after polishing the nail you do not remove or poorly wipe off the dust from the nail, then it will not allow you to create a coating that lasts long. Please note that dust can hide under the cuticle or near the side rollers, and these are the most vulnerable places for detachments. To remove dust, it is better to use a brush rather than a brush, and certainly not just blow it off the nail.
4. Another step that can be forgotten, which ultimately leads to gel polish peeling. This is degreasing the nail plate. Problems may arise if you or your client have problematic nails that are prone to oiliness and brittleness. If your nails are dry and hard, then you can immediately rule out the cause of poor degreasing.
5. If you touch your nails with your finger after degreasing, then particles of fatty tissue will appear on them again, hence another reason for detachment. This cannot be done. And if you touch it by accident, the nail will have to be degreased again.
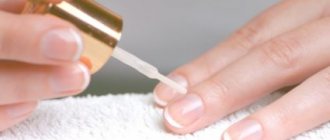
6. A primer can provide additional adhesion to the nail plate, but its incorrect application will cause detachments. First, thoroughly wipe the primer brush on the neck of the bottle so that nothing drips from it, and apply a thin layer to the nail. Be sure to give it time to dry - 10 seconds is enough.
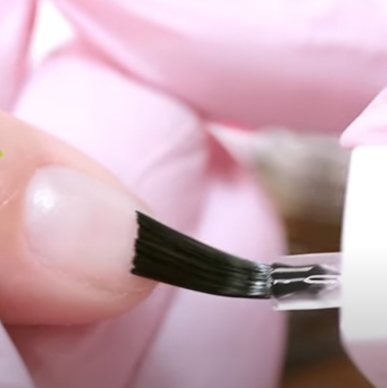
7. Detachments of gel polish can form in places where the material flows under the cuticle or on the lateral sinuses of the nail. This is especially easy to miss with base and top, since they are transparent. Therefore, streaks must be removed before polymerization in the lamp.
8. It is often written that detachments at the tips of the nail are caused by the fact that the end of the nail is not sealed. However, experienced craftsmen have proven that sealing is not necessary: this does not affect the durability of the gel polish. In fact, on the contrary, the reason for detachments at the tip when sealing may be that the gel polish flows under the nail (free edge). And since no one there prepared it for coating, during wear it begins to peel off.
9. Another cause of detachments can be the application of gel polish in a thick layer. Other problems arise from this: uneven distribution and bleeding onto the side rollers, insufficient drying (it is difficult for light to penetrate through a thick layer and dry it evenly), burning in the lamp, shrinking and bubbling of the varnish. Therefore, each layer of gel polish, base and top is applied thinly, even if this means you have to apply one more layer.
10. Poor drying of gel polish in a lamp can be caused not only by a thick layer when applying it, but also by insufficient lamp power. Weak and old lamps are already being widely replaced by new hybrid lamps with a power of 48 W or more. For example, Sun 4s Plus.
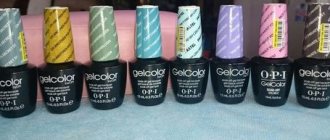
11. Low-quality materials, gel polishes that have expired or are rarely used, which have managed to delaminate while standing (this is easy to notice by the appearance of a translucent liquid on the surface), can also wear poorly and cause detachments and chips.
12. When removing the previous coating with a milling cutter, old detached materials may be poorly removed or small pockets may remain when removed to the base. This is the old coating left behind and leads to the appearance of detachments on the nails.
13. Old and worn coating also begins to peel off over time. This occurs due to shrinkage of the material and the appearance of unevenness on its surface, as well as due to the movement of the center of gravity closer to the tip of the nail (especially noticeable on long nails).
To solve the problem of gel polish peeling off from nails, first evaluate all the above points from the point of view of your work, materials and try to change something to eliminate this factor. If none of this helps, then it may be the condition of your nails or something inside your body.
Incorrect application of the first base layer

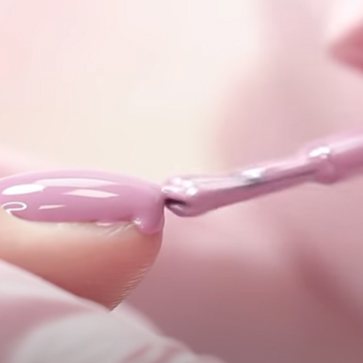
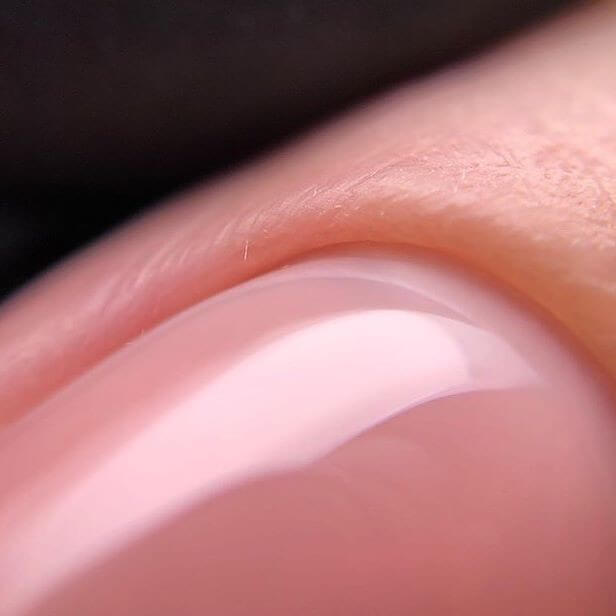
When leveling the nail plate with a base, we apply it in two layers. The first one must be well distributed using “trampling” or “driving” movements with a brush, so that there are no air bubbles under it, and the adhesion of the material to the nail scales occurs evenly, tightly, along the entire perimeter of the plate.
To distribute and “trample” the base well, it is better to use a flat, medium oval brush. You can use it with less material than a regular one and distribute it well.
It is important to cure this first thin layer well in the lamp, as it serves as the basis for future leveling, ensuring adhesion.
Working with the base coat: preparing the nail, applying a base for leveling
Strengthening nails with gel polish. What and how to strengthen your nails before applying gel polish?
Strengthening your nails before applying gel polish makes them stronger and less flexible, which increases the durability of the gel polish. This procedure is especially relevant for girls with thin, weakened nails, on which gel polish lasts less than a week.
Strengthening with acrylic powder
This method is even suitable for repeating on your own at home. This way you will create a strong frame by “concreting” the gel polish.
- 1
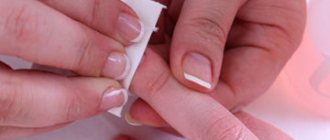
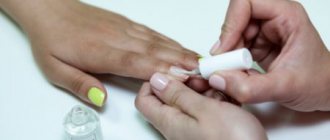
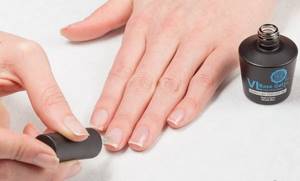
Prepare your nails for applying gel polish, sand, degrease, and apply primer.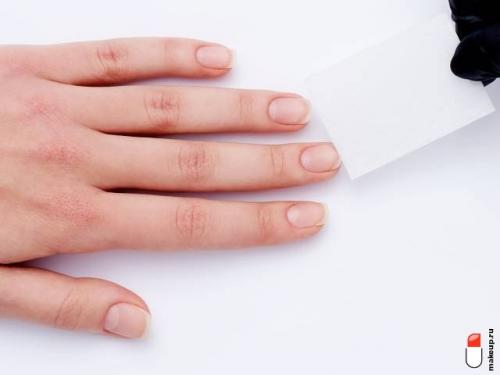
© Makeup.ru
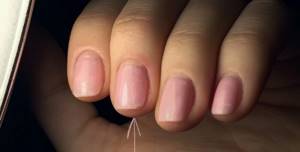
- 2
Cover your nails with one layer of base and dry in a lamp. - 3
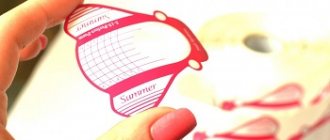
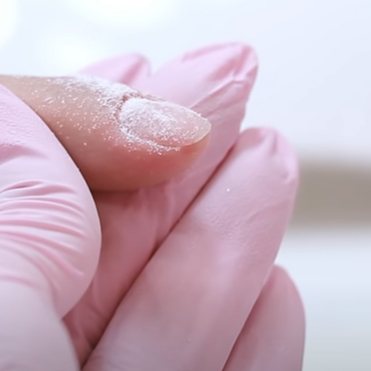
Apply a second coat of base and cover the entire nail with clear acrylic powder before drying it in the lamp. - 5
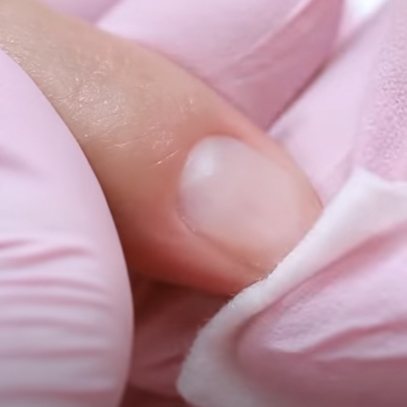
Lightly sand the surface and reapply the base layer, dry it in a lamp.
Strengthening with gel
The procedure is more complex, as it involves several variations of both the gel itself and the methods of applying it. The easiest way is to use single-phase silicone gel.
- 1
Prepare your nails for applying gel polish, sand, degrease, and apply primer. - 2
Apply two thin layers of gel to the nail plate and dry them alternately in a lamp.
Both methods of external nail strengthening allow you to remove the coating by soaking it at home. However, you can wear the coating longer if you correct it in a timely manner.
- 1
File off the top layer and especially the border of the regrown material at the cuticle. - 2
Carry out all stages of strengthening with acrylic powder or gel, filling only the free part of the nail.
Incorrectly selected base
How to choose the right base? It is necessary to take into account the shape and length of the client's nails. For example, the square shape of nails involves a much greater load than oval or others with rounded edges. This means that a square base requires a more rigid base with a reinforcing effect, applied taking into account the need to strengthen the growth points and the side ends of the free edge.
Base coatings: types, selection criteria, review of the best
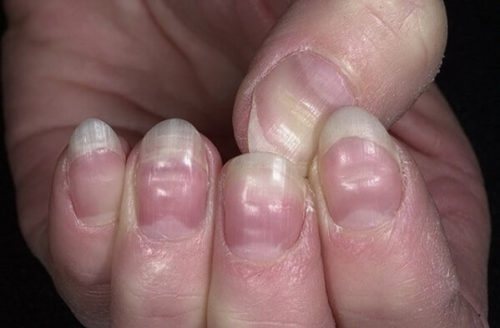
Types of gel polish peelings
Damage to the nail coating may include the following:
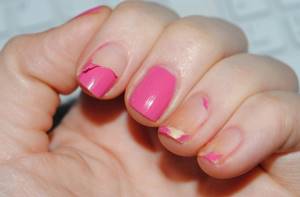
- the gel polish swells and then comes off in layers along the entire length of the nail;
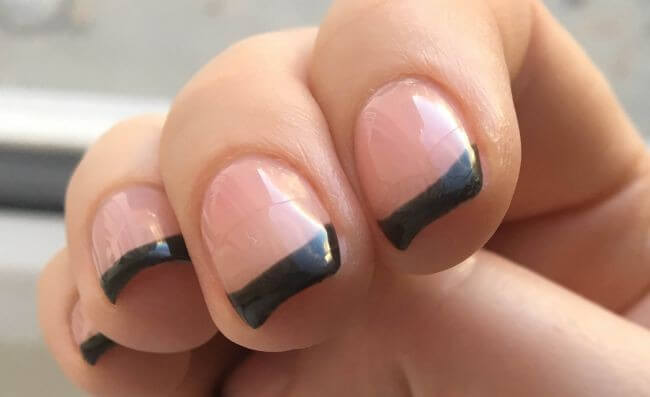
- On square plates, whole pieces of varnish break off at the ends;
- detachment from the nail occurs in the cuticle area.
The pieces do not fly off immediately, but after a while after mechanical actions with the nail or when using water and hard sponges. When peeling of the varnish from the plate is observed after a few days, it can be assumed that the application technology is broken or there are health problems.
The client's type of activity is not taken into account

The factor of the peculiarities of the load on the client’s nails in his field of activity is very important for analysis by the master when choosing materials for coating. If the client's hands often come into contact with chemicals, detergents or water, this creates additional stress and shortens the wear life of the material.
It is recommended to use a rubber plastic base or biogel for color coating. It is more flexible and durable, providing nail protection.
Biogel and its properties for strengthening, building, health and growth of nails
Poorly performed manicure
Here we include the incompletely removed pterygium. What it is? The pterygium is the lower part of the cuticle that adheres to the nail and grows with it. These are whitish particles of dry skin along the perimeter of the nail plate. They are found not only in the cuticle area, but also in the proximal folds and along the lateral ridges.
Therefore, it is important to remove pterygium not only in the lower part, where the cuticle is located, but also along the entire perimeter of the nail, along the side walls. Then the base and gel polish will lie smoothly, tightly, and will not cause peeling.
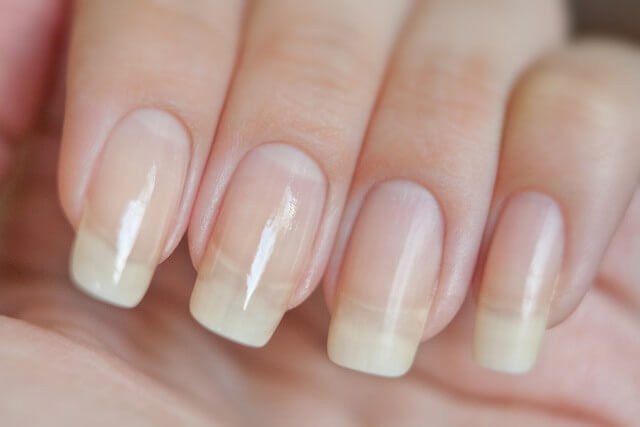
Nail structure and growth: what healthy nails and skin should look like, care rules
Rules for wearing coverings and common mistakes
To make your manicure last long, you need to follow these recommendations:
- Before and after the procedure, do not use cream, oil, or wash your hands.
- For 3-5 hours after applying gel polish, do not wet your hands or use household chemicals.
- You should not bite your nails, scratch surfaces with them, or knock on the table.
- Each applied sticky layer must be thoroughly dried under a lamp; do not touch the nails with your hands during the process.
Sawing nail plate
When working with cutters or files when removing material and filing the free edge, you can easily damage the natural nail plate. When applying a new coating in the cut area, there will not be the necessary tight adhesion, and as a result, the client receives detachments.
Hardware manicure - answering frequently asked questions
Life hack for beginners: use a beige or milky camouflage base for gel polish. Thus, when removing, the border between the artificial material and the natural nail will be visible, and cuts will be avoided.
Why does gel polish on nails swell and wrinkle in the lamp?
There may be several reasons for this phenomenon.
The most important of them:
- This is insufficient defatting. Most likely, on the nails, in the place where the bubble appeared, there is a layer of fat that got in when applying hand cream, before applying the coating, or if the technique was not followed.
- Perhaps the surface of the nail is not completely degreased. Swollen areas appear after applying primer or touching lips, hair or facial skin with nails. This caused particles of fat to appear on the nails.
- The cause of blisters on nails is pigmented compounds. Typically, varnishes that contain a lot of pigment cannot dry in a lamp within a certain period of time. Such compositions must be applied in very thin layers, carefully listening one by one.
- Insufficient lamp power. This usually happens with ultraviolet devices in which the bulbs are not replaced in a timely manner. That is, if your lamps are dim and don’t shine well, then highly pigmented varnish can easily swell. The lamp power is simply not enough to dry the coating.
- Incorrect placement of the nail in the lamp. Most often this happens on the thumbs, when all five fingers dry out at the same time. This way, the thumb is at an angle, and at the beginning of drying, a drop of gel polish simply rolls into the area of the inclination. This results in a large accumulation of gel polish that simply does not have time to dry. As a result of this, swelling on the nails appears.
Beautiful coating
The client tore off the gel polish from the nail himself
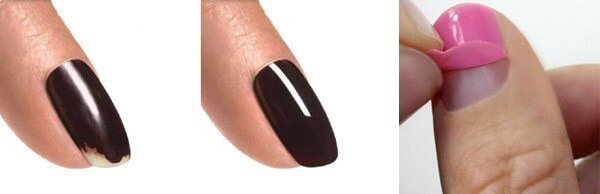
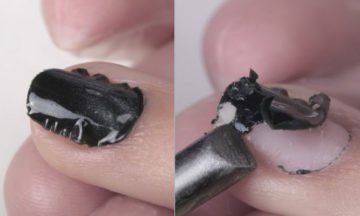
A fairly common problem is when, in the event of detachments, the client does not have the opportunity to immediately visit a specialist or carefully cut down the damaged area on his own.
Then the peeled edge simply breaks off, which along with it pulls another part of the coating, or even material from the entire nail. As a result, we get damage to the nail plate not only in the upper, but also in the deeper layers, which can be equated to the same cuts. Such damage needs to be dealt with differently, ensuring preliminary leveling under the coating.
Maximum wear time for high-quality gel polish
Professionals recommend wearing a manicure with polymerization for no more than 3 weeks. High-quality varnish can last more than 4 or 5 weeks, but such a coating will look unaesthetic.
As the nail plate grows, it exposes the lower part; it looks as if it is half painted.
Peeling the next day
After the procedure using the gel, its detachment is possible within a day.
Factors influencing this:
- improper preparation of the nail for coating;
- thin coating or lack thereof at the free edge;
- poor quality drying of each layer.
If sweat or oil has not been removed from the stratum corneum, the primer will not attach to the surface of the nail and will begin to peel off with all subsequent layers.
The free edge of the nail will be properly covered with each of the products, and not just the fixing one, which guarantees a long-lasting coating.
All layers must be dried thoroughly. If the drying is poor, the manicure will deteriorate within a day.
Remover residues in the cuticle area
When using a remover to remove cuticles and pterygium, it is important to thoroughly remove any residue before further application of the coating. The remover may contain lanolin and glycerin, and these are fat-containing components that interfere with the further tight fit of the artificial material.
In addition to the remover, the master could use a hemostatic agent for cuts. Its remains are another cause of detachments.
To remove them from the surface of the plate, use a degreaser and a lint-free cloth. You can put a napkin on an orange stick to carefully work on the areas under the cuticle and the overhanging part of the side ridges.
Insufficient preparation of the nail plate
What are the stages of quality preparation? This:
- Treatment of the nail surface with a buff;
- Degreasing;
- Dehydration;
- Applying an acid-free primer, especially for extensions.
Skipping one of these steps or performing it poorly can lead to the formation of “islands” of incomplete adhesion and detachments.
- With the help of a buff, we remove the remnants of natural shine, any unevenness and roughness on the surface of the nail plate.
- Degreasing and dehydration allow you to dry the work surface, remove dust from sawdust, and also remove glycerin or lanolin contained in the remover. In addition to them, we remove lipids from the upper layers of the nail, and the remnants of greasy cream along the side ridges.
It is important not to waste napkins when treating the area. If we rub all our nails with the same side or area, we spread the remains of dirt, sawdust or greasy cosmetics from one finger to another.
The acid-free primer serves as double-sided tape between the natural plate and the artificial material. If there is a little artificial coating left on the nail from the last time, then only the regrown area of the natural nail plate, ingrowth points and ends are treated with a primer.
For clients with hyperhidrosis, it is better to use an acid primer; it additionally dries the work area. The product dries in the open air, without the use of a lamp.
Why does gel polish peel off at the cuticle?
There are several reasons, they are the fault of the master and occur when the technique of applying gel polish is not followed.
Causes:
- Incomplete removal of pterygium from nails. That is, when the base is located on the pterygium, it gradually grows and a pocket or detachment is formed
- A little gel polish got on the cuticle. Thus, detachments cannot be avoided
- The shine was not removed from the nail using a file or router
- The nail was not degreased or primer was applied. Because of this, there is no normal adhesion between the nail and the artificial material, so it peels off
Gel polish did not dry out
Remains of old detachments
If the old detachments are not completely removed, new ones will form in the same place, on top of them, in a matter of days. Usually, particles of old material remain along the free edge and in the center of the nail plate. Therefore, pay special attention to these areas when removing the old coating.
If the detachments are not on all fingers, but on the “working” ones, then it is necessary to perform additional reinforcement of the plate. We cover the index and middle fingers with a hard base, a base with fiberglass, or additionally strengthen it with acrylic powder.
Fiberglass: what it is, application features, step-by-step techniques
Excessively “sealed” end with material getting under the free edge
By processing the ends of the nails at the stages of applying the base, color and top, we get not only a well-sealed edge, but also a possible problem of material flowing under it. This is also fraught with the appearance of chips. The material under the free edge does not have such strong adhesion to the natural base, and therefore after a day or two it peels off, “pulling” the top layer with it.
Keep a flat brush handy. If material gets under the free edge, soak it in degreaser and carefully remove the excess.
11. Diseases
The client’s diseases and painful conditions do not depend on the master, and he can only influence them indirectly. These include:
- Hyperhidrosis;
- Taking antibiotics that affect the condition of the plate;
- Hormonal imbalances;
- Unbalanced nutrition, diets;
- Stressful conditions of the body, etc.
With hyperhidrosis, the client may experience detachments along the cuticle line. In this situation, it is recommended to treat the nails under the coating one at a time so that they do not have time to become covered with moisture, and reliable adhesion of the natural and artificial layers is obtained.
A guide to diseases and problems with nails: diagnosis, causes and remedies for 12 diseases
Hyperhidrosis of the feet: causes and solutions to the problem
Peeling of gel polish due to general health condition
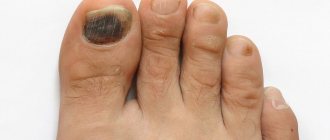
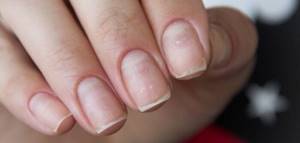
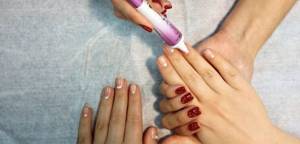
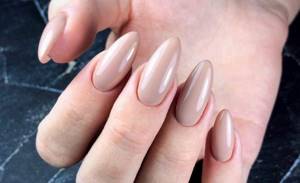
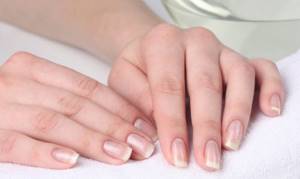
Manicure on thin, weakened nails fades very quickly
- Weak, sick nails . An important, but not often encountered, factor in nail peeling is unhealthy nails. If a person has suffered from a serious illness and has weakened immune resistance, this affects the condition of the nails. Another common reason is nail plates damaged by frequent manicures.
- Excessive hand sweating always leads to early peeling of the nail coating. It is quite difficult to deal with it; the main thing is to treat this problem with understanding and not demand the usual durability from the coating.
- Pregnancy , treatment with hormonal drugs leads to unexpected reactions of the body, including peeling of the manicure.
Do not forget to carry out regular procedures to restore and strengthen the nail plates: baths, compresses, paraffin therapy sessions.
12. Streaks
When applying a thick layer of material, due to a poorly wrung out brush or poorly chosen liquid texture, streaks may form on the sides and near the cuticle. Immediately after applying the coating, microstrips may not be visible to the naked eye, but after a few hours, or after the first contact with water, they begin to lag behind the skin and protrude along the edges.
The result is small “pockets” or grooves into which cream, dust, dirt, and detergent residues constantly get caught when doing housework, and detachments appear. Over time, they grow and can “pull” most of the coverage with them.
Types of detachments
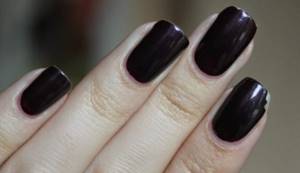
Shellac peels off at the base of the nail
When a large layer of polymer is applied at the cuticle, it swells in this area. If the skin around the nail is cut incorrectly, blood appears or a hematoma forms. It gets under the gel base, causing the varnish layer to swell.
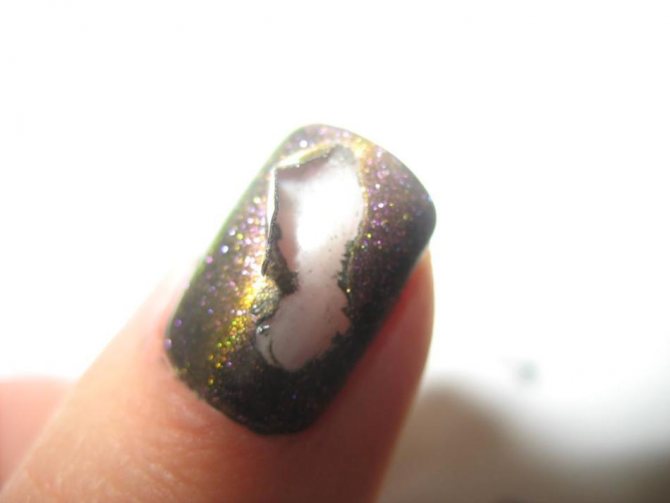
Gel polish peels off as a film
What to do when the coating delaminates and comes off like a film literally a few days after application?
It is impossible to correct this situation. This indicates incorrect application of the polymer. Probably, the nail plate was not polished before coating.
Another reason is the use of cotton pads during the procedure . They leave fibers that prevent the complete gluing of all gel layers.
The quality of the material also affects the polymerization process.
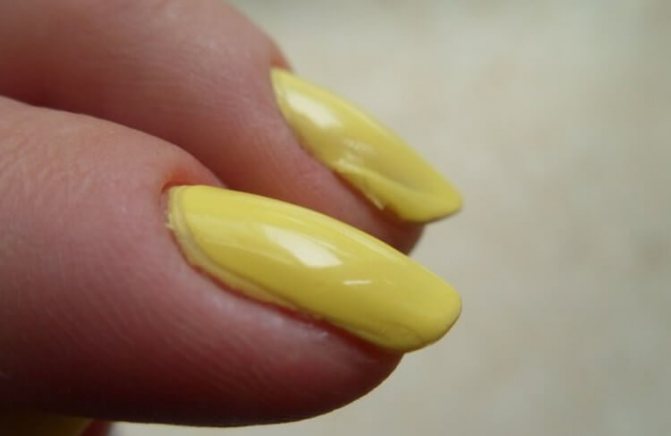
The coating is coming off the tips of the nails
This may occur due to increased nail fragility. In this case, the master must, before applying the polymer, strengthen the stratum corneum with a special agent and level it, preventing delamination of the free edge of the nail.
Peeling from natural nails
The polymer peels off from the natural nail for various reasons. This may be a hormonal imbalance in the body when the structure and quality of the stratum corneum changes.
Naturally uneven nails must be thoroughly polished and smoothed with a primer before the procedure. This prevents polymer detachment.
If before applying the varnish the nails were not degreased, liquid or particles of the stratum corneum were not removed from them after filing, then the varnish will not stick. The next day it will move away from the nail plate.
Using a cheap cream or having oily skin
Cheap creams usually contain fat substitutes that are not absorbed, but only form a film on the surface of the skin and nails.
Clients with overactive sebaceous glands also have a thick, oily film on their nails due to contact with the skin. When removing shine from nails with a buff, the gloss may not even come off.
In both cases, it is recommended to use acetone-containing removers to remove gel polish to remove shine and greasy film.
Painted growth points
Ingrowth points are the areas where the nail connects to the skin on the sides. With an expanding plate, they are thin and movable. Due to their mobility, they are often the cause of detachments. If the master tries to completely paint the entire nail plate with overgrown ingrowth points, then after 2-3 days of wearing the material, it begins to peel off in these areas.
Application Features
There is a step-by-step application technology developed by scientists at beauty centers. An important one among them is the period of drying the marigolds in a lamp. The polymerization time of the varnish varies, it all depends on the power of the UV lamp. There are models that work with a half-minute timer, and those that dry for 2 minutes.
Preparatory stages:
- We cut the cuticle and remove the films.
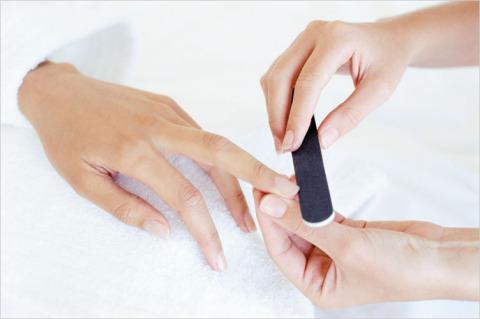
- The nails must be filed, even if we do not adjust the length, so that cracks do not appear on the gel polish.
- We treat the free edge located at the tips and the entire nail plate with a polishing buff.
- Using a brush, we brush off the sawed-off layer of the nail plate; the manicurist knows that due to the cut, a detachment can form.
- We prime the nails with a primer and bonder, after which you can begin applying the gel coating.
The colored layer needs to be dried in a lamp for two minutes, while one is enough for the base and top coat. It is better to wipe off the sticky layer on the surface of the top after drying with a special product. To prevent the varnish from peeling off, the free edge must be sealed.
Mechanical shocks and loads
Most often they lead to detachments in the center of the nail. Increased loads on the plate lead to its forced mobility in the center, bends, and twists.
Also, detachments in the center can be caused by intense hyperhidrosis in the client. Liquid seeps under the material through the plate in the center, causing islands of artificial turf rejection.
Overworn coating
Recommend clients to come in for coverage correction at least once every 3 weeks, 21 days.
When the material is overused, it loses its properties, adhesion is impaired, microcracks appear around the entire perimeter, which lead to detachments and chips, and even damage to the upper layers of the natural nail.
A worn-out coating is also characterized by a general displacement of the architecture and a violation of the strength of the material in stress zones. The plates begin to “peck” and may break in the center or along the edges, which now do not have proper reinforcement at the points of growth.
Often bacteria and fungus get under such detachments, and pathological processes that require treatment develop.
How to extend the life of a coating
In order for your manicure to look neat and tidy for several weeks, you must follow a number of rules:
- Before the procedure, do not use any hand cream or oil.
- Do not use strengthening products the day before applying the gel.
- Cut or file down the damaged edge of the plate, then apply varnish. This way it will not peel off from the edge of the nail.
- Visit only qualified craftsmen with good reviews.
- Do not wet your hands or contact with household chemicals for 24 hours after the procedure.
- Do not scratch hard, rough surfaces with your nails.
Gel polish may not last long if the brand is not right for you. You can try a product from another manufacturer. It is possible that it will last 2-3 weeks or more.
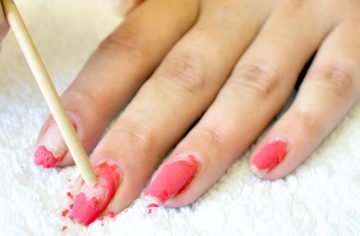
What to do if gel polish starts to come off
You can fix the peeled layer before going to the specialist with a regular fixative or colorless varnish. It is applied to the entire plate or only to the damaged edge of the nail. But this method does not last long.
In the near future, you need to contact a manicurist to correct the situation. You won't be able to fix peeling varnish at home.
Incorrect architecture
Stress areas are not sufficiently strengthened. The material of the apex, the highest point, moves closer to the free edge, and creates additional stress in the toe. This leads to bending, twisting, and breaking of the plates.
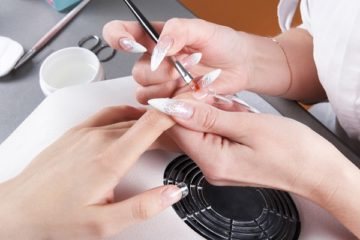
When extending nails with gel, acrylic, acrylic or fiberglass, it is necessary to cut out the natural nail plate from below along the free edge from under the artificial material. Otherwise, the architecture “floats”, cracks, chips and detachments appear.
Peeling nails, fungal diseases
The reasons for peeling nails can be both external and internal, depending on the client’s health. The plates must be properly prepared for the application of artificial material, additionally working on areas of intense peeling. It is recommended to remove all areas of excessive peeling with a buff, and then carefully treat them with a primer, which acts as adhesive tape, gluing not only the artificial material to the natural one, but also the layers of the nail together.
All about nail buff - types, materials, abrasiveness, how to use, how to choose
This list of causes of chipping and peeling is a checklist for a novice master who often encounters similar problems with clients.
Analyze whether you take into account all the factors in your work. Which reasons do you encounter most often? Share your observations in the comments! Comment
How to avoid it
At times, it may happen that the shellac cracks or simply comes off the nail completely. If the gel polish on your nails peels off, what should you do? Are there any chances to prevent this? Next, we will tell you how to do this without harming the health of your nails.
In order to prevent the problem when shellac quickly peels off the nails, after filing the nail and giving it the desired shape, you need to go over the end with a buff to eliminate possible unevenness. It is advisable to use the buff with 180-220 grit abrasive. Softer ones will not work in this case. Remember to seal each layer.
When coatings are not dried well enough, the material can delaminate after just two days, which is why the manufacturer's advice must be taken into account when drying.
In addition, you need to take into account the power of your lamp, and if necessary, replace the light bulbs, or the entire lamp, with a more modern and powerful one.
Do not soak your hands in water if you are going to do a trim manicure. The fact is that the nail plate will become saturated with moisture, and this will only worsen the matter. It would be more correct to replace the edged manicure with a hardware one.
Sometimes, wanting to save money, girls can replace the sticky layer remover or degreaser with other liquids containing alcohol. Or they refuse to use a primer, which acts as a binding element for all subsequent coatings, helping to ensure their adhesion to the nail. You should not do this under any circumstances, because this is another reason why gel polish quickly peels off your nails.
It rarely happens that the top becomes covered with bubbles. To prevent this from happening, do not shake it before use. If this does not help, professionals advise opening the bottle without removing the brush and leaving it there for four to five hours so that the air comes out on its own.
It happens that the top coating does not shine and cracks. This happens if the products are poorly dried, or the sticky layer is removed from the coating while it has not cooled. Therefore, you need to let it cool for a while and only then remove the sticky layer. The top can also become dull when the remover for the sticky layer is changed to other liquids not intended for this purpose.
Also, the gel polish peels off quickly on thin and weakened nails. To strengthen them, use a base coat (if necessary, in two layers), and sometimes biogel or acrylic powder. However, if the nail plates are very weak and the gel polish comes off quickly, then it is recommended to abandon it for a while and carry out procedures aimed at strengthening the nails, such as taking vitamins, calcium, as well as using strengthening nail polishes.
Most often, the use of materials from different manufacturers does not have harmful consequences; peeling does not occur. But still, when coating with shellac, it is worth using products from one line to be sure of the result.
That's all the useful tips to help prevent cracking or peeling of the varnish. It must be remembered that a lot depends on how high-quality the products are used for manicure.