Extended nails are beautiful, convenient and practical. Modern extension technologies provide almost limitless possibilities for modeling nails: you can choose any length and shape you need, model an artificial plate made of acrylic or gel, and make any design. The first step in the extension procedure is the correct choice of forms, which we will discuss in this article.
Features of the method
With the help of artificial lengthening of the nail plates, almost any external defects are corrected. Usually, forms or tips are used for nail extensions. The latter of them are becoming less and less relevant, as they do not look very natural.
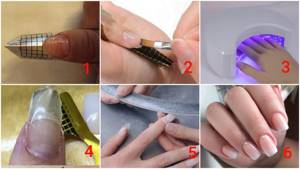
The plates on the forms are enlarged using special devices that act as a substrate for future nails. This product is covered with gel or acrylic, making it easy to extend the edge of the plate. To make it convenient to create the length, the forms have graph paper. A distinctive feature of the technique is that after the varnish has hardened, the structures are removed, leaving the ends free.
Contraindications for extensions
Contraindications to nail extensions are:
- Herpes virus.
- Diseases of the heart and blood vessels.
- Diabetes.
- Thyroid diseases.
- Recently completed a course of chemotherapy.
- Hormonal disorders.
- Antibiotics.
- Pregnancy.
- Allergy.
- Stress.
- Injuries to the nail plate.
- The presence of fungus on the nails.
If there are any contraindications, there is a high risk that the extended nails will not hold up, although these diseases themselves are not absolute contraindications.
Is it possible to get nail extensions while pregnant?
The opinions of experts are divided: some believe that the extension does not pose any danger to either the health of the mother or the health of the child; others advise against this procedure during pregnancy.
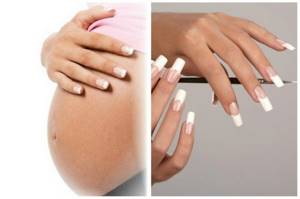
Neither chemists nor doctors can say for sure whether the components included in nail extension products have a negative effect on the fetus, because There are no definitive studies on this matter.
Advantages and disadvantages
The extension procedure using forms has both advantages and disadvantages. Most masters and clients prefer this method due to the following advantages:
- Unlike tips, it does not cover the main part of the nail, due to which most of the natural plate has access to oxygen.
- Artificial nails made on substrates are thinner and look natural.
- After mastering the method, you can perform it at home.
- Allows you to make any nail shape, as well as choose your own length
- Strengthens brittle tips on short nails.
- You can perform the correction procedure without the need to completely remove the extended layer.
- The cured gel polish beautifully complements the natural nail plate without a noticeable transition.
Among the disadvantages of modeling using forms, they note that the procedures are quite complex compared to using tips. Also, low-quality materials and poor application technique can significantly slow down the growth of nails and damage their structure. These shortcomings usually go away with the experience gained. If the rules for extensions on forms are strictly followed, there are no negative aspects.
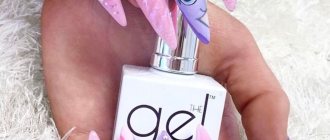
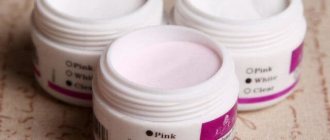
The best gel for nail extensions
Good material meets the following requirements:
- Viscosity. The gel should not be too thick or too thin. In the first case, it will not be possible to create a smooth, even surface of the nail. In the second case, the gel will spread greatly, which can lead to cracks on the nails.
- A quality certificate is a guarantor of product quality and safety.
- Freezing. Some drugs require special catalysts to harden. The difficulty of working with such catalysts lies in their thickness, which makes them quite difficult to apply to the surface of the nail. Experts advise using materials that harden using an ultraviolet lamp.
- No smell. High-quality gels are odorless and cannot cause allergies.
The most popular products of such companies:
- IBD.
- Ezflow.
- Formula Profi.
- Global.
- BBWT.
- Nubar.
- CNI.
Required tools and materials
In order to make beautiful and safe extensions, you need to acquire special equipment and tools.
Among the most important tools, it is worth highlighting these products and materials:
- antiseptic solution;
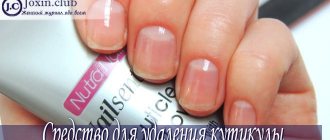
- cuticle remover;
- nail scissors;
- files with different abrasiveness or cutters for hardware manicure;
- cuticle tweezers or a special orange stick;
- quick nail polish remover;
- nail dust brush;
- a dehydrator that removes the sticky layer from gel coatings;
- suitable forms for extensions;
- a primer that bonds the gel layers and the edge of the natural plate;
- base coat;
- gel brushes;
- modeling varnish;
- colored coating and items for decoration;
- finishing gel;
- UF lamp;
- care oil for cuticle treatment.
To make the extension procedure easy and successful, it is important to choose high-quality tools and materials.
Tools for nail extensions on forms / @nailcity
How to choose files for a beginner
The manicurist has a large assortment of nail files. These devices have varying degrees of abrasiveness, which is measured in grits. The rougher the instrument, the lower the number of grits it has. Files of 80 – 180 grits are used only for processing artificial plates, 180 – 240 – for natural nails. There are files with a grit of 240 - 500 grit - they are used for grinding, and over 1000 - for polishing. The file is a consumable item and quickly becomes unusable, so it’s worth ordering a set.
Shape selection
First of all, plate extension products are divided into disposable and reusable. Each of the masters chooses the most convenient option depending on the number of clients and personal preference.
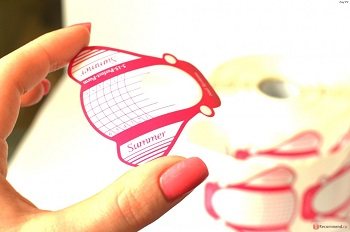
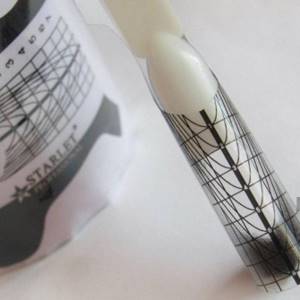
Disposable templates have a very soft base, as they are made of paper or thin plastic. Due to their flexibility, these products can be easily adjusted to different shapes. At the same time, many note some difficulty in the work at the very moment of extension. If you fix the paper template incorrectly or insufficiently, it can wrinkle and deform the artificial layer.
@assorti.com.ua
@nailmagazin_05_
Reusable molds can be used an unlimited number of times due to their durable metal or thick plastic composition. Such products are not subject to mechanical stress and are securely fastened. They must be stored in sterile containers and processed after each procedure.
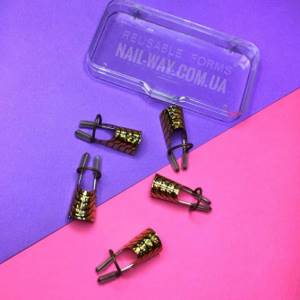
@nails_way_ukraine
Forms for extensions are also divided according to the method of fastening the structure - from below or from above. Bottom templates are the standard option when the product is used as a guide attached under the natural nail.
@nailmagazin_05_
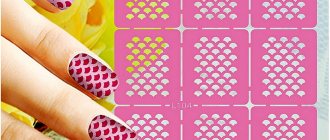
The upper structures are ready-made plastic forms with different sizes. They are filled with polygel and placed on top of the nail, and after hardening they are easily removed.

@fifachka.shop
All forms vary in size from the smallest to three centimeters. They come in the form of halves or whole. Half templates are attached to long nails, while full ones are best used on short ones.
Shapes and colors vary. Transparent products are considered a classic option. Many people like colored designs, but they are a little more difficult to work with due to their density.
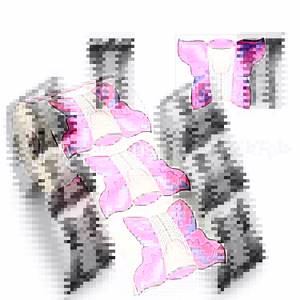
@mila_nails_shop_ua_
Varieties
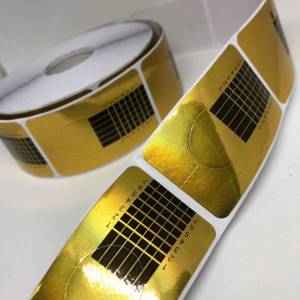
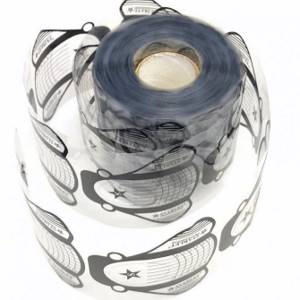
Manufacturers of products for the nail industry offer a huge number of upper and lower forms for extensions. They vary in material, size, type of tip, color, design. The main thing is a window for the finger and a special square marking, which allows you to form a beautiful nail plate of the correct size.
Such blanks are made from different materials:
- paper;
- plastic;
- foil;
- Teflon.
Some plastic and Teflon products are designed to be reusable. However, they must be disinfected after each client. The most popular are paper ones: they are simple, easy to use, hygienic, and allow you to individually select the length and bend.
Preparation
Before actual extensions, it is necessary to properly prepare your nails for the procedure.
To do this, the following step-by-step processing is performed:
- Apply antiseptic to your fingers and nails.
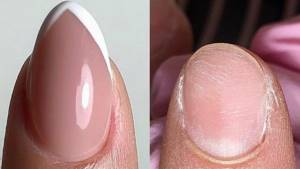
- Perform a hygienic manicure by removing old polish and moving or removing the cuticle and pterygium.
- File the ends of your nails. It is important to leave a free edge of at least 0.5 mm in length, otherwise it will be impossible to pry or fix the lower form. Using a soft nail file, treat the surface of the plates to remove shine. Remove nail dust with a brush.
- Use the dehydrator solution over the entire surface of your nails.
- Apply primer.
- Cover the plates with a thin layer of base gel and dry them under a lamp for about three minutes.
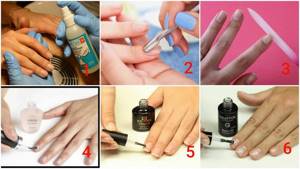
Preparatory stage of extensions on forms / LadyWow
Step-by-step instruction
After all the preparatory procedures, you can proceed to the stages of artificial turf modeling. The extension must be done first on the four fingers of one hand, then on the other, and only then on the thumbs. This is necessary so that the coating does not run off during application. Beginners usually work on each finger separately.
Depending on the type of templates, the process may vary slightly.
For gel extensions using lower structures, the technique will look like this:
- Place the form under the free edge of the nail. If the product is hard, then this will be quite easy to do. However, when using disposable paper templates, adjust the window depending on the size of the arch under the nail. Make sure there are no gaps or creases. Having fixed the shape, make sure that it has a smooth bend without a springboard or, conversely, a steep slope. If the shapes are very soft, you can glue the two structures together.
- Apply a thin layer of gel to the base of the nail in the cuticle area, thickening it as you approach the transition zone from the natural nail to the form. The stress zone (in the transition area) needs to be compacted especially well. Next, cover the future end of the artificial nail with a thin layer again.
- Dry your nails under the lamp for 2-3 minutes.
- Remove the sticky layer from the hardened gel and carefully remove the mold.
- Sand the surface and adjust the free edge of the plate.
- Apply camo or any of the colored gels in two or three layers, curing each application under a lamp. Create a design if necessary. When finished, coat your nails with topcoat and keep it in a UF lamp for a longer time.
- Remove the sticky layer and lubricate your hands and cuticles with a moisturizing emulsion.
Step-by-step extension technique on forms / LadyWow
When using upper forms, the extension technology will be different:
- Select a template that matches the size of the natural plate.
- Apply a special gel or acrylic to the inside of the product in the area of the free edge and dry in a lamp for 20 seconds.
- Fill in the rest of the template to match the length of your natural nail. Press firmly onto the plate, starting from the cuticle area, and dry in a UV lamp for 30 seconds.
- Remove any gel protruding beyond the mold without changing the position of the product. Dry your nails again, this time for about three minutes.
- With a slight movement, remove the mold structure.
- File and apply a finishing layer or decorative gel.
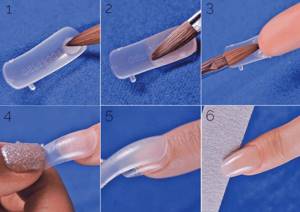
Nail extensions on top forms / LadyWow
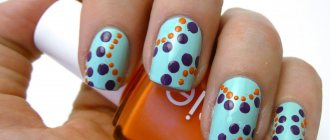
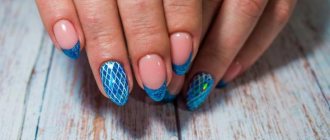
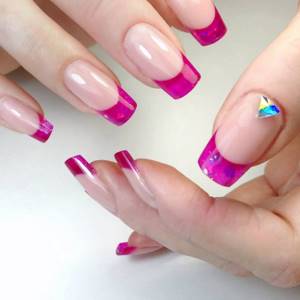
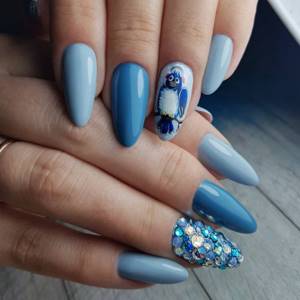
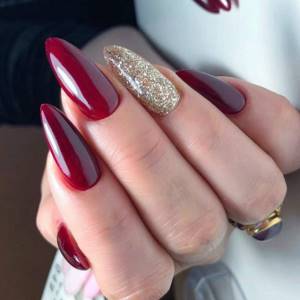
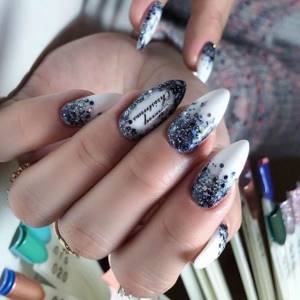
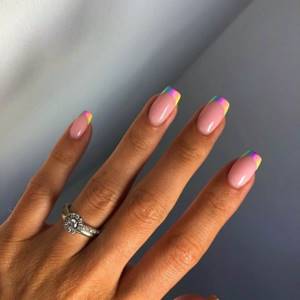
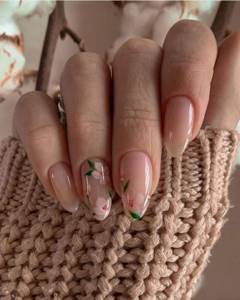
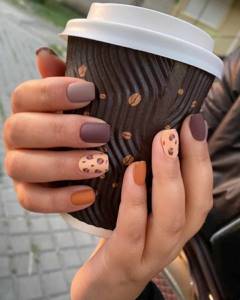
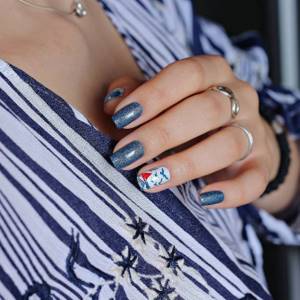
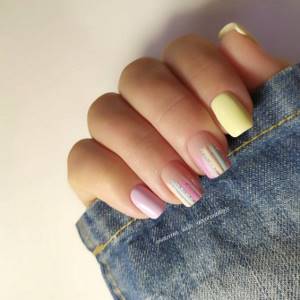
Photo examples
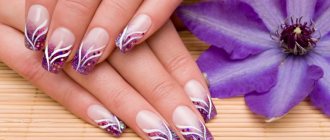
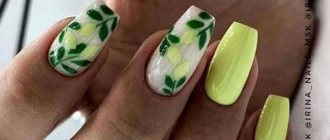
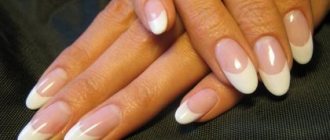
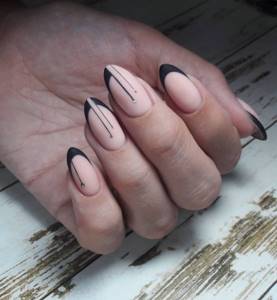
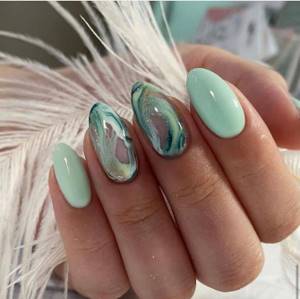
When done correctly, extensions on forms can create a neat and beautiful manicure. Smooth, long nails are suitable for any decoration and allow you to realize the most interesting design ideas.
@beauty.studio.chkalovsk
@dashkevich348
@fenix_iva
@just.nails.ekb
@pariyanails

@pariyanails
@pariyanails
@saida_nails_shik
@actualnails

@actualnails
@alekhina_daria
@bebeautymood
@black_queen.bakhmut
@cherie_annette_nails
@ekaterina_nails_novotroitskoye
@nailsjustnailss
@nazirova_anna
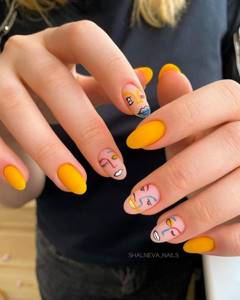
@shalneva_nails
@tvoi_nogtiki