- October 10, 2018
- Nail care
- Anna Mallaalieva
It may seem that the process of painting your nails is simple. However, even experienced professionals are capable of making mistakes during the procedure. And it's not that the girl doesn't know how to paint her nails. A common problem is cuticle polish that gets on the nail while being applied. No matter how hard the girl tries to remove it, it usually has the opposite effect. Therefore, we can come to the conclusion that it is better to use a product to protect the cuticle from varnish.
It is used before applying the gel and in the process prevents it from getting onto the described area of the finger. Thanks to this tool, the girl receives a lot of saved time and effort.
Ways to protect your nail
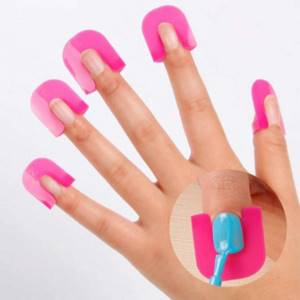
Thinking about how to paint their nails without getting on the cuticle, the girls protected it with regular tape. However, after the advent of various drawing techniques, this method became less effective and inconvenient. We are talking about water manicure and some other options. In the process of working with such techniques, half of the finger remains in the varnish, and the adhesive tape, when interacting with water, completely loses all its properties. Treating the cuticle with nail polish remover or acetone is an ineffective option, which also has an unpleasant odor.
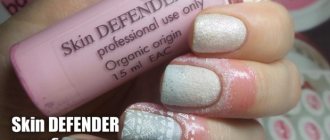
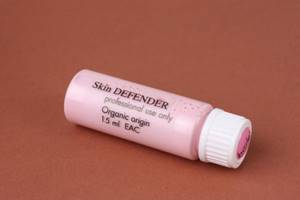
One of the new products on the market is Skin Defender. This product should be applied to the area of skin that needs to be protected, then calmly apply the varnish to the nail plate. After completing the procedure, this product is removed in the form of a film. At the same time, the manicure remains smooth and the fingers remain clean.
Impression
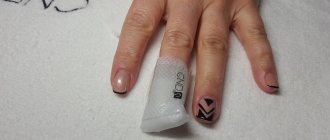
Using vein tape around your nails really simplifies those “dirty” manicures that tend to mess up your skin. Thanks to it, this nail design can be done more quickly and willingly :) However, I wouldn’t use it, for example, for a French manicure - what difference does it make whether you draw a line on top or bottom of the free edge, it’s better to immediately learn how to draw it correctly.
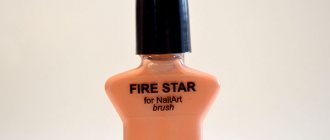
Fire Star liquid tape is an excellent budget option that can be used as an alternative to well-known branded skin protection around the nails.
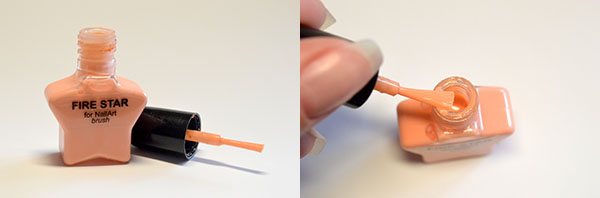
However, you should be careful when working with it - the bottle is small (only 6 ml) and made of plastic, so there is a high risk of knocking it over and spilling all the contents. The liquid tape itself is orange in color, dries very quickly, literally in a matter of seconds, if used in a thin layer, and can be removed from the skin without much effort. The only negative is that the smell is not very pleasant; the manufacturer should have added some kind of fragrance to the composition, and everything would have been great.
UPD! The product dries out very quickly. Apparently, the volume of the bottle was designed to be so small, because... you need to use it very quickly: after a couple of months the liquid turns into real rubber, unusable!
Advantage of the product
This product was appreciated not only by experienced and professional nail technicians, but also by home manicure lovers. Why did girls love it so much?
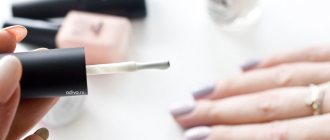
Skin Defender contains only natural ingredients. Synthetic - replaced by rubber. The liquid itself has a pleasant aroma that does not disappear after the film dries, as well as a delicate tint. The packaging design is attractive. The bottle itself is small in size, so it is convenient to use both at home and on trips. The brush is as comfortable as possible when using. The product dries in a few seconds, so you don’t have to wait long after applying the cuticle protection product. This product can be used not only to prevent nail polish from getting on the skin of the nail, but also used when creating a design. The product contains special components that have antibacterial properties. Due to this, all damaged areas of the skin are quickly restored. The cost of the product is low, so any girl can afford it.
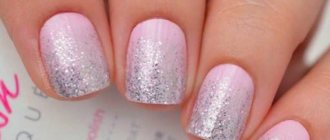
Gradient manicure using liquid tape
Instructions on various ways to perform a gradient manicure can be found here. Using liquid tape around the nails to protect the skin, the gradient manicure algorithm will be as follows:
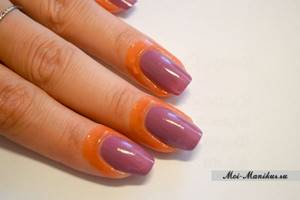
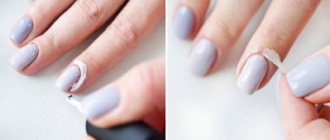
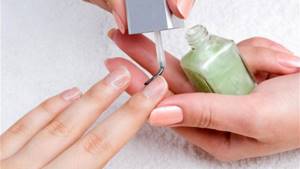
- The nails are covered with the lightest varnish selected for the gradient.
- A liquid tape is applied to the surrounding skin and allowed to dry for 1 minute.
- Strips of colored varnish are applied to the sponge, joint to joint, and reprinted onto the nail. If necessary, this step is repeated until the desired transition is achieved.
- We remove the liquid tape along with the varnish that has fallen on it using tweezers.
- We repeat in the same way on the remaining nails, after which we apply a top coat or complement the design with something else.
How to remove the product from the nail?
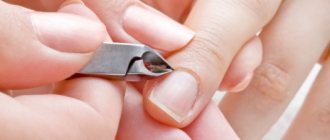
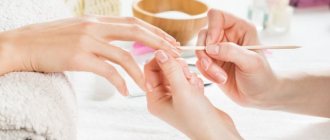
After completing the procedure, removing the product from the cuticle is quite easy. Girls write about this in reviews. Tweezers must be used. You should pry off the end of the film, pressing the second one to the skin. Carefully lift the product. For the same purposes, you can use a wooden stick. You should separate the dry film from the skin, and then tweezers will do the job. The stained film will be removed quite easily, no traces will remain.

It is worth noting
Liquid latex is indispensable when performing complex nail coloring techniques, such as stamping design, water manicure or gradient manicure.
You just need to apply the product as close to the nail plate as possible, wait a while (usually from 30 seconds to 3 minutes) for the latex to dry and form a thin but strong film at the application site. After this, you can proceed directly to nail art of any complexity. When the nail design is finished, the liquid tape can be easily removed with tweezers or an orange stick, leaving the painted nail in perfect condition.
Review of the product
All girls advise purchasing the product on the manufacturer’s official website. Approximate price: 600 rubles. The volume of the jar is 15 ml. The packaging is elongated and has a wide neck. According to the girls, previously the product was inconvenient to apply due to the fact that instead of a brush, a sponge was supplied for application.
As for the smell, many note a light, pleasant aroma upon application. If you bring it to your nose, you will notice a strong smell of ammonia. It is needed so that the film does not dry out completely on the skin. Girls note the composition of the product as a positive point. This is due to the fact that no special chemicals are added here. A product for protecting cuticles from varnish is supplied in a special sealed bag. This allows you to exclude contact with air during transportation.
Reviews say that the product should be applied in a thick layer. Then the film will be removed without much effort. The only downside the girls can point out is the wide neck. Because of this, many people are afraid to spill the product.
Stylish manicure ideas step by step
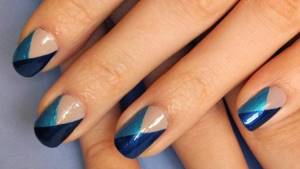
Triangular Moon

- Cover the nails with base and dry.
- We cut two pieces from a thin ribbon and attach them at the base in the form of a triangle.
- We cover the nails with gel polish of a contrasting color (white, red, pink), skipping the triangle.
- Carefully remove the strips from the nail that is not yet completely dry and apply a fixative on top of everything.
This beautiful manicure looks great on short nails.
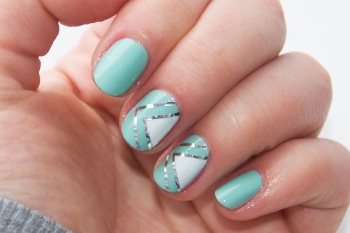
Bright manicure with colored stripes
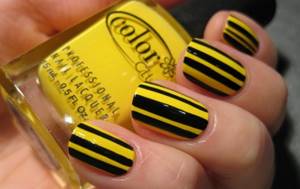
- You will need neon Shellac, for example yellow. We paint our nails.
- We cut three thin strips of adhesive foil and glue them lengthwise directly from the cuticles.
- After everything is dry, paint the top with a different color.
- Without waiting for complete drying, remove the strips by grasping the bottom edge.
- Instead of a ribbon, you can place a picture on one of the nails.
- We apply the fixative.
Geometric manicure
- Paint your nails with one color in two layers and let them dry completely.
- We glue the strips crosswise. It is necessary that they look a little beyond the nail.
- We paint the selected areas with other colors and dry them completely. Remove the stripes.
Examples of using tape in French manicure
Protection with “improvised means”
There is not always time or opportunity to buy liquid tape for manicure. In reviews about it they write that they often have to order from online stores, and this takes time. In such a situation, greasy cream, glue or Vaseline come to the rescue.
The latter creates a dense layer of film that is not washed off with water and prevents paint from getting onto this area. However, you need to understand that if Vaseline gets on the nail plate, the varnish will not attach well to it, and accordingly, the design will be ruined. To remove the layer, just use a cotton swab.
Fat cream has similar properties. However, you really need to use a product that has good fat content. Eye cream or hand cream is not suitable due to its low density. The product is perfect for the winter period, as it has a good structure and a high level of liquid. You need to work with it in the same way as with Vaseline: apply, complete the procedure, and after completion, remove the residue with a stick.
The simplest method is to use PVA glue. It is in no way inferior in effectiveness to the film described above for protecting the cuticle from varnish. Moreover, the product is completely inexpensive. You should apply the glue to the surface of the cuticle with a brush, wait until it dries, and begin the procedure. As soon as the application of the varnish is completed, the resulting film should be removed using a cotton swab. It must first be moistened in water. The main thing is that during application the glue does not spread and does not get on the nail plate. Otherwise, it is ideal for such a procedure.
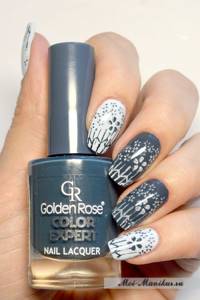
Using liquid tape in stamping design
I also wrote about nail design using stamping nail art using a set from Konad as an example. Here you can also use a liquid tape around the nails to apply a complete design over the entire nail, when the excess may get outside the nail plate (this depends on its size, for example, I only needed protection on the little finger).
The technique here is:
- The nails are covered with background varnish, which must dry well. Here you can apply a topcoat: if you are afraid that the design will not be reprinted well from the stamp, it will be easier to erase it without damaging the background layer of varnish.
- The liquid tape is applied around the nails and dries for 1 minute.
- Stamping varnish is applied to the selected pattern on the tile.
- Using a scraper, the remaining varnish is removed from the plate, and the design is transferred to the stamp using rolling movements.
- Now the design can be transferred to the nail, also rolling it from one side roller to the second.
- The liquid tape is removed with tweezers along with the remnants of the overprinted varnish.
- Finally, a layer of top coat is applied to the nails.
What to do if varnish gets on the cuticle?
What to do if there is no product at home to protect cuticles from varnish? You can first perform the procedure and then remove the remaining dye from the skin. The simplest method is to wipe off excess varnish with cotton wool that has been previously soaked in acetone. The cotton wool should be wrapped around a match or a toothpick. In addition, a correction marker will help. You can use nail polish remover, a cloth and a thin brush. The latter should be dipped in liquid and rubbed over the stained areas. After this, you need to wipe the brush on a napkin. You can use cuticle oil or sunflower oil. An hour after drying, you need to take a hot shower. Afterwards, the stained areas should be massaged with a terry towel. If the cuticle is dirty with varnish, you can wash your hands with soap and then moisturize them. This way you can soften the varnish and remove it. Another way is an orange stick. It should be used in the same way as a toothpick.
Application options for nail tape
Nail tape is a self-adhesive strip of different colors, always shiny . Available in different widths, but in nail design they usually prefer thin ones.
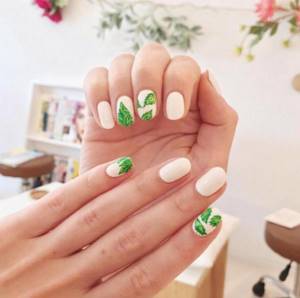
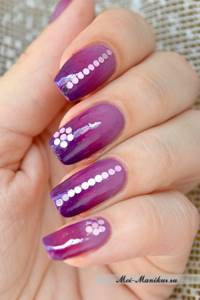
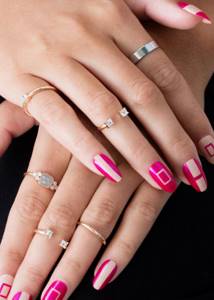
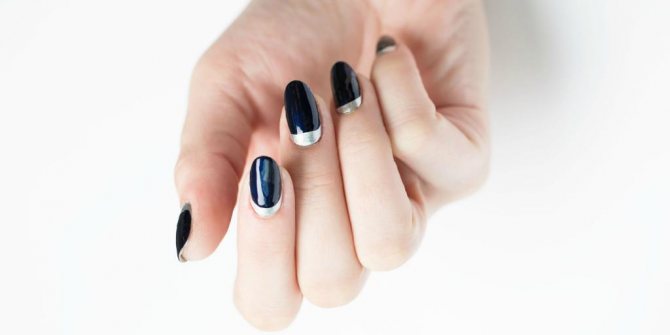
First option: the ribbon acts as a design element
Ribbon as a design element
In such cases, it is not removed after the work is completed. You can use adhesive strips of different widths and several colors, and combine them with other decorations, such as rhinestones.
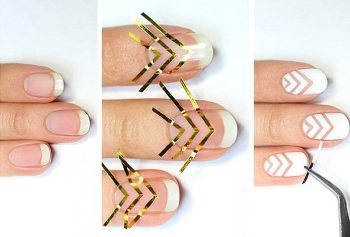
Create a simple design step by step:
- We remove the cuticle and do a regular manicure, giving the desired shape to the nail.
- If you use one color of varnish, cover your nails in 2 layers. If several colors are used, tape can be used to cover the transition of one color to another at the junction. The strip is also glued to gel polish.
- After complete drying, we take strips of the required length and glue them according to the intended pattern. If the strip protrudes beyond the edges, it can be carefully cut off with nail scissors.
- When the strip is finally and perfectly fixed, one or two layers of varnish are applied on top.
Silver or gold stripes look perfect on almost any surface.
When applying the tape, move away from the cuticle and edges of the nail plate. If you stick it too close, it can easily get caught and come off.
Check out how to quickly make a simple ribbon design:
Second option: tape - auxiliary material for applying the pattern
Ribbon - an auxiliary material in design
In this type of nail design, there is no need to select strips to match the color of the coating: any tape will do, even the most unnecessary one, because after the work it will be removed.
At home, for such decoration, adhesive tape can easily be replaced with tape, technical tape, or even medical tape.
Design creation procedure:
- We apply varnish.
- Next, you need to stick the strips on top to achieve the desired pattern.
- We cover the top with another layer of varnish, after it dries, carefully remove the strips and get the desired result.
- We secure the entire pattern with a finish to level the surface.
The tape should only be applied to completely dry varnish, so that after removing it there will be no traces left.
Try making a nautical design using duct tape: