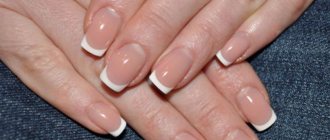
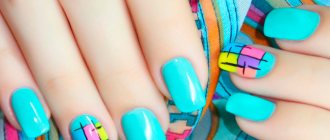
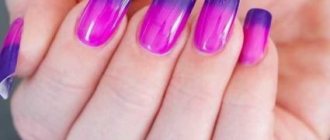
Extended nails are another novelty in the nail industry, which most girls accepted with delight. Almost instantly transform your nails beyond recognition - they become long, with an interesting shape and original design. And which ones are practical - they last a long time, and there is no need to constantly take care of the coating - when to apply and remove. But a person quickly gets bored with everything, and the design that admired a week ago is no longer pleasing.
Extended nails
What to do? There is an answer - it turns out that you can apply gel polish with a completely different fashionable design to your extended nails. But is everything so easy and simple, will gel polish harm the extended nails?
Secrets of great design
Let's talk about some of the features and nuances of this process:
- Don’t forget right away - shake the bottle of gel polish to ensure uniformity of the composition;
- Note that basically the technique of applying gel polish on your own and extended nails is the same;
- Please note that the coating must be applied to artificial nails in a dense, thin layer, otherwise this coating will look unnatural and bulky. The reason is that if you extend your nails with gel polish, they will be thicker than natural ones, and if you apply a thick coating, it will be too much;
- We carefully study the label and annotations. If the gel polish forms a sticky (dispersive) layer after drying (polymerization) in a UV lamp, it must be removed, for example, with a lint-free, smooth cloth. It is harmful and can even cause an allergic reaction;
- If you also get tired of gel polish, removing it from artificial nails is not so easy - you cannot, for example, use acetone (it will eat the extended nails themselves, they are also made of gel). It is also not advisable to remove it with a file; removers or a router with attachments are suitable here.
How to do this without errors
Let's look at the technology of applying gel polish on artificial gel nails step by step:
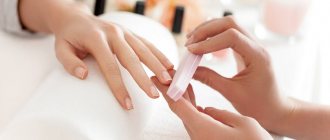
- You should not wash or steam your nails; they will absorb excess moisture, which will affect the quality of the coating. It is enough to soften and push back the cuticles and side ridges;
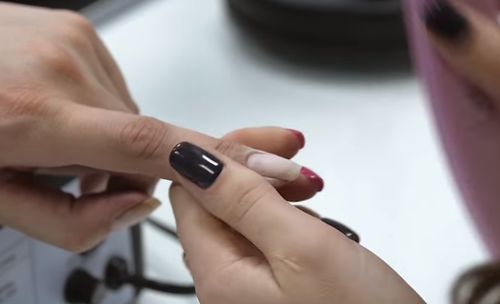
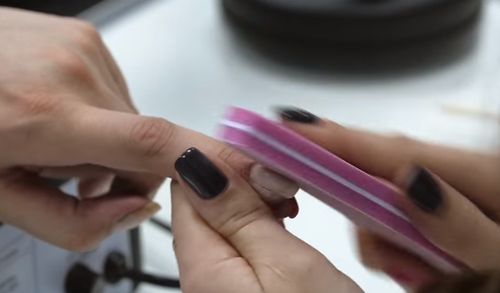
- polishing stage. Using a special file for extended nails (buff), you need to ideally polish the surface of the artificial nail; the quality of the coating layers depends on this;
- degreasing of extended nails with a primer, unlike natural ones, is not necessary according to some experts; others insist on this stage;
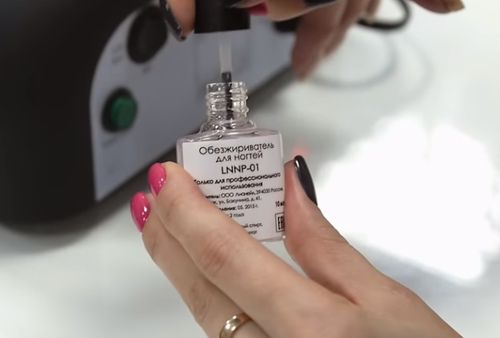
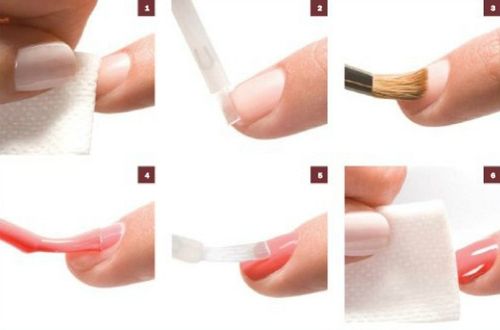
- applying the base (foundation). It not only protects natural nails from chemical attack, but also improves the adhesion of the layers. That is why it is recommended to apply the base to extended nails. It only takes about two minutes to polymerize;
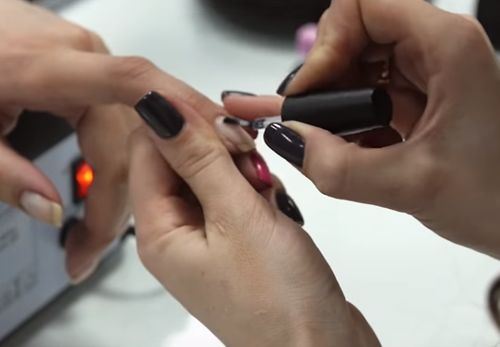
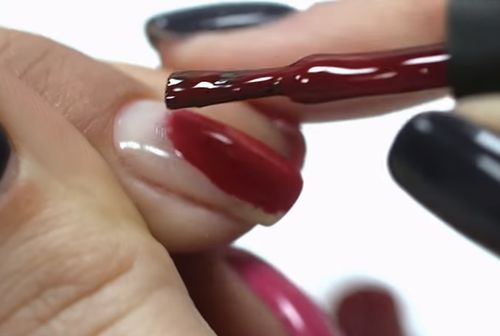
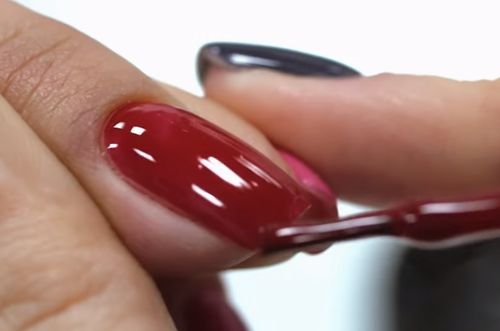
- main point. Apply gel polish to extended nails using neat, long strokes from the cuticle to the cut, in a thin layer, without touching the skin. We seal the edge for beautiful contours and polymerize in a UV lamp;
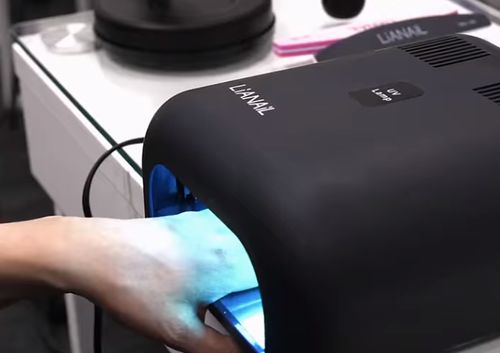
- if the color is not very saturated, you can apply a second thin layer of color and dry it in a lamp;
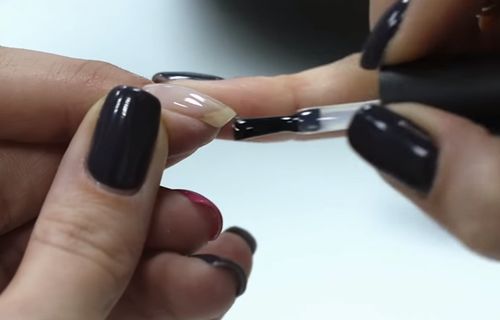
- You need to secure the work by applying the last layer - the finishing layer (top), dry it for 2 minutes in a lamp and admire the extended nails covered with gel polish until the next correction;
- removal of harmful dispersion - a sticky layer, particles of which can lead to allergies;
- The last stage will last a long time - this is regular nail care.
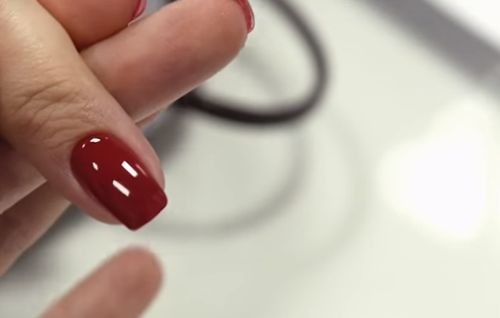
Important. To protect the new coating of extended nails with gel polish, it is recommended to wear gloves for the first two to three days while doing housework.
Coverage areas of nail plates
Modern coated manicure is the application of several layers of materials with different functions, aimed at preserving, strengthening, and decorating the nails.
There are four coating zones on the surface of the nail and in each of them there are certain rules for positioning the brush, pressure on it and stroke speed:
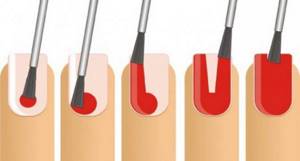
The central area under the cuticle or color line . There are three ways to apply the material to the color line so as not to touch the cuticle and get streaks:
- Thin brush. Place a small amount of material on the tip of the brush and draw a line along the cuticle.
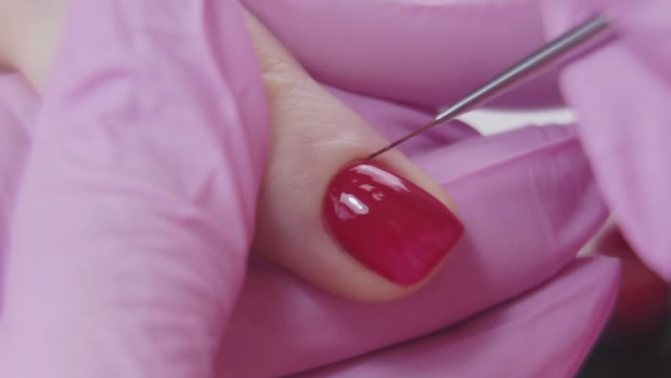
- Nudge. We place the brush almost end-to-end to the cuticle line, flatten the brush at an angle of 25 degrees and push it in 0.5 mm increments, bringing the material to the roller. The main mistake in this method of painting is to take a large amount of material on the brush and push it from afar under the cuticle with a sharp pushing movement.
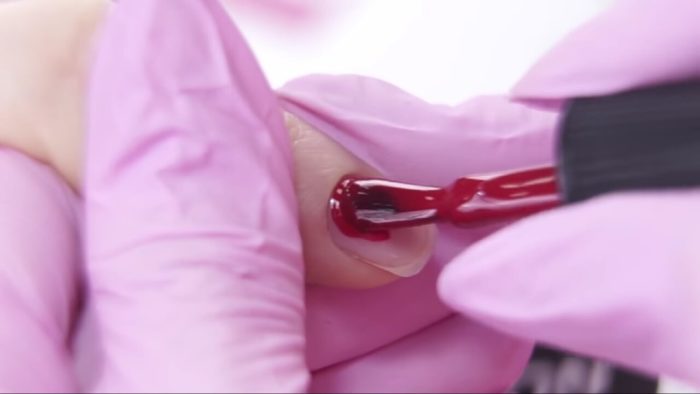
- Fan technique. We flatten the brush and place it in the sinus, move the corner of the fan of the brush along the cuticle line and go to the second sinus. Using the same pressure, draw a “fan” with the brush.
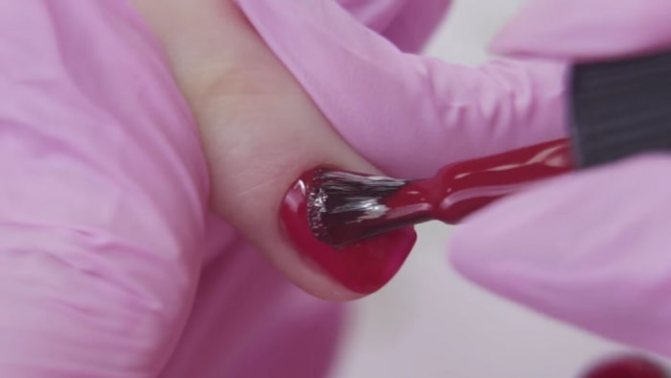
The central plane is the easiest area to paint. On the central plane, we need to hold the brush at an angle of 25 degrees while pressing the dome of the brush to flatten the brush on the surface of the nail and get a good contact area. We move along the central plane only with long movements, without interruption. When moving, the brush falls almost into the plane with the nail surface, and we pull it towards ourselves. The angle is only 3-5 degrees. You cannot lift the brush 45 degrees on the central plane and drag it towards you, as this will remove all the color behind you. Under no circumstances should you press the varnish with a brush;
Lateral planes or slopes. To draw the side lines beautifully, you need to step back from the end line of the nail, that is, we do not place the brush end-to-end to the side, but step back 1 mm. We do this so that when pressed the brush flattens out and does not touch the periungual ridge, but rather “move up” to it. We paint with the same pressure, with one movement straight down, it is not recommended to make strokes;
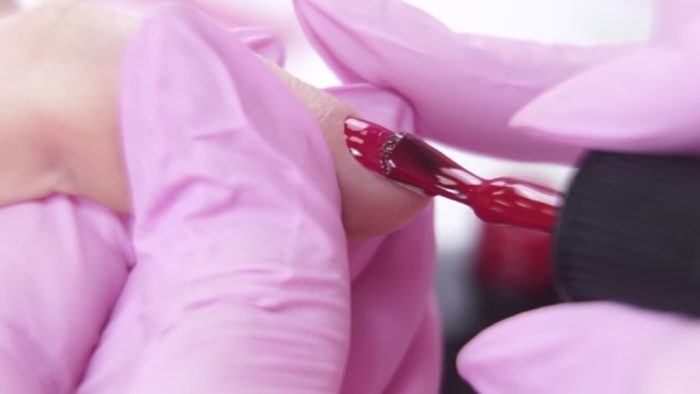
Sine turns . We place the brush diagonally at a distance of 1 mm from the turn, flatten it and paint the sinus around the circumference.
If you are not very confident with a brush, you can first carefully paint the sinuses separately, then cover the remaining areas.
When you're tired of everything
If the desire to change the design is great, then the process of removing gel polish will not scare you. It’s already been said above that you can’t remove it with acetone, or with a file, just to rip it off is even more barbaric. Is there anything else I can do to remove gel polish from extended nails?
A few recommendations on this issue:
- removal with remover. The solvents are gentle and contain vitamins and minerals. The method is fast, effective, safe;
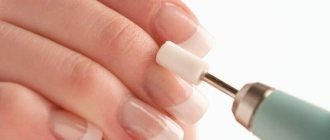
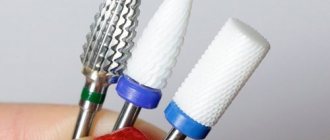
- removal using a special device (milling cutter) with different attachments (cutters). In the experienced hands of a specialist, this is a quick, effective procedure. You can learn how to use a router at home and remove gel polish easily, without discomfort, saving on salon services;
- the third method is not very useful for nails. But if there is nothing else to remove the gel polish with, you can use alcohol diluted with water (1:1) or 100% vodka as a solvent. The exposure time should be increased to 20-30 minutes.
Care and care
Some tips for caring for your nails after such procedures:
- nails made of fragile gel material cannot be used as a household tool;
- professionals recommend resting the nail plates and cuticles after removing the coating;
- You can strengthen and nourish your nails by applying a special fortified clear varnish;
- After removing gel polish, you cannot do without baths, wraps and masks, which contain vitamins, healthy acids and oils, and minerals.
Which are stronger, gel or acrylic nails?
Strength. On the one hand, acrylic is indeed stronger than gel. On the other hand, this statement is more applicable to the times when gel appeared on the market of nail extension materials. ... Acrylic nails can be worn as much as you like, acrylic allows the nails to “breathe”, they do not need to rest from extended nails.
Interesting materials:
How can you learn Japanese? How to switch to Russian on an iPhone? How to switch the language on a Nokia push-button? How to change the input language on a MacBook? How do I love you in Tatar? How to find irregular verbs in English? How to find a problem in the Unified State Examination text in Russian? How to find a problem in the Russian Unified State Examination text? How to find a conversation partner in English? How to find the language icon?
Fashion trends
And at the end - a surprise. Let's reveal the secret - what 2018 will bring to the world of beauty and nail design:
- shape of the year - almond, medium-length oval. The color of the year is beige, black, but not only. Example – painting, roses on a black oval;
- The delightful South Korean novelty stunned me - a manicure with a gold wire border is always in trend;
- “glass” manicure, reminiscent of broken glass (that’s what they call it) or the facets of a diamond;
- a fashionable matte manicure decorated with a glossy pattern, for example, a drop, a pea, a leaf, a strip, is at the peak of popularity this year;
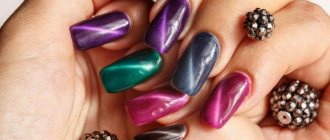
- Chameleon polish is still in trend. This is a thermovarnish that constantly changes shades - depending on the temperature of the air, the hand, and the lighting. This opens up some fantastic options for playing with color;
- artistic painting of nails is now applied to the very edges of them, and the subject of painting can be flowers, hieroglyphs, geometric patterns;
- drawing on stone is a fashionable novelty. Agate, malachite, turquoise, onyx, magical drawings - who can resist here.
As they say, we only live once. This means that you want to experience and try everything. And our nails are another artist’s canvas.
Acrylic powder for strengthening: all about the beauty product
Acrylic powder is a material of synthetic origin with high thermoplastic properties. For cosmetic purposes it is available in powder form. The product from which the powder is made - acrylic acid - has a unique property - it strengthens any material on top of which it is applied.
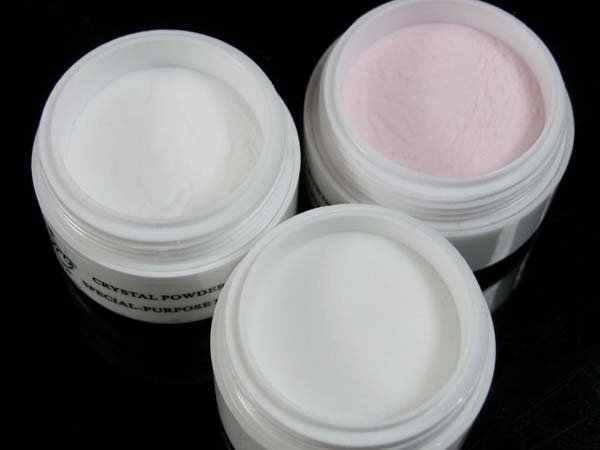
Photo from website: haiiro.info
Do not think that this is an expensive material that is difficult to obtain. It is easy to find on the shelves of nail service stores. As a rule, it is presented in several versions: colorless and colored. It has different names - “velvet sand” for nail design, and “corduroy coating”, and “powdered sugar”, and simply acrylic powder. But it's all the same material, just presented in different forms.
First of all, acrylic powder is known as a decorative material for manicure. For this, both colored and colorless options are used. A manicure with acrylic powder allows you to create an interesting three-dimensional design on your nails, for example, using the technique of “scratching” areas of acrylic powder from the so-called decorative coating. "sweater".
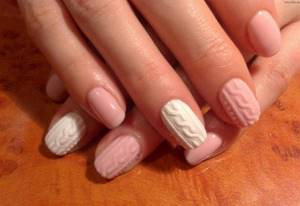
Photo from the site: manikyr.ru
Or acrylic powder is used to cover the design made with gel, and it becomes more voluminous.
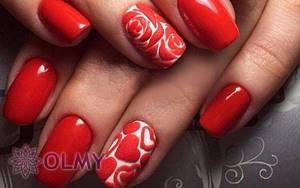
Photo from the site: olmy.com.ua
Also interesting are options with a total coating of the nail plates with acrylic powder, creating a velvet effect. In this case, finely ground acrylic powder is used.
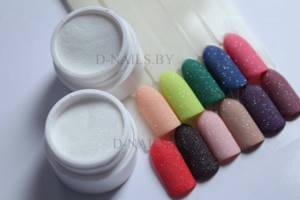
Photo from website: haiiro.info
When using larger grains of acrylic powder, the effect of “sugar” or “marmalade” on the nails is achieved.
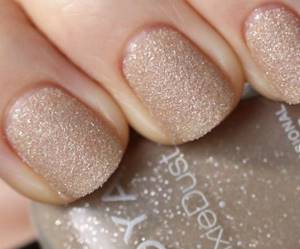
Photo from the site: mycharm.ru
In any case, if you have at least once been the owner of such a manicure, you have probably noticed how much denser and stronger your nail plates have become. And all thanks to the cementing abilities of acrylic.
However, in the case of a decorative coating, acrylic falls on the nails at the final stage and naturally, even if it gives strength to the nail plates, but does not make them dense. But using the reverse procedure, when acrylic is initially applied to the nail plate, you can achieve strong and dense nails that are resistant to chipping, breaking and peeling.
