Tips for sealing the tip of the nail with gel polish
Manicure with gel polish stays on the nails for a long time without losing the shine and beauty of the design. But in order to extend the life of Shellac, you should know some secrets of the application technique, one of which is painting the free edge of the nail.
Let's reveal the most common ways to seal the end of a nail with gel polish in order to avoid chipping, delamination and other various troubles.
Advantages of gel polishes
Gel polish is a unique product that combines the durability of a gel coating and the coloring agent of nail polishes. This manicure fits tightly to the nail plate and lasts for at least 2 weeks, and you don’t have to worry about prolonged contact with water or various chemical compounds.
Shellac combines a number of advantages:
- The pleasant sparkling gloss does not wear off or fade.
- When applied correctly, it has a long service life, without chipping or peeling of the nail.
- Affordable manicure for everyone.
- Shellac coating can be applied to any length of the nail surface.
- A manicure with gel polish does not require careful filing of the nail, just removing the gloss is enough.
- The varnish is environmentally friendly to the body and is allowed during pregnancy and lactation.
It is Shellac that helps bring the desired design into reality and can undoubtedly become the highlight of your style.
Contraindications and disadvantages of the procedure
The need for the procedure always depends on the woman’s wishes. Whether it is a preventive purpose or a cosmetic procedure for treating nails, there is only one significant contraindication - the girl’s young age, namely under 16 years old (you should not load an immature nail plate even with natural compounds).
Disadvantages of sealing include:
- the need to repeat once a month (approximately);
- inappropriateness of the procedure for long nails (optimal length is 2 mm, acceptable length is up to 4-5 mm).
In fact, there are no inconveniences or nuances of the procedure for sealing marigolds, so you can safely choose a composition, the cost of which depends on the method.
Tools for work
The use of gel polish has gained wide popularity and has gone beyond salons; now many people have begun to cover their nails with Shellac at home, since it is quite economical than a session with a professional.
To get a high-quality manicure, you just need to know the basic rules and have the necessary components:
- Manicure accessories (tweezers, pusher, nail files, orange sticks).
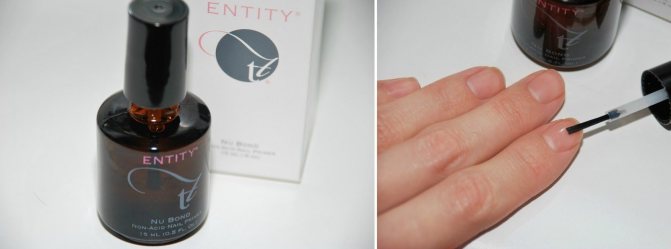
- Primer (acid-free).
- Degreaser or regular alcohol.
- Base coat.
- Finish: gel.
- Colored varnishes.
- UV or LED lamp.
- Sponges or cotton wool.
An essential point for the durability of your manicure is the purchase of professional materials, because the durability of the design depends not only on compliance with the execution technique, but also on high-quality products.
Treatment of the nail plate
Before applying gel polish, it is not necessary to file your nails with a buffer. This should only be done if the nails are peeling too much. In other situations, treat your nails with a soft file and cover with a degreaser. For sanding, it is preferable to use a lint-free cloth.
Pay close attention to the edge of the nail, since this is where the gel begins to peel off. You can no longer touch the buffed nail plates with your hands.
At the end of this stage, the nails are treated with a degreaser.
Using a Primer
To prevent brittleness and brittleness of your nails, you can apply a primer (primer) to them. The product dries instantly and guarantees the best adhesion of the next layers to the nail plate.
The primer allows you to degrease, dry and disinfect the nail plate. Both acid-free and acidic substances can be used depending on the type of plate.
Gel polish base
Upon completion of all the above activities, you must begin applying the base. This colorless, viscous substance not only makes the coating more durable, but also protects nails from weakening and yellowing. Choose a base that contains biologically active substances or caring ingredients.
The thickness of the base should be extremely small. It is necessary to dry the base in a specialized lamp. The sticky layer must be removed. The base counteracts the invasion of the colored enzyme into the nail plate. It is best to try to apply the base coat a little under the protruding edge of the nail. When the nails are cut too short and their size is not enough to seal, it means that you either need to grow your nails or simply do not expect an impeccable quality of manicure.
Sealing the end with gel varnish
This procedure includes the following steps.
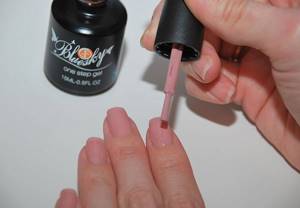
Apply a thin layer of base coat. Take a brush and dip it into regular gel
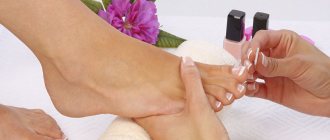
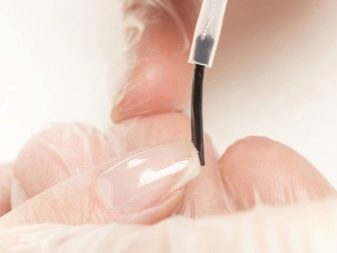
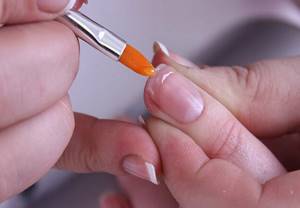
Remove excess liquid and carefully brush the edge of the nail plate, holding the brush in a perpendicular position, with the hair tuft towards the tip of the finger. This will make it possible to prevent the manicure from peeling off the nail plate. Dry the base coat in an LED or UF lamp for 2 minutes. Apply a layer of gel polish
If the liquid is thick, then one coat will suffice; if it is not thick enough, more coats will be needed. Dry each one in a lamp. Apply top coat and dry it. Use a lint-free cloth to remove the sticky layer.
Finishing gel
After applying and drying the gel polish, you should coat your nails with a finishing agent. The finish layer should be slightly higher than the thickness of the base coat. The gloss of the nails directly depends on the quality of drying of the finish. Nail treatment experts say that it is better to let it be over-dried than under-dried. When the coating is under-dried, then along with the removal of the remaining gel, the gloss will disappear.
Features of application for a lasting effect
In order for your manicure to remain stable for a long time, you should know how to properly coat your nails with gel polish.
Let's divide the preparation into several stages:
- Hand treatment.
- First, you need to pay attention to the condition of the skin of your hands, if necessary, carry out nourishing baths or soft peeling to remove dead skin particles.
- Next, we proceed to the treatment of the nail surface: we push back or remove the cuticles, give the same shape to each nail, remove the gloss, getting rid of unevenness and peeling.
Remember that after water treatments it is not recommended to immediately cover your nails with Shellac, since the nail plate is slightly deformed due to contact with hot water. Such procedures must be carried out in advance (30 - 40 minutes before the manicure) so that the gel polish adheres tightly to the nail.
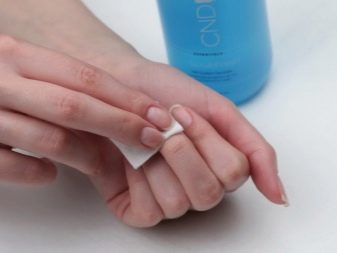
- Let's start degreasing.
We treat each nail with a special liquid in a thin and even layer, not forgetting about the end (this is also quite important). Please note that if the skin of your hands is oily, it is better to carry out the degreasing procedure several times to completely rid the nail plate of unnecessary particles.
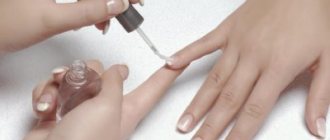
- Apply primer.
In this case, it is better to use an acid-free one, since the harmful effects on the nail are minimal, and the effect is indistinguishable from the usual one.
The primer ensures a tight bond between the nail plate and the gel polish, so the free edge also needs to be treated.
Preparatory stage
Working with marigolds begins with hygienic manipulations. They are carried out regularly both before permanent manicure and during therapeutic manicure. Consists of the following steps:
- remove the old coating with a special compound;
- wash your hands thoroughly with soap and wipe dry;
- trim the cuticle and side ridges, align the free cuts on all fingers.
The plate shape is ready; these are standard manipulations carried out before working with different materials.
Performing a manicure
The manicure technique includes the following steps:
- Applying the base.
Cover the nail with a thin and even layer, starting from the end and extending along the entire nail surface. We seal the free edge well so that all subsequent layers of varnish are firmly fixed, and then dry it in a lamp.
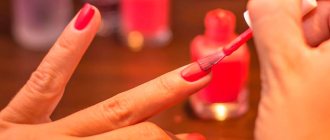
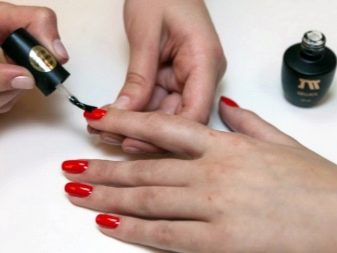
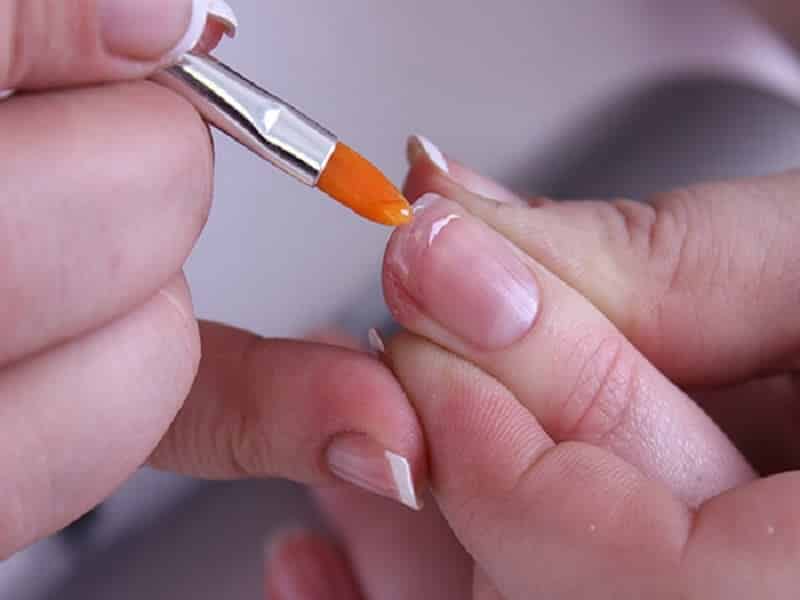
- Apply colored gel polish.
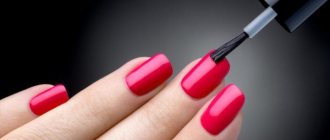
Cover the nail with an even layer, making sure to seal each end. To do this, put a little Shellac on the brush and paint it carefully, almost perpendicular to the tip of the nail.
Be extremely careful, as on short nails it is very easy to catch your finger, which will cause the gel polish to peel off as the nail grows.
- We repeat the process until the desired color density is obtained.
- Don’t forget to dry each gel layer in a lamp.
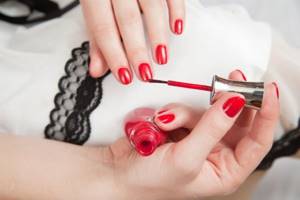
- Let's start applying the top coat.
The layer should be thick, but uniform, with the obligatory sealing of the free edge of the nail. The top coat creates a protective layer and gives it a dazzling gloss.
- Remove the sticky layer.
To do this, we use a special liquid and a lint-free cloth.
- Apply softening cuticle oil and moisturizing hand cream.
By adhering to all the rules for applying gel polish, the manicure will last long enough, thereby protecting the nail plate from mechanical damage.
Nail sealing methods step by step
The unique therapeutic coating comes in different types, and therefore the methods of their application may differ. Also, the cost of the procedure will vary.
Wax coating
The popular wax sealing has a low cost of the procedure, while the benefits from special cosmetic wax have a beneficial effect on the nail: vitamin A and other complexes with which such wax is enriched, minerals, bactericidal and softening components.
The nail plate is waxed with a paste based on natural beeswax according to the following scheme:
- form the protruding part of the nail using a regular nail file (current shapes are oval, almond, square);
- clean the periungual ridges from dead cells, refine the cuticle (pull back, trim, etc. - as convenient);
- sand the surface with a fine-grained buff or other soft file;
- Apply the wax composition to the nail and rub it in smoothly. The wax from the warmth of your hands will become more liquid and will be able to saturate the nail well. To better deliver beneficial substances to the nail plate, you can use a special suede file (polishing block);
Working with a polishing block to seal nails - additionally treat the nail plates with wax cream and rub it in thoroughly;
- In order for the wax layer to “grab” better on the nail bed, after the procedure it is better to dip the nails in cold water to “seal” all the scales of the nail heated with wax.
It is better to entrust the need for the procedure to a specialist; he will adequately assess the condition of the nails and determine the sealing method. You can repeat the wax seal once a month.
Gel
A protective layer can be created using biogel (also called biosculptor). This strengthening will make the nail thicker and allow it to grow a little (up to medium length). The gel sealing procedure takes longer, since polymerization of the coating in a UV lamp is necessary.
An effective sealing procedure is carried out as follows:
- prepare your nails (hygienic manicure is done using any convenient technique);
- sand the top of the nails with a soft buff to remove the shiny layer;
- degrease, use base and dry;
- Next, the nail is covered with biogel (you can choose the desired shade) and dried for the required amount of time in a lamp. It is worth paying special attention to the ends of the nails and sealing them well;
- after drying the layer, apply the next one and also dry;
- “fix” the effect with a top coat.
Sealing the nail with gel
After the sealing session, the cuticle is treated with a special cosmetic oil or a special fortified hand cream (you can also use a regular nourishing cream). A beautiful manicure with clear or colored gel lasts about 3 weeks, after which it can be spoiled by the appearance of the growing nail at the cuticle.
Mineral paste
The sealing procedure using mineral paste is quite simple and does not require special preparation. It can be done at home if you have basic manicure skills. Minerals penetrate deep into the nail and add vitality and healthy shine to it. It goes through the following stages:
- do your usual hygienic manicure in a convenient way;
- remove the shiny top layer from the nail;
- use a degreaser so that the mineral paste “lays” better on the surface of the nail;
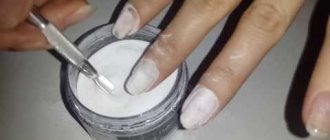
- scoop up a special mineral paste with an orange stick and put it on a “fat” dot on the nail;
- Use a special file (polishing file, block) to spread the paste over the nail, rubbing it over the entire area of the nail plate. Separately treat the ends of the nails with medicated paste.
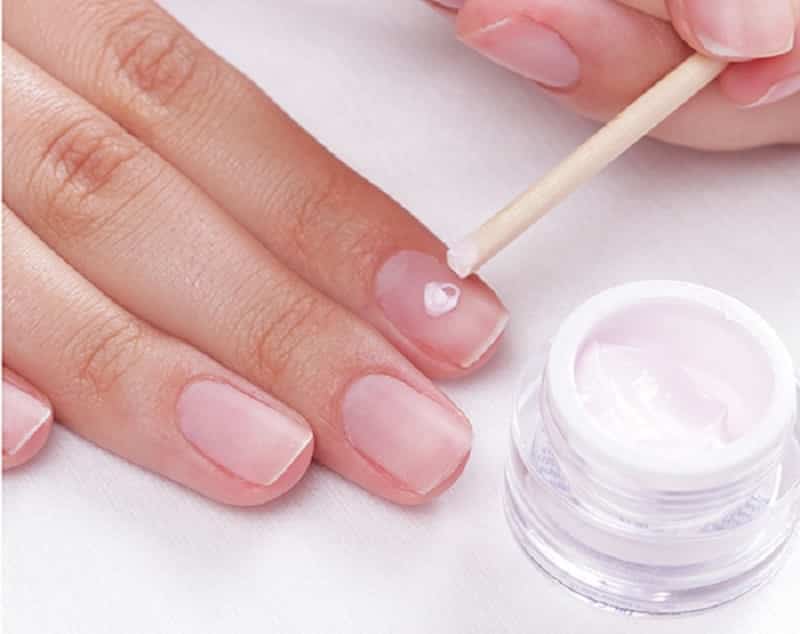
Sealing with mineral paste
After this treatment of the nail, a thin film will remain on the nail, which will contain all the added natural components of the product inside the nail. Next, you can rub in cosmetic oil or apply several layers of nourishing cream. After the procedure, you can do your usual manicure, covering your nails with varnish and decorating.
Mineral paste is also used for Japanese manicure, where nail care is more like a ceremony than an everyday procedure. Its features are to pay special attention to the nail plate and cuticle, as well as the skin around the nail and the hands in general.
Acrylic
A thin layer of acrylic can also seal your nails and make them look healthy and strong. The procedure goes like this:
- as in previous sealing options, the nail is first prepared: the cuticle, periungual ridges, etc. are processed;
- buff the top of the nail to remove the glossy film;
- degrease, apply base, dry;
- apply a thin layer of acrylic to the nail, seal the end well;
- dry and apply a thin layer of acrylic again;
- After drying, remove the sticky layer, apply any hand skin care product, rubbing it well into the periungual skin.
You should not apply too thick layers of acrylic, otherwise the nail will be too overloaded and the sealing procedure will smoothly develop into extensions. With acrylic you can make a variety of designs, giving your nails any shade. The manicure will last up to a month, after which the acrylic is removed and reapplied (correction is inappropriate here).
Keratin
Without this component, our hair, nails and skin have a very poor life. If there is little of it in the body, then you need to replenish the reserves of this protein by force. Sealing with keratin is carried out as a complex, that is, not only keratin itself is applied to the nails, but also auxiliary components: beeswax, medicinal mineral paste. After heating the wax, you need to add keratin and paste to it. After mixing all the components, the sealing procedure is carried out as follows:
- do a hygienic manicure in the usual way, remove the shiny film from the nail with a buff;
- degrease the surface and apply a little of this special mixture to the nail;
- spread the product over the entire nail plate with a soft sanding file, while rubbing it in;
- After finishing sealing, use hand cream.
Home care after the keratin sealing procedure is no different from the usual manipulations: apply a nourishing cream or oil at night and rub it into the skin of your hands.
Oils
The popular salon procedure of sealing nails with hot oils can be done even at home, the main thing is to acquire the necessary ingredients and find a little time for yourself. This procedure can be carried out according to the following scheme:
- prepare your nails for the procedure by doing a basic hygienic manicure and sanding the top layer of the nail;
- mix the oils: olives, jojoba, almonds in equal quantities and heat them (you can also use a microwave, the main thing is to heat them to the maximum permissible temperature, which will not injure the skin of your hands);
- Dip cotton swabs into the oil mixture and immediately place them on the nails of one hand, hold for about 10 minutes and remove. Repeat the procedure with the other hand, heating the oil again (since it has already cooled down).
- Thoroughly rub the remaining oil into the nails and the skin around them.
Oil sealing of nails
After such sealing, it is not recommended to do a manicure with any coating of the nails for some time, so as not to have to use a degreasing agent. Otherwise, the procedure will not make any sense.
Reasons that can affect the strength of Shellac
Have you carefully sealed the free edge of your nail, but your manicure quickly loses its neat appearance?
In this case, you should pay attention to the following nuances:
- Taking some medications can negatively affect the attachment of gel polish to the nail, so carefully re-read the instructions, side effects and contraindications.
- Increased levels of acetone in the body.
- Thin and flaky nails.
- Before you start applying gel polish, it is better to “treat” the weakened nail surface.
- Very short nail.
If the length of the nail does not allow you to seal the free edge, you can forget about a durable manicure with gel polish. To make it possible to wear a manicure for a long time, they need to be grown out a little.
If you had extensions done, then the nail plate is definitely weakened and requires special care.
In this case, you should not rush with a manicure; the effect will obviously not please you. To begin with, it is advisable to strengthen your nails with iodine-salt baths and let them “breathe”, and after complete recovery, feel free to begin applying Shellac.
Many people are sure that Shellac strengthens the nail plate, but this is a big misconception. Due to the dense gel polish, the nails seem to become stronger, but after removing the Shellac, the nail plate needs some time to recover.
Sealing
This process is one of the main ones; the durability of the entire manicure depends on fixing the edge, so it’s worth considering it separately. In practice it looks like this:
- use a primer to treat both the visible outer part and the inner part (if the length allows);
- Using a thin brush, apply either the base or the gel itself exclusively to the end, and dry it in a lamp;
- the thickest layer of the finishing coating after the colored gel coating is also distributed separately; it is important to maintain the time specified by the manufacturer.
What happens if you ignore the end sealing process?
Covering the free edge of the nail is a really important procedure when applying gel polish, but let's look at what will happen to the design if you miss this point.
- Delamination.
With prolonged contact with water, the nail softens, and if the end is open, then your manicure will accordingly lose its appearance. In addition, unsightly peeling will lead to premature correction.
- Shellac chips.
Many amateurs face this problem. If you do not seal the end, you will soon experience chips and cracks in the gel polish.
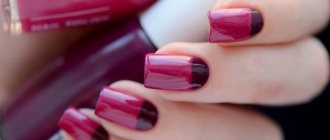
- External defects of nails with a bright design.
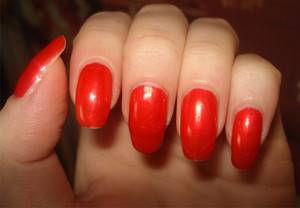
If your manicure requires dark shades of varnish, then even the naked eye will see the unsealed ends. Such an untidy design can ruin the whole picture.
Don't forget that the strength of the manicure depends entirely on your attentiveness, and if you ignore the importance of sealing the end, you can run into a lot of troubles.
Proper care
After the nails have acquired a wonderful shape and beautiful appearance, you need to take care of them so that delamination does not occur. To do this, you should follow several rules.
- It is necessary to limit the use of hot water during the first days after a manicure. You should also not visit the solarium or the beach.
- You can't file your nails. If any unpredictable moments arise, you need to completely remove the varnish and carry out all the procedures again.
- It is recommended to use gloves when working with detergents, soil, and fertilizers. This will help avoid contamination of your nails and also protect the delicate skin of your hands.
- You need to choose a time when you should walk around without gel coating. It will be good to do oil rubbing and paraffin baths. Thanks to this, the nails will become strong, and then there will be nothing to remind you of delamination and their fragility.
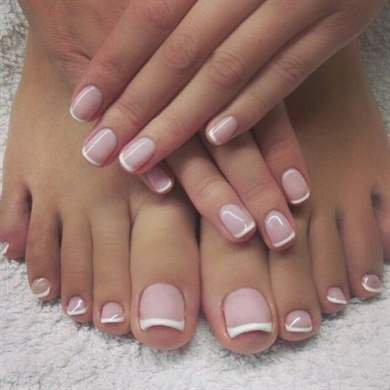
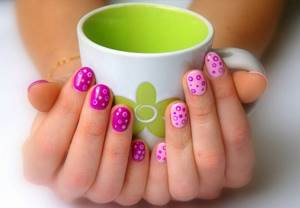
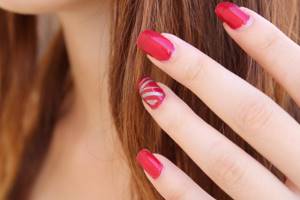
On the Internet you can see many photos of how to properly do a manicure and ready-made pictures of nail designs. Beautiful, unusual and interesting ones are presented in this article.
Nowadays it is difficult to find a fashionista without the perfect manicure. And in order for it to be beautiful and delight the owner with a long-lasting result, it is necessary to follow all the main stages of gel coating. The main one is drying. If this process is carried out correctly, it means that all layers will be well fixed, and you will have an amazing and high-quality manicure.

Video on the topic of the article:
Photo of nail polish coating
Even more photos at the link: Gel polish photo.
Secrets of using shellac at home
Always store polishes at room temperature in a dark place. Check that the cap is screwed on tightly. This way your materials will remain suitable for application longer.
Pay attention to choosing the right products. Cheap analogues can cause allergies and are unlikely to please you with high quality and durability. Do not buy bottles, even at a discount, if they expire. You won't have time to use everything and won't save money in the end.
It is unlikely that you will be able to learn how to properly paint your nails with shellac the first time, so be patient.
To avoid defects, try:
- do not soak your nails before manicure;
- carefully carry out grinding and degreasing;
- always apply the coating in a thin layer;
- treat the free edge with base and top;
- Do not wash your hands for several hours after painting;
- At first, do all work related to moisture with gloves.
Don’t be discouraged if your first experience is unsuccessful, try practicing on tips. Gradually, the quality of the manicure will improve, and you can move on to your own nails without fear.
Expert advice
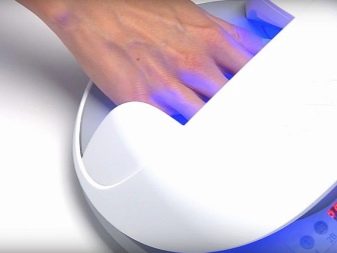
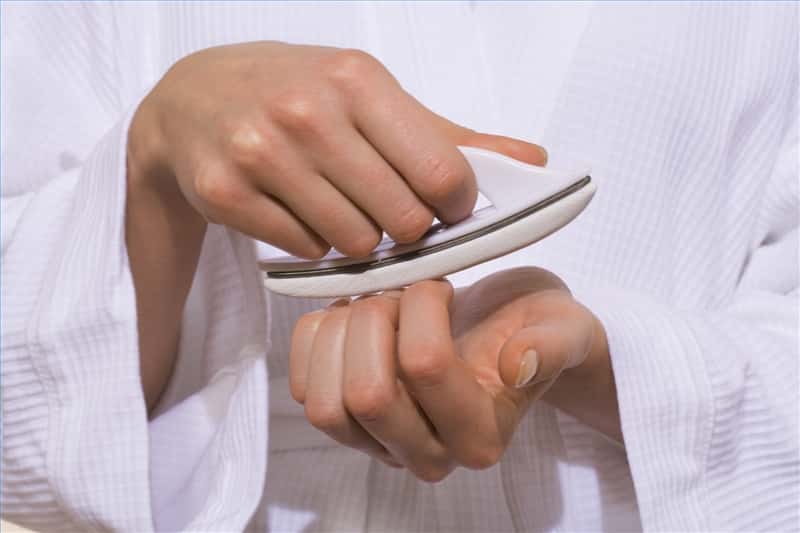
Incorrect hand position in the lamp while drying gel polish leads to it unevenly polymerizing, becoming fragile in certain areas. Therefore, you should check how your hand lies in the lamp. If your fingers are not strictly horizontal in it, but look down at least a little, the ends will not dry out properly.
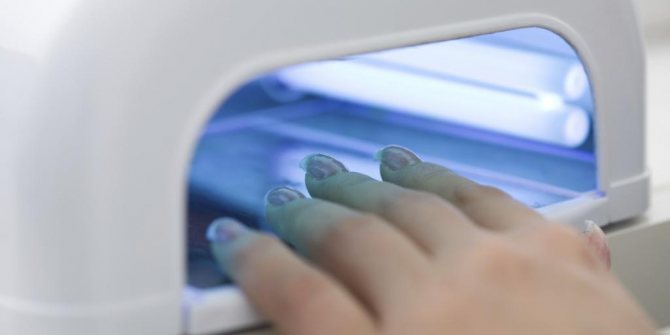
A photo of how to seal the end of a nail with gel polish and dry it correctly in a lamp shows the correct position of the fingers.
It is very difficult for non-professionals to apply gel polish to the end of the nail in a thin layer. To prevent thickening of the material at the tips, the brush is wrung out well and barely touches the nail when sealing.
There are complex tones that require a special application technique. These are pastel colors that often appear in stripes. Trying to correct such a flaw, amateurs apply layer after layer to cover the defect. This results in too much volume at the tips of the nails. You should learn the technique of applying pastel and nude coatings, then you won’t have to make mistakes.