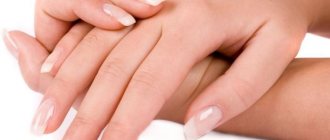
The health of your nails directly depends on the general condition of our body. Constant stress, lack of vitamins, and disturbances in the functioning of internal organs lead to thinning, splitting and fragility of the nail plate. However, often we ourselves, with our careless attitude, bring the main decoration and protection of our hands into a deplorable state. For example, we use household chemicals without gloves, regularly resort to nail extensions, and use varnish of questionable quality for manicures. Strengthening your nails with special cosmetics will help correct the situation. After their use, the plates become stronger and more elastic, and look more attractive. Some procedures require visiting beauty salons with professional equipment, but many are quite accessible at home.
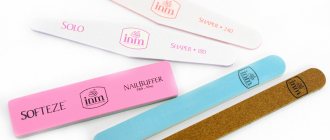
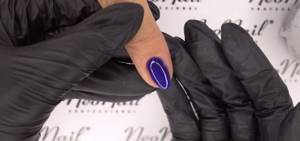
Strengthening nails with gel
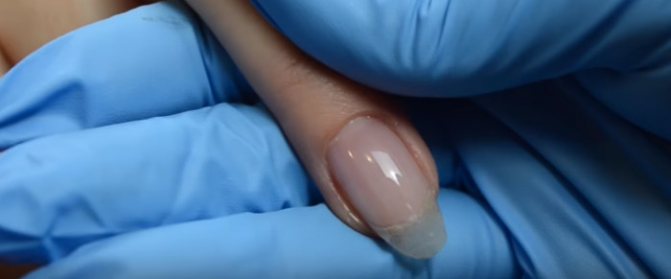
One of the simplest and most common methods. The same material is used as for gel extensions, but the structure of the nail plate is not damaged, but an additional protective layer is created from negative external influences.

Advantages of the method:
- Nails do not flake or break; it becomes possible to increase their natural length.
- The gel coating “breathes”, therefore, pathogenic microflora does not develop under it.
- Any wellness treatments for natural nails do not lose their effectiveness, including massage and baths with essential oils, paraffin therapy, masks, and so on.
- The cuticle is also processed at the same time, so trimming manicures need to be done much less frequently.
- When strengthening nails with gel, decorative varnish lasts longer and looks brighter.
The main disadvantage of this nail strengthening procedure is that removing the coating at home is problematic.
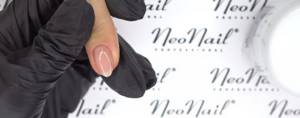
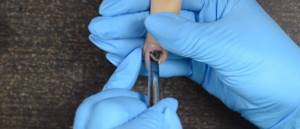
If done ineptly, the nail plate can be injured. In addition, it is undesirable to resort to the gel constantly; your hands should be “rested” periodically. STEP-BY-STEP INSTRUCTIONS: HOW TO CARRY OUT THE PROCEDURE OF STRENGTHENING NAILS WITH GEL UNDER GEL POLISH USING NEONAIL PRODUCTS
The author of the master class is NeoNail Professional instructor.
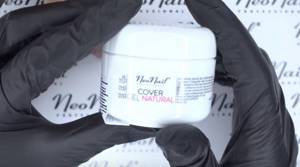
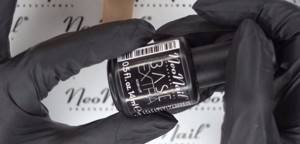
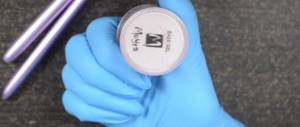
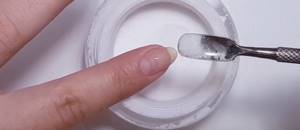
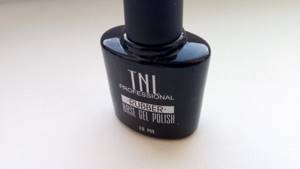
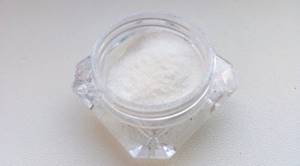
The procedure for strengthening nails is carried out using camouflage biogel.
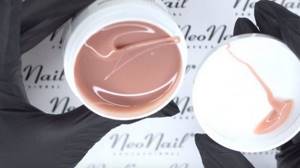
The gel has a thick consistency and a pleasant beige tint.
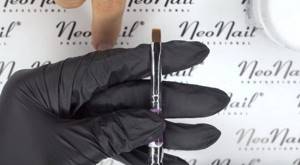
You will also need a synthetic and silicone brush in the shape of a cone.
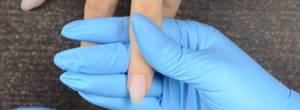
Before applying the gel, you need to prepare the nail plate and remove the gloss.
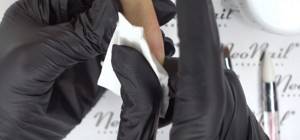
The NeoNail technologist recommended using Cleanser liquid as a degreaser.
Next, you need to use an acid-free primer. After application, you need to let it air dry for 30-60 seconds.
The next stage involves using the base.
It is better to apply it in a very thin layer.

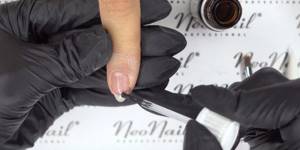
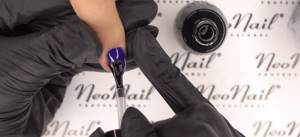
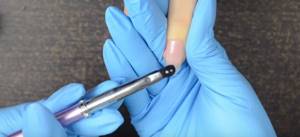
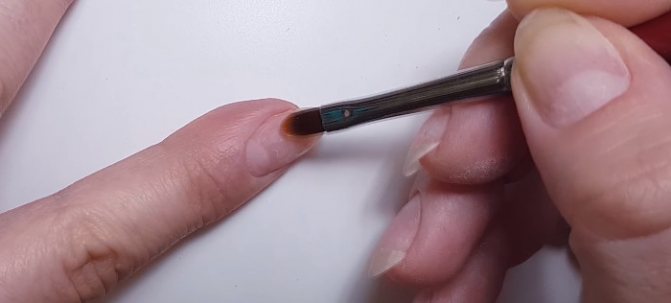
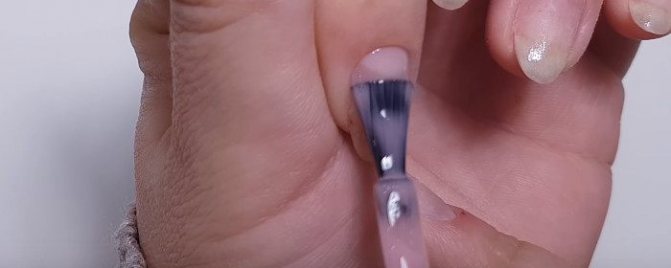
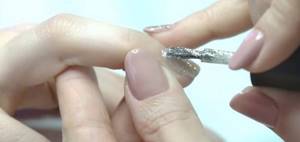
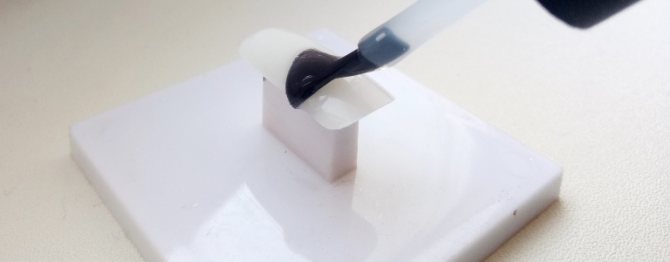
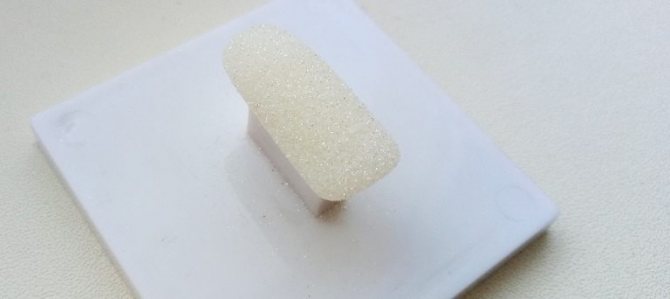
Next, the gel is applied using the following technology: first, a thin layer is applied.
Then a drop is placed in the center of the nail (it is better to use a conical brush for this, lightly distribute the gel over the nail plate with the tip).
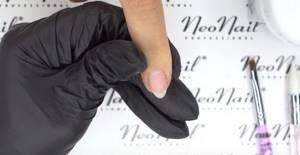
The gel dries in approximately 40-60 seconds. in an LED lamp and 2-3 minutes in a UV lamp. Drying time directly depends on the length of the nails.
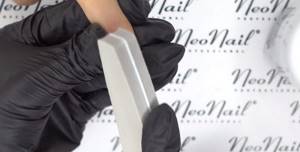
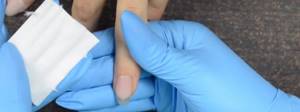
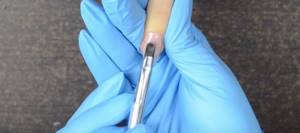
After drying, you need to remove the stickiness and sand it lightly with a buff.
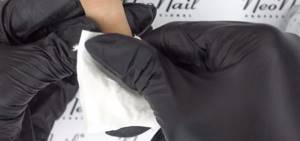
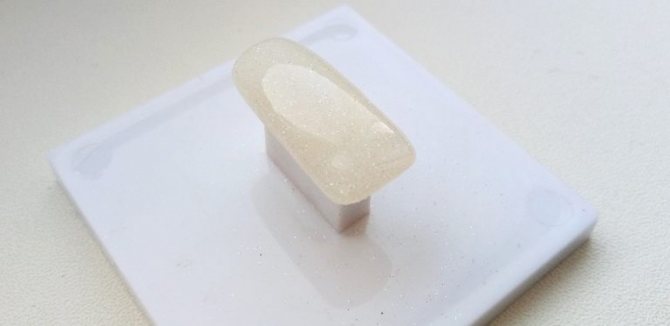
Use a cloth to remove dust and degrease.
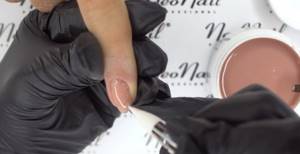
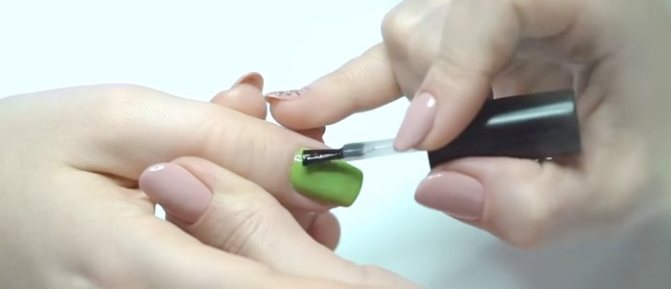
Next, you can paint a French pattern, an ornament on the nail, or simply cover it with gel polish. In this case, the base is no longer needed. Gel polish is applied immediately. It is better to apply the colored coating in two layers. The final step is to apply the top.
Strengthening with biogel
This method not only makes your nails stronger, but also restores them. The biogel contains vitamin and mineral supplements and protein. Biogel is a material about which we can say that it is slightly softer and more elastic than “construction” gel and harder than classic gel polish. It creates good adhesion while strengthening the nails. It does not cause allergies and does not disrupt the structure of the nail plate. And one of the components of the biogel, calcium, reduces its fragility, preventing thinning and cracking. Biogel is indicated for use on thin, weak, soft nails that are prone to splitting; it can be used to level the nail plate.
Advantages of the material:
- It allows air to pass through well and does not cause the development of fungus.
- It has a healing effect and is quite capable of replacing conventional procedures, such as masks and baths.
- When using colored varieties, it does not require additional coating with decorative varnish.
- It can be applied for a long time and with almost no breaks, since the nails do not suffer and remain elastic.
- Suitable for extensions (only a special type with increased rigidity).
- The application procedure is also available at home. It does not require professional skills, just watch a master class on strengthening nails with step-by-step photos. It is also easy to cover and remove.
Minuses:
Biogel is sensitive to household chemicals and can be destroyed under its influence. It also doesn't protect your hands enough in a hostile environment.
Tip: in the summer it is recommended to use a type of biogel that is resistant to UV rays.
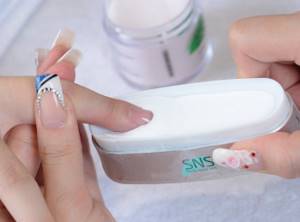
MASTER CLASS: HOW TO STRENGTHEN YOUR NAILS WITH BIO-GEL?
Nails are prepared using standard technology.
Before work, sawdust is carried out, a dehydrator is worn, with the help of which excess moisture is removed.
Next, a base coat is applied to the nail.
In this case, the layer must be very thin. It is better to distribute the material over the nail using zigzag pressing movements. Dry in a lamp for 1 - 3 minutes, depending on the type of lamp.
The next step is to apply a layer of biogel. A small drop is collected.
Next, it is placed in the center and distributed with careful, light movements along the nail (without pressure). There is no need to go close to the cuticle.
If there is a need for additional leveling of the surface of the nail, then simply turn your finger over and hold it in this position for 2-5 seconds.
At the end of the procedure, we check the glare.
You can find this master class on the Kasya Nail Club channel.
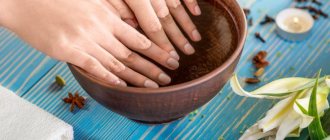
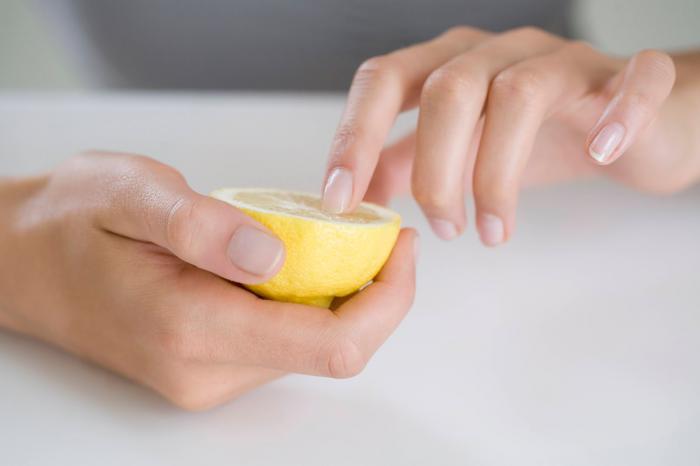
Potato decoction
One of the popular methods of healing nail plates involves the use of potatoes. The simplest version of the mask is to hold the marigolds in the pulp of a raw root vegetable for 2-3 minutes.
To carry out strengthening procedures, it is recommended to use potato broth. It is prepared from peeled vegetables, cut into arbitrary slices. Water is poured into the container with the main ingredient to a level that covers the root crop by a couple of centimeters. Then it is boiled for 10 minutes. After adding a small bunch of parsley, let it boil for another 10-15 minutes. The filtered liquid is used for baths.
Potato broth contains microelements necessary for the nail plates. The composition is additionally enriched with valuable substances contained in parsley. To achieve a therapeutic effect, it is recommended to carry out procedures 2-3 times a week for at least 1-1.5 months.
For each session you need to prepare a fresh portion of potato broth.
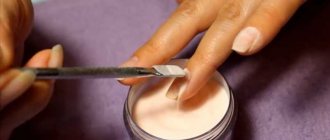
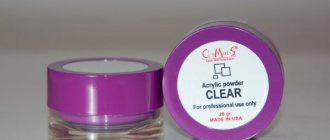
Strengthening nails with acrylic powder
Another material that was originally used to build up the nail plate, and now helps to increase its strength.
Acrylic is effective, safe for health and durable. It is almost invisible on the nails, giving them a healthy look. The nail plates do not lose flexibility, so their owners feel natural and comfortable. When reinforced with acrylic, you can freely do your usual activities: cleaning the house, gardening, active games with children, without fear of damaging the coating.
But... the powder is absolutely not suitable for people suffering from nail fungus. The material completely blocks the access of oxygen to the plate, causing the infection to progress.
It is not recommended to apply acrylic powder yourself; this should be done by an experienced craftsman, since the material hardens quickly in air. In addition, it has a specific smell (this does not apply to expensive varieties) and you have to wear a medical mask during the procedure or forcefully ventilate the room.
It is difficult to remove the coating with chemicals, so when removing it at home, cutting is used. The procedure must be done very carefully so as not to damage the nail.
But correction of overgrown or damaged areas of the plate is much faster and easier than using gel.
Important: acrylic nail strengthening, contrary to popular belief, does not have a therapeutic effect. After removing the coating, the fragility of the plates may appear again, so restorative procedures should be used, for example, iodine-salt baths.
STEP-BY-STEP LESSON ON USING ACRYLIC POWDER TO STRENGTHEN YOUR NAILS
Before the procedure, you need to perform a manicure: remove the cuticle, file the nail, degrease it and apply primer.

Next, apply the base coat (without drying).
A thin layer of acrylic is sprinkled onto the base. Before drying the powder, you can lightly shake it off or blow it off.
The final step is to apply a base with a camouflage effect.
Camouflage can be applied in one or two layers. It all depends on whether you will continue to design with gel polish or not.
The author of the master class is Julia Crazy Nails.
Strengthening with acrylic powder for gel polish
Decorative coatings of the new generation last much longer than traditional analogues. However, if the natural nail plate is thinned, has cracks and other damage, even durable gel polish can lose its structure, as a result of which the manicure will have to be renewed much more often than the manufacturer guaranteed.
In such cases, it is also better to use powder for nail strengthening procedures. After the powder is applied to the base, it is covered with one or several layers of decorative varnish and nail art is made to your liking.
The manicure will last at least 2 weeks.
STEP-BY-STEP INSTRUCTIONS FOR GEL POLISH
After you have strengthened your nails with acrylic powder and a layer of base, it is recommended to apply a buffer. You also need to remove dust and degrease.
The next step is to apply gel polish.
Finally, the design is covered with a top.
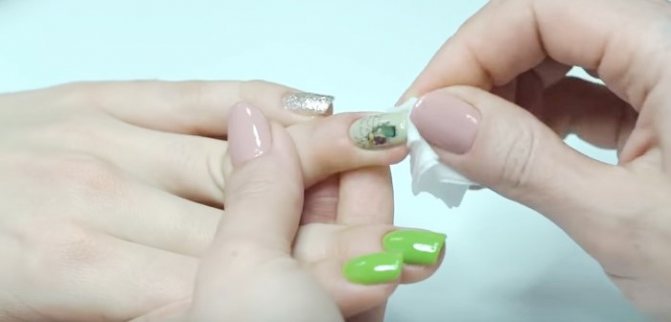
Removes stickiness.
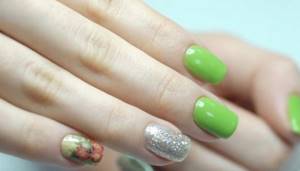
The nail design is ready.
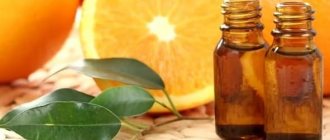
Massage around the nail plate with oils
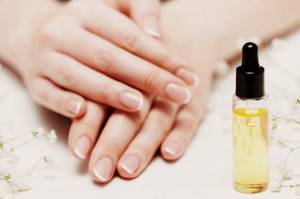
You can add strength to the nail plate with the help of oils. Rub the product with massaging movements into the nails themselves and the border area of the skin. Apply a drop of it to each finger. Manipulate with your free hand for 5-7 minutes. Let the oil sit for another 10 minutes, then blot your hands with a napkin to remove any residue.
For massage it is recommended to use the following oils:
- sesame;
- ground almonds;
- tea tree;
- olives;
- daisies.
Each of the listed products contains a large amount of vitamins and minerals. Active compounds stimulate the regenerative function of cells and biochemical processes.
Manicure 2 in 1: beauty and strengthening
Nowadays, shiny manicure is in fashion. To make it, craftsmen resort to using a variety of materials: rubbing, sparkling powder, small crystals, gel polishes with glitter, etc. There is one way that kills two birds with one stone. This is a manicure that looks nice and significantly strengthens the client’s nails. It is ideal for girls with very thin and flexible nails, for whom the problem of cracking of the gel polish at the tips, chipping of the coating or its complete peeling off is a pressing problem. There shouldn't be such problems with this design.
There are several recommendations and fundamental points:
- It is better to use a rubber base and top when working. With them, the coating is more flexible and at the same time dense (it is not prone to cracking);
- Use finely dispersed glitter;
- It is better to sprinkle glitter on the base and not use gel polish. This way the manicure will look more delicate and will not turn out bulky due to the large number of layers;
- When creating an everyday manicure, it is better to give preference to white or beige sparkles.
STEP-BY-STEP INSTRUCTIONS FOR CREATING A UNIVERSAL MANICURE
Nails are prepared in the classic way. The base is applied as the first layer. It's better to take rubber.
The base should be applied with a layer of medium thickness so that the glitter is absorbed, but not too thick a layer.
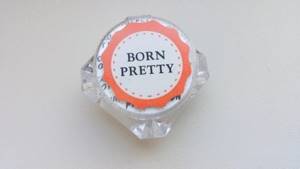
Next, we take finely dispersed glitter; for a home manicure, you can use Born Pretty brand material.
In the photo they look like acrylic sand, but in fact they shimmer beautifully in the light.
Sprinkle them generously onto the wet base and dry them in a lamp a little more than usual. Before drying, you need to blow off the glitter a little so that there is not too thick a layer and the coating dries.
Next, you need to fix the glitter with two thin layers of topcoat, but before that, brush off the excess with a manicure brush.
The coating is ready.
What other means are there to strengthen nails?
- If you don’t want to create a long-lasting, multi-day manicure, you can use acrylic varnish with nylon thread - it will increase the strength of the plate and eliminate minor irregularities and roughness. The product also contains natural resins and other beneficial substances, including vitamins for nails, which promote rapid growth and recovery.
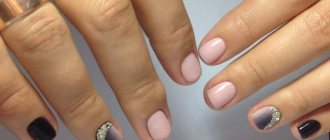
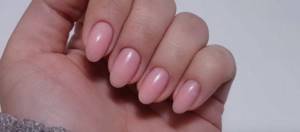
- Some try to strengthen it with gel polish. Indeed, this polymer is highly durable and combines with the natural nail almost into one whole. However, the product only “preserves” the plate, preventing it from breaking off, but does not eliminate the cause of fragility. The same applies to strengthening with a gel polish base.
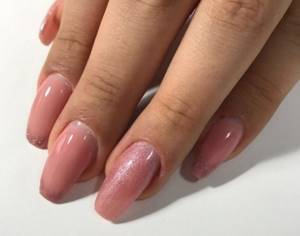
Beautiful nails strengthened with gel polish.
Important: In order for the polymer composition to last for a long time, it is necessary to properly prepare the nail plate: degrease and disinfect with a primer or other means. And then treat all layers of coating with a high-quality UV lamp.
- Regular gel polish can be replaced with shellac - this is also a new generation polymer, but more environmentally friendly. It does not contain formaldehyde and toluene, which makes the product safe for allergy sufferers and pregnant women. The downside of shellac is its instability to prolonged exposure to water and temperature changes. Microcracks form on the coating, through which fungal infections can penetrate.
Aloe juice cream
To make homemade cream, products with a dense consistency are taken as a basis - wax, lard, melted butter. Other useful components are added to the main ingredient.
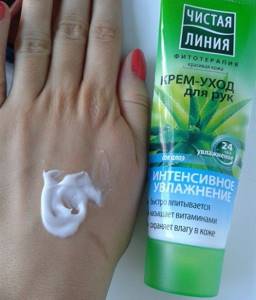
The indisputable advantage of a home remedy is that additives can be included in the recipe according to individual preferences and capabilities, this could be honey, essential oil, liquid vitamins.
Recipe for cream with aloe juice
For course use, just mix 1 tbsp. melted wax, 0.5 tbsp. lanolin and 0.5 tbsp. freshly squeezed aloe juice. All products are thoroughly mixed.
This hand and nail cream is used daily.
The product should be stored in the refrigerator, but no more than 10-12 days.
The composition perfectly moisturizes the nail plates and activates their growth.
Strengthening nails at home
No matter what innovative products the beauty industry offers, you should not give up traditional methods of treatment, especially since they will cost much less and do not threaten side effects.
Affordable products for strengthening and growing nails
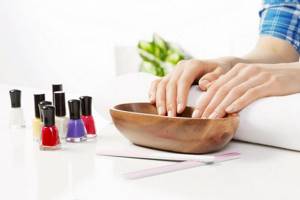
Home baths are considered the simplest and most effective. Depending on the components, they can have different effects:
| Bath composition | Effect on nails |
| Eliminate fragility, increase elasticity, help resist mechanical stress. |
| Protects from drying out and delamination. |
| Provide strengthening of nails and acceleration of their growth |
Laundry soap
To strengthen your nails, you can use a proven method involving the use of dark-colored laundry soap (72%). The cosmetic and therapeutic effect is achieved thanks to the following properties:
- destruction of pathogenic microflora (antibacterial effect);
- elimination of skin irritation;
- activation of regenerative function.
The procedure is performed in this order:
- Hands are steamed in a bath (no more than 1-2 minutes);
- Rub your fingers with laundry soap, forming a thick foam around the plates.
- Massage each finger for 5 minutes.
- Keep the foam on your hands for another 15 minutes.
- Rinse your hands with warm water.
- Dry with a towel.
- Apply moisturizer.
Before using laundry soap in manicure procedures, you need to check whether you are allergic to it.