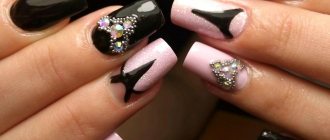
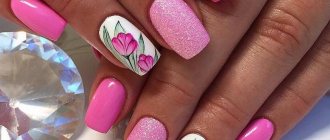
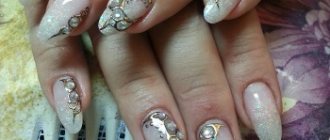
Slider design is a simplified and quick form of manicure decor. You don’t need to be able to draw, spend time drawing neat lines, or use complex tools and materials.
Slider design is a simplified and quick form of manicure decor. You don’t need to be able to draw, spend time drawing neat lines, or use complex tools and materials. Small stickers, with ready-made thematic pictures, patterns on one side and an adhesive layer on the other, are easily transferred and attached to the nail plates. Sliders can be used to decorate natural, gel, and acrylic nails, or to stick them on gel and regular polishes. With gel polishes, manicure lasts up to 3 weeks without fading or peeling off.
Types and benefits
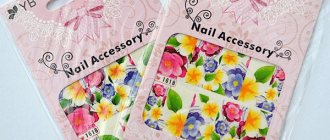
Sliders are a thin film with an image applied to it for nail design. Allows you to create a bright nail design even without artistic skills and with minimal time investment.
Types of stickers:
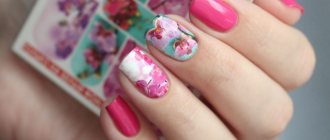
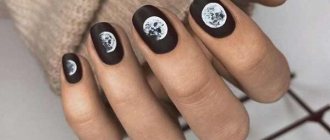
- with a dense pattern covering the entire nail or photo design. They are a dense pattern covering the entire surface of the nail plate. It is recommended to use a white background for the background of such pictures;
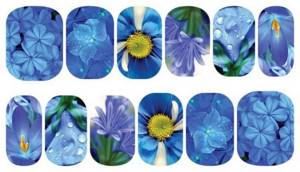
- with a transparent pattern on the entire nail. Although the pattern covers the entire nail plate, it still requires a background color, as it is translucent;
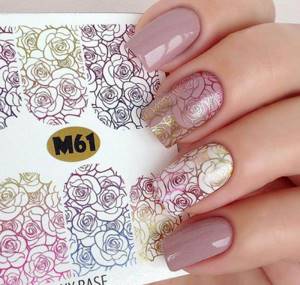
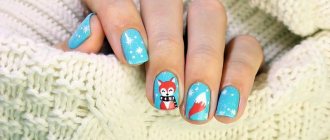
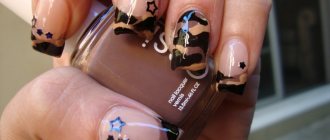
- with single fragments. Slider with individual pictures - text, flower, heart on a transparent background.
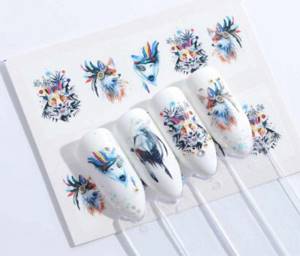
In addition to the varieties according to the type of pattern, there are 2 more types:
- flat – lie tightly on the nail, without forming relief or bulges;
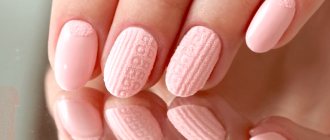
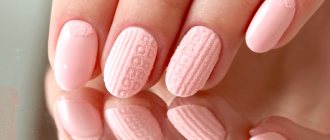
- 3D – three-dimensional drawings with pronounced relief.
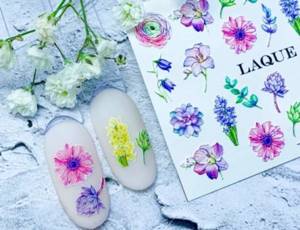
All varieties are placed on a cardboard backing, and they can only be separated by wetting the desired fragment with warm water. Below we will look at step-by-step instructions on how to create a manicure with a slider design.
Advantages:
- ease of use . Even a beginner can use ready-made drawings - the main thing is to carefully separate the image from the base and transfer it to the nail;
- speed . Transferring the finished drawing is much faster than drawing it with a brush;
- big choice . The range of sliders is so wide that it forever solves the problem of inventing a design. All that remains is to choose an image from hundreds of submitted ones.
Flaws:
- due to the characteristics of the material, the film with the image often forms folds on the nails , since it cannot repeat the convex shape of the nail plate;
- the thin film breaks . The slightest carelessness or sudden movement and the film breaks. For this reason, it is important to choose a trusted manufacturer who cares about quality. To avoid making a mistake with your choice, see the selection at the end of the article.
Overview of stamping technology
Difference from classic stickers
- Lack of adhesive base . The stickers have an adhesive backing that allows you to place the image on the nail without first soaking it;
- Adherence to the nail . The stickers have a dense base, which can wrinkle and create folds when transferred. For sliders, the film is very thin and rarely leaves folds that spoil the design.
A subjective, but still significant difference is the assortment. Classic adhesive stickers are becoming less and less common on sale, and the range of sliders is constantly growing.
How to use it correctly
Don't try to separate the image from the cardboard backing with tweezers, scissors or your fingers - the manufacturers have thought out the system in advance.
To create a design with sliders you will need:
- base and top;
- gel polish for the background. If the pattern is solid, then it is better to choose white gel polish;
- sliders. They are offered by the brands Irisk, Freedecor, Vogue Nails;
- orange stick;
- scissors;
- nail polish remover;
- cotton pads;
- a small bowl or other container with warm water. Do not use too hot water - the patterned film may shrink.
Prepare your nails for coating in any way - using a machine, cutting or any other technique.
Preparation
Choose sliders by size.
- if we are talking about single designs on a transparent base, make sure that the image fits completely on the selected nail;
- If the slider has a solid pattern or image, alternately place your finger on the image. The width of the picture should be 1-2 mm wider than the nail plate.
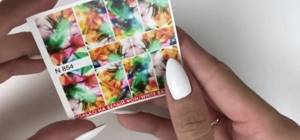
Cut out the pictures with scissors and arrange them in the order in which you will transfer them to the nail.
Design creation
- Cover your nails with base and gel polish, drying each product separately. It is better to choose gel polishes in colors that contrast with the pattern so that the image stands out;
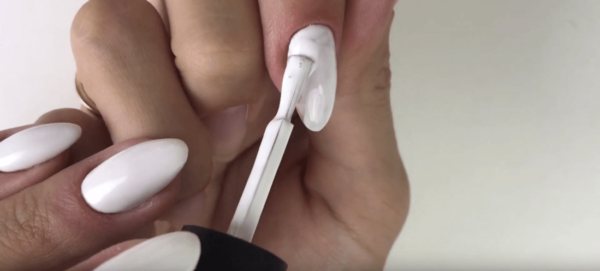
- Separate the picture from the background. You can dip the selected fragment in water or place it on a wet cotton pad. The option with a cotton pad is more convenient - the pattern is separated just as effectively, but does not force you to immerse your hands, already covered with color, in water;
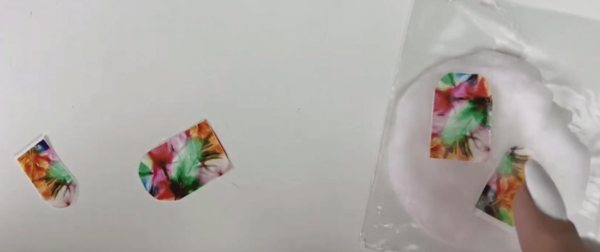
- Transfer the drawing. After contact with water, the film part is easily separated from the paper part - do not pry it with tweezers or try to hook it with your fingers - bring the slider to your nail and slide the film;
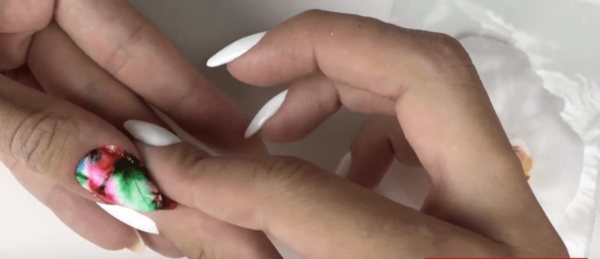
- Gently straighten the film and make sure that it completely covers the entire nail plate . Using smoothing movements, squeeze out water and air bubbles from under the slider. Make sure there are no folds - they will stand out strongly against a light background;
- Remove excess. Fold the film hanging from the side of the free edge along the end and, with a careful but sharp movement, pass it along the crease with a file or cut it with scissors. Fold the remaining bumps on the edge under the nail to seal the end. Press the edges of the side rollers with an orange stick so that the top does not flow under them;
Completion
- Wait until the film dries a little . While it is wet, it easily moves along the nail and can slide off when covered with top;
- Secure the design with a finishing coat, paying special attention to the side bolster area and the end . If these areas are not treated, the film will quickly come away from the nail and ruin the design.
How to do a manicure with watercolor painting
Creating a substrate
The slider does not attach to a clean nail, so you must always apply gel polish to the nail first. Most often, you first need to apply a base layer, dry it in a lamp, and then apply the same substrate.
The main color most often used is white (since it will not shade the slider pattern) or camouflage (a color similar to the shade of the nail plate - flesh). The substrate must be applied in one layer and dried in a lamp.
After this, the base is applied again, onto which the slider will be attached. Please note that there is no need to dry it!
Work on mistakes

- The slider was too small.
Gently stretch the image, which has not yet dried and is not fixed, from the center to the side rollers. The soft whip will “corrode” a little and cover the defects. Of course, this technique will help if you are 1-2 mm short. If the error is larger, it is better to transfer the image again.
- The image has gone beyond the nail.
To remove the protruding part of the sticker, soak a flat brush in nail polish remover and carefully remove it as described in the instructions above. Do this before you apply the topcoat so that the edges of the picture are eventually sealed;
- The film with the picture does not come off the substrate.
The first thing you need to do is make sure that you have a slider design in front of you. Look at the set in the light - the sliders do not have any embossing near the pictures - the images are printed with a continuous film. Perhaps, instead of a slider, you have a set of ordinary stickers - you just need to separate them from the backing and stick them on the nail.
To make the slider come off, place it with the paper side on a wet cotton pad. After the paper softens a little, the slider can be easily removed.
Why sliders can peel or peel quickly
How to use a slider design for nails so that it does not peel off or peel off quickly? There are two main reasons that lead to such unpleasant phenomena: violation of technology or poor quality material. To avoid peeling, when applying the sticker, carefully walk over its surface with a cotton swab, leveling and removing any irregularities. It is better to glue the decal onto the dried second layer of varnish.
Sliders peel off or peel off quickly in cases where they are not covered with topcoat or clear varnish. The durability of the decal is affected by the base film, elasticity, thickness of the sticker and how well the base is dried. Fulfilling the last condition helps to securely fix the slider and eliminate the option when the picture starts to “crawl”.
- Signs of tuberculosis in adults
- Solyanka soup: recipes with photos
- Ankle dislocation: treatment
Review of the best manufacturers
BPW.Style

The BPW.Style brand offers more than 300 slider design options. At a low price - about 100 rubles. for one set, the manufacturer produces designs on an elastic film that wears well and rarely breaks.
Types of BPW.Style:
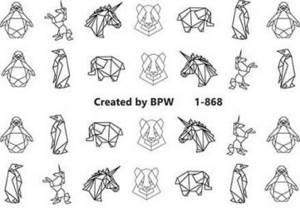
- with single images – flowers, hearts, animals, for fragmented nail design;
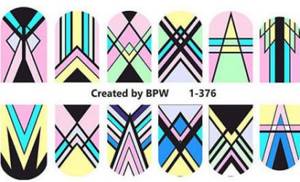
- solid with a transparent base;
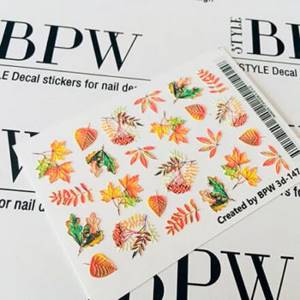
- 3D.
When choosing bulk sliders from the manufacturer, keep in mind that they bend poorly, which makes it difficult to install them on your nails.
Freedecor
Freedecor has an even larger selection than BPW - more than 500 sets with different designs, inscriptions and patterns. There are black, white, colored, imitating gold or silver. Separately, sets with imitation airbrushing are produced.
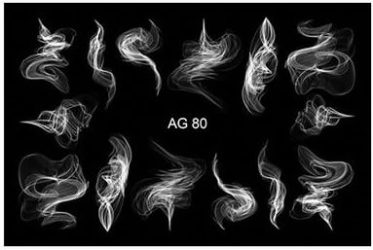
There are both solid and 3D. Three-dimensional designs are easily transferred to the nail due to their small size. The base is made of a soft but durable film that allows you to press the image tightly.

Some kits are marked “white only”. This means that stickers are applied exclusively to white gel polish. When you try to use it on other substrates, you get an unclear picture.
The only drawback is the dull colors on the multi-colored sets.
How to buy slider nail designs in Aliexpress? (give link to Aliexpress)
It is very cheap and convenient to buy nail sliders on Aliexpress in bulk. Necessary:
- register on the site
- go to the “Beauty and Health” section, select the “Manicure and Tools” subsection, “Nail Stickers” category
- choose your favorite sticker design
- make an order

You can use the link
