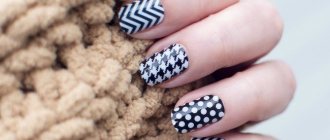
A stylish look also means having a beautiful manicure. There are many techniques that make it very easy for beginners to master gel polish design. This technique includes patterns on nails with a needle. Schemes of such nail art can be easily found on the Internet to master its creation step by step. Therefore, always start by studying the diagrams.
Drawings on nails with a needle
A manicure can set the tone for the entire image. It’s so easy to diversify your look, causing everyone’s admiration. The most important manifestation of such a manicure is a thoughtful pattern. Just how to paint your nails beautifully, where to get inspiration? In fact, learning how to draw with a needle step by step is very simple.
For a manicure at home you will need the following materials:
- different colored nail polish;
- primer, base, top;
- needles of different diameters (can be replaced with a toothpick, dots would also be a good alternative).
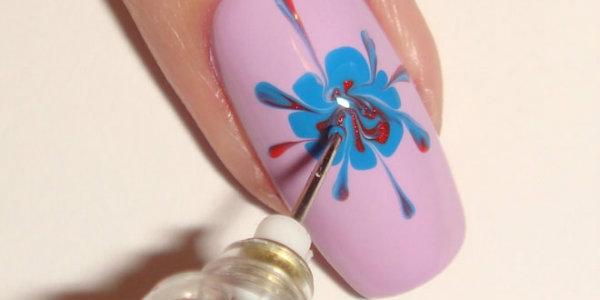
With a thinner needle you can make the curls of the pattern more graceful. But you will also need a thick needle, which can be replaced with a dots needle. With its help you can make a beautiful flower or other large element on your nail.
It is better to start mastering the technique with conventional coloring agents. Then a primer with base and top will not be required. But clear varnish will be needed. Take nail polish remover - this way you can immediately correct unsuccessful experiments.
Of course, without skill it is inconvenient to draw with needles - they are small and thin. But you can resort to a little trick: you can insert the needle into a regular pencil or fix it in an empty pen using a plate. Then drawing will not cause you much trouble - you will draw various valves, curls and ornaments, just like with a regular pen.
You should start with abstract patterns - without experience, it will be difficult for you to recreate the same pattern on all nails. It would be a good idea to first practice on artificial tips.
What is required for such a manicure?
For home-made creative delights in the field of nail art, you don’t need much with a needle. Firstly, endurance, patience and a focus on positive results will not hurt. Secondly, you will need the following tools and supplies:
- sewing needles of various sizes, including gypsy needles;
- toothpicks;
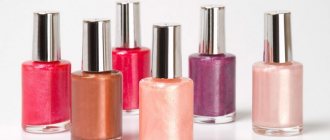
- a set of multi-colored nail polishes;
- fixative or clear varnish;
- napkins;
- prepared workplace - table, chair and good lighting.
Manicure is done with a needle of various sizes and toothpicks. Using the latter, you can create very interesting and quite complex patterns. To create large designs, large needles are used, and for small details, correspondingly miniature ones are used.
Varnishes are the main consumables. These are unique paints for your nail art. Wipes will help keep the skin of your hands and desktop clean, and remove varnish from the needle.
- Nourishing and moisturizing almond oil for facial skin is one of the best remedies.
- Mesotherapy for hair is a very effective procedure that will quickly and efficiently solve all hair-related problems, details here.
For short and long nails
Let's consider options for the simplest designs on nails with your own hands, taking into account the length of your nail plate. If you have short nails, then the main thing is not to overdo it. A minimum of patterns is the main rule of successful design! It is also better not to use large and thick ornaments - they look rather tasteless. It is better to decorate just one or two fingers on each hand with delicate thin curls.
But for long nails there are no restrictions. But you should still follow some rules:
- It is better to draw patterns on a thick layer of the base coating.
- Start with simple shapes. These include: stains, twigs, peas, leaves, roses, stars, butterflies.
- Usually done on a single-color coating, but you can experiment. For example, you can divide the space of the nail with two shades of polish, applying a different pattern to each half.
- The drawing should start from the little finger, then you will prevent the shape from breaking.
- Create shallow strokes when you draw specific images.
- You can only draw on the ring finger - this technique is very popular now.
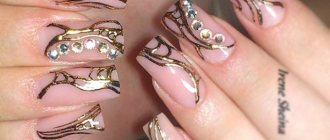
- Additionally, if desired, any design can be decorated with stickers, decorative ribbons, and sparkles.
Drawing technique
There are two main techniques for applying images with needles:
- Dry . Apply drops of varnish to the already dry varnish, creating beautiful stains on the surface using a needle.
- Wet . Apply the drops directly to the wet varnish, quickly using the needle.
Of course, the first technique is preferable for beginners due to its simplicity. But in the case of the wet version, you need to have time to create a certain pattern before the varnish dries. In the case of gel polishes, the task is simplified - they will not dry without a special lamp.
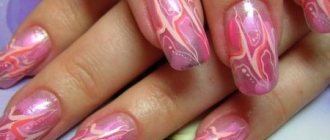
The application scheme is very simple. Apply drops of varnish of the desired color to the main background. Start moving the needle from the middle of the drop beyond it, drawing some kind of pattern. In this way you can create circles, lines, figures of eight, flowers, leaves. You can paint with several colors of varnish at once - this way the result will be more impressive.
Photo for inspiration
The new season of 2019-2020 is an incredibly convenient year for realizing the most interesting nail art fantasies. Don't be afraid to experiment and combine styles, colors and shapes.
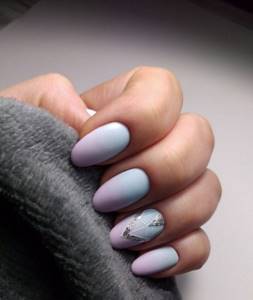
Gradient “winter manicure”

"Negative space" and abstraction
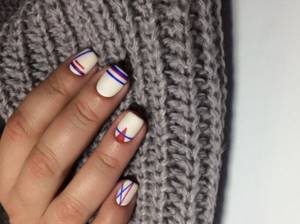
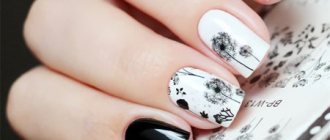
Graphic manicure on a white basis
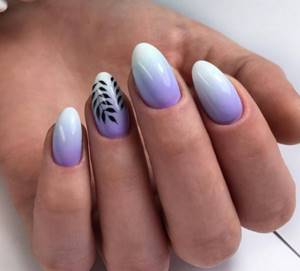
Ombre with black flowers
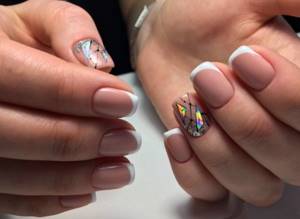
French with geometry in the style of “broken glass”
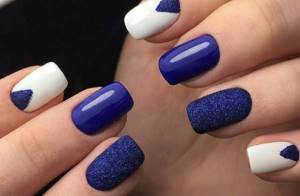
Reverse French with a triangular hole
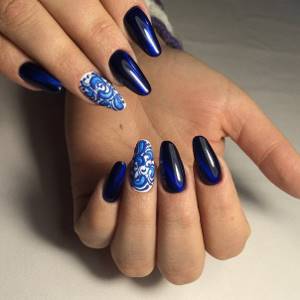
Rubbing with Gzhel flowers Minimalism and gold foil
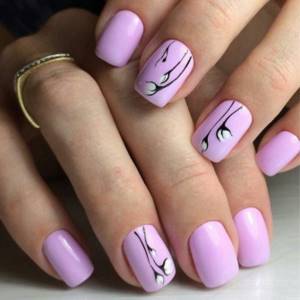
Delicate flowers
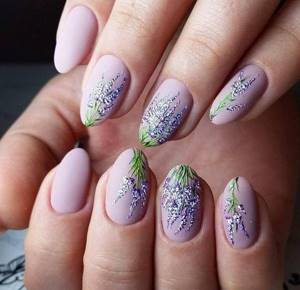
Gentle manicure “spring”
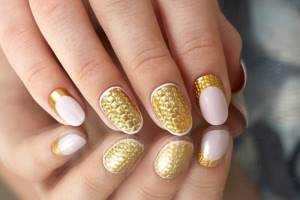
Reverse crocodile jacket
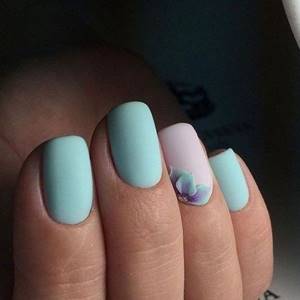
"Floral" minimalism
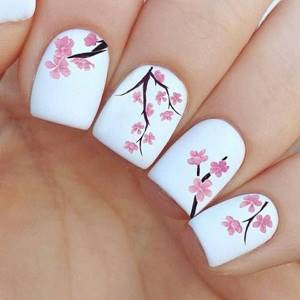
Manicure in the style of “Japanese flowers”
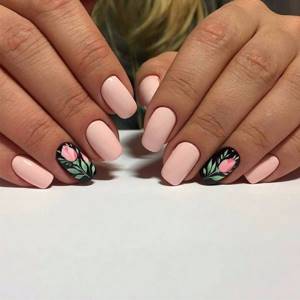
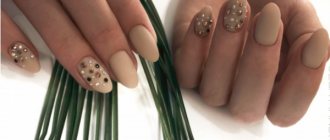
Nude manicure with flowers on a black base
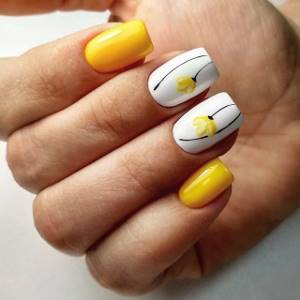
Spring manicure in yellow tones
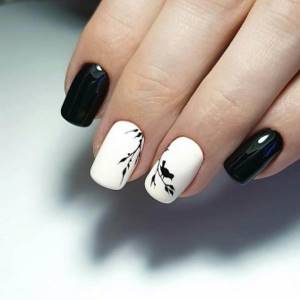
Stylish black and white manicure with spring composition
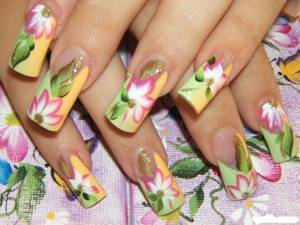
Bright summer manicure with flowers
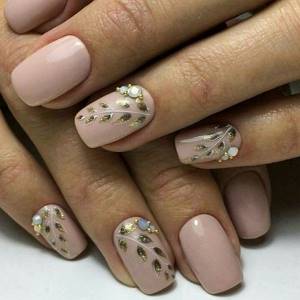
“Floral” manicure with rhinestones and foil
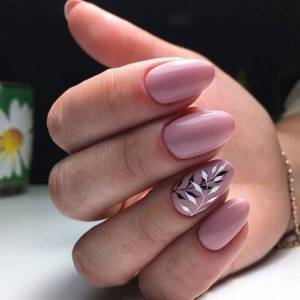
Nude with black and white pattern
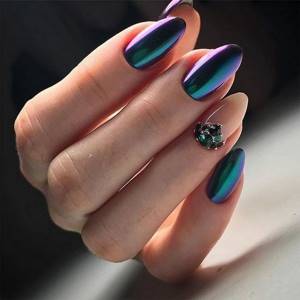
Rubbing “chamelion”
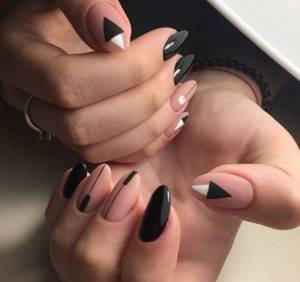
Combination of nude and black and white geometry
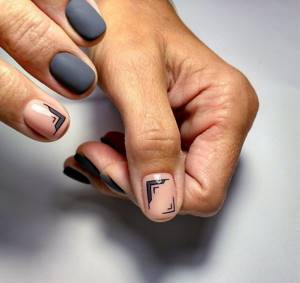
Matte manicure with a combination of geometric patterns and glitter
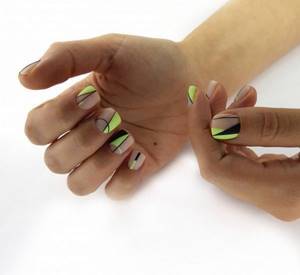
Negativ space in yellow and black tones
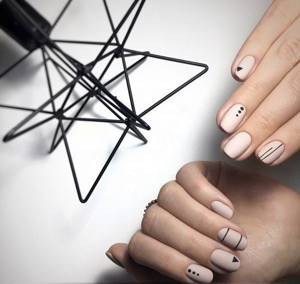
Minimalism
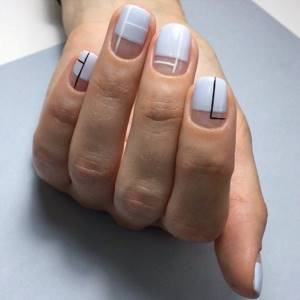
French with graphic elements
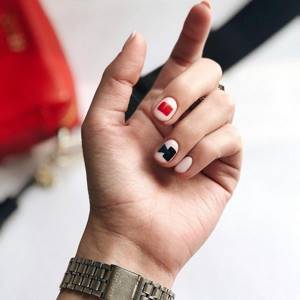
“Geometric” manicure in black and red tones on a nude base
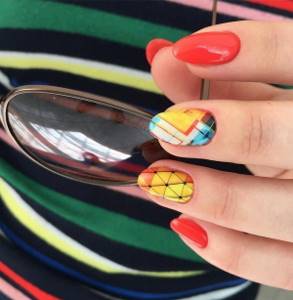
Manicure “summer geometry”
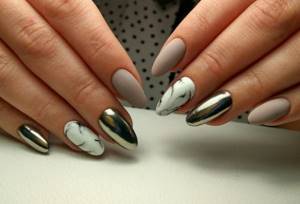
Mirror rubbing in combination with the “spider web” technique
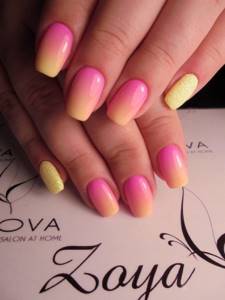
Bright summer ombre
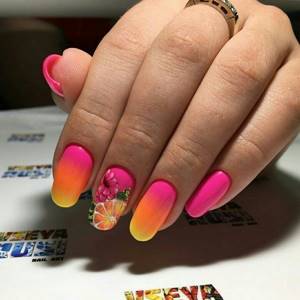
Ombre with fruits
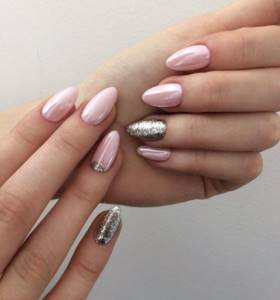
Pearl rub
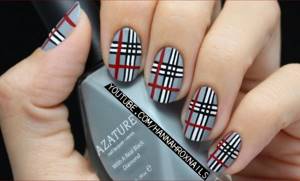
Office version of the “cage” manicure on a gray basis
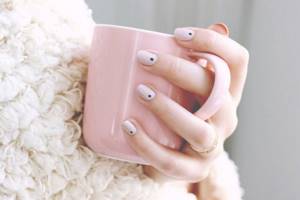
Minimalist manicure with black dots
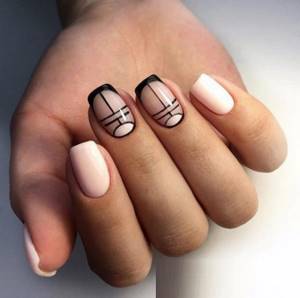
“negative space” manicure combined with graphics
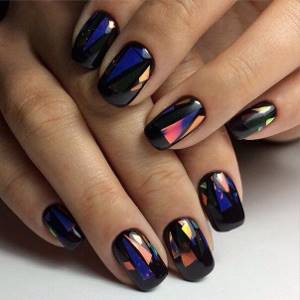
Broken glass technique
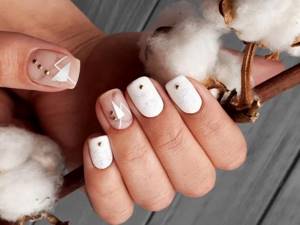
“Naked” manicure Manicure with black and white flowers and “burgundy velvet”
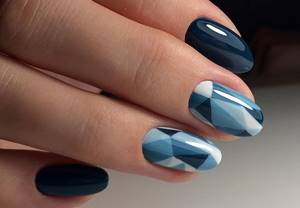
Geometric gradient in blue tones
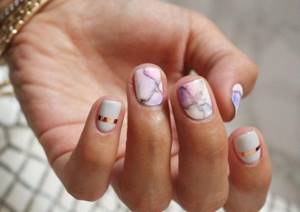
Manicure “Marble”
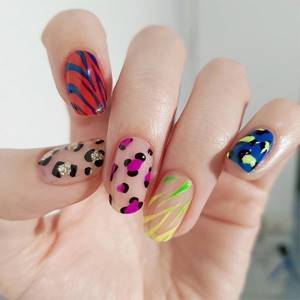
"Animal" textures
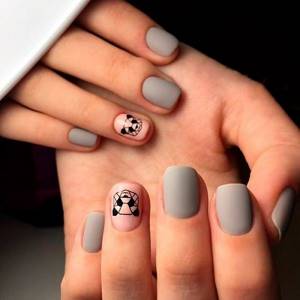
Animalistics "bear"
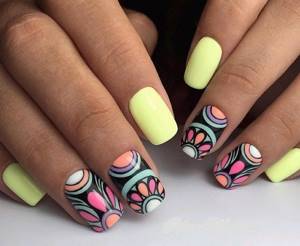
Graphic reverse “floral” French Negativ space in combination with flowers
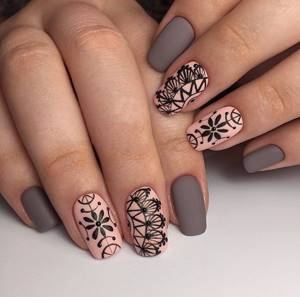
"Floral" minimalism nude
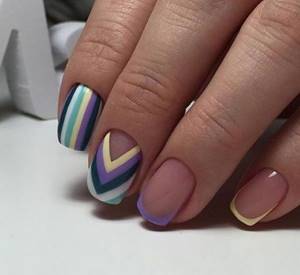
Bright “geometry” manicure and classic French manicure
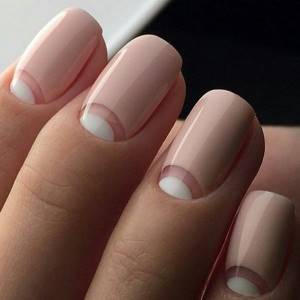
Reverse French nude with white hole
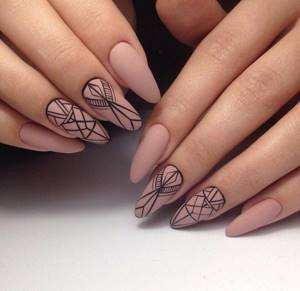
Minimalism "contour"
Share with your friends!
more
Read us in the Zen channel
Drawing on gel polish
If you have artistic skill, then you can create real works of art on your nails. With the help of gel polish, the resulting manicure will delight you for a very long time - up to three weeks. Consider the option of creating a manicure using a varnish strip and a needle.
- Prepare your nails thoroughly - this is the key to wearing gel polish for a long time. To do this, remove the cuticle, process the side ridges, and give the nails the desired shape. Sand the surface of the plates using a buff.
- Apply primer for better adhesion, followed by base. Dry in a lamp. In a UV lamp, the base layer dries for two minutes; in an LED lamp, half a minute is enough.
- Next, apply a layer of colored varnish and dry. It is always better to apply gel polish in two layers - this way the color turns out more saturated. But at the same time, the layers should be very thin, do not put a lot of varnish on the brush. The manicure will also be more neat; it will be easier to apply the polish as close to the cuticle line as possible.
- In the middle of the nail, draw a stripe in a contrasting color or simply apply stripes of dots. After this, do not dry the varnish, but immediately proceed to painting.
- Use a needle to make wave-like movements from the center of the strip beyond its outline. Repeat these steps on the other side of the strip. Complete the resulting pattern with small chaotic dots that can be applied with dots.
- If you are satisfied with the result, dry it safely in a lamp. If not, remove the layer of wet varnish and try again.
- Don’t forget to secure the finished result with a finishing coat and seal the loose ends well - this will guarantee that in just a few days there will be no chips or cracks in your manicure.
Adviсe
To have beautiful nails, visiting a nail salon is not necessary. Master the art of nail art at home and please yourself with beautiful and well-groomed hands regularly at no extra cost.
Just take into account a few nuances so that the resulting result never disappoints you:
- think over the design in advance, first you can recreate it on tips, and then try to transfer it to the nail; choose the colors of varnishes so that they harmonize with each other;
- movements with the needle should be light - you can damage the nail with it;
- start painting with your non-working hand so as not to leave the most difficult part for later. If this is difficult for you, then let a friend or someone else help you;
- Always seal your designs with a clear polish or top coat to ensure your manicure lasts longer.
Believe me, beautiful nails are easy! Start experimenting, use your imagination and everything will work out for you. Watch training videos or photos with a finished manicure - this will motivate and inspire you to immediately start creating masterpieces on your nails.
Necessary materials
To master even the simplest techniques, you need high-quality materials. Your kit should contain:
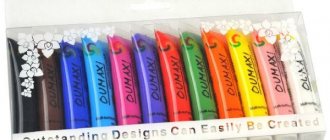
- Acrylic paints
- Watercolor paints
- Base and top coat
- Gel polishes of different shades
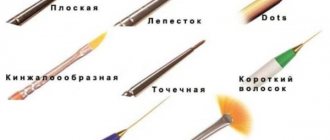
- Set of brushes
- Tips
- Palette
- Training cards for beginners
- Napkins and towel
- UV or LED lamp
- Stamping kit
- Dehydrator, degreaser, stick remover
- Files and buffs
- Additional sets for individual artistic painting techniques (optional)
- Rhinestones, sparkles, stucco molding, foil, melange, flock, acrylic powder for additional decor
This list is comprehensive for those new to nail art. With increasing skill and mastering new nail art techniques, the list will expand and be supplemented. Fashion trends in nail design, which are often based on the emergence of new materials, are also of great importance. Stock up on what you need and start exciting experiments.
