Rating: No rating
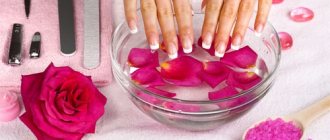
Today's pace of life very often does not leave time for self-care, but you need to look beautiful and well-groomed. This issue is especially acute in the warm season, when light open sandals replace demi-season shoes. Women's legs become the subject of special attention and require regular care. The main and most important foot care procedure is pedicure. Pedicure includes not only procedures for correcting the shape and length of nails and caring for the skin of the feet , but also coloring of nails, as well as their design in accordance with the overall style.
French nail coating was not invented in France, but in America, back in the eighties of the last century. The founder of the world-famous company Orly, which produces manicure products, Jeff Pink, at the request of his friend the director, came up with a revolutionary nail coating in order to speed up the preparation of actresses for the filming process.
When is it better to do it at home and when is it better to go to the salon?
- At home, with minimal skills, you can perform both classic and European unedged pedicure. To do this, you will need a set of tools in the first case and special tools in the second.
- If you have nail diseases or problems with the skin of your feet , then it is best to contact a specialized medical center so that you can be correctly diagnosed and have the device manipulated with attachments and medications.
- For high-quality and beautiful results, we recommend having a pedicure in a salon. This will help avoid pain and accidental injury to your nails and skin.
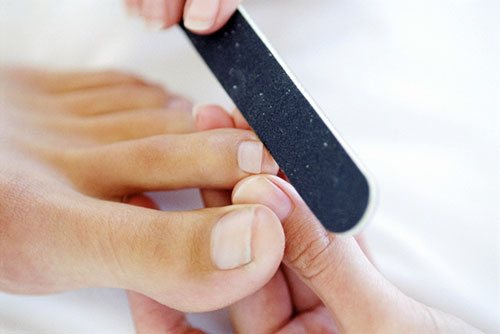
During a classic pedicure, it is necessary to treat your feet with an antiseptic and thoroughly disinfect manicure accessories to avoid infection.
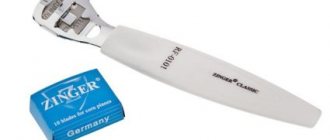
Lesson No. 4: How to properly give clients pedicures using graters
Recently, most masters have adopted the trend of hardware pedicure, what caused this?
— hardware pedicure saves time. At the start, you should learn the classical pedicure technique using graters, time is a relative concept, the classical technique is in no way inferior to the hardware one, including in time. In this lesson, learn how to quickly do a classic hygienic pedicure. Your professional tasks as a pedicurist:
- remove outdated rough skin within the limits of the norm.
- work with problem areas (corns and cracks), not only remove them, but also carry out manipulations so that they do not appear again.
- carry out skin hygiene on the fingers, remove the cuticle and shape the free edge. Special work with corners.
- remove residues after polishing feet and moisturize the skin. It is very important to prevent dry feet after cleaning.
We will get acquainted with all the smallest details and rules, and most importantly, we will learn in the material 4 online home lessons
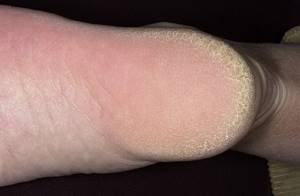
Foot skin types and their features - you must determine them:
There is no need to be afraid of foot work, it is not scary at all and does not take long if you follow the path that suits the skin of your client or client. You won’t have any problems if, when you first look at your client’s legs, you have a work model in your head. The key to the result is to correctly determine the scale of the work, that is, to understand how rough and trampled the skin is. You must do this to choose the right grater; if the grater is chosen correctly, you will deal with rough skin without problems.
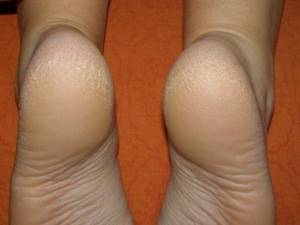
Normal foot skin type - the skin is usually light, it can get a little trampled on problem areas (on the ball below the toes on the side and on the heels), usually this skin is not prone to dryness, but in the summer, when dust gets into open shoes, the heels can become a little dry . Working with this type of skin is simple, since the degree of roughness is minimal; if care is correct and regular, there may be no roughness at all and you will just need to polish the skin. The period between pedicures is 3 weeks.
Medium foot skin type - in this case, the skin is also not particularly problematic, but has its own nuances in hygiene. As a specialist, you must be prepared and remember that the average type is prone to dryness, which means that improper care can lead to dryness and cracks. This type is usually more common at work. The skin of the feet of medium coarseness has a slightly yellowish color, since the percentage of skin that needs to be removed is greater than that of the first type. The most problematic part is the heels. The period between pedicures is 2-2.5 weeks.
The problematic type of skin on the feet that is prone to damage is very dry skin, which is why it is often damaged. You must not only clean the skin, but also MUST give the client recommendations for care at home, if you follow all the rules of care, this skin can be restored. You need to carefully carry out hygienic procedures, there needs to be a golden mean when removing, you shouldn’t remove more skin than necessary, but you shouldn’t leave a little more either. In both cases, the problem can only get worse. If you sand off more leather than necessary, the cracks will spread deeper; if you don’t remove it enough, the leather will become drier. The period between pedicures is 1.5-2 weeks.
How to properly do a pedicure at home (step-by-step instructions)
If you decide to do a pedicure yourself at home, we suggest you read the step-by-step instructions for beginners:
1. Prepare the necessary tools and supplies:
- for a classic pedicure – scissors, tweezers, nail file, buff;
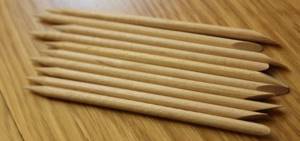
- for unedged pedicure – softeners and orange sticks;
- for coating with gel polish - a neon lamp for drying;
- for hardware pedicure – a milling cutter with attachments.
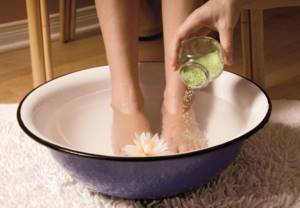
2. To perform a classic pedicure, you need to sterilize the tools and steam your feet in warm water with an antiseptic. In other cases, it is necessary to apply a special softening agent for pedicure to the feet.
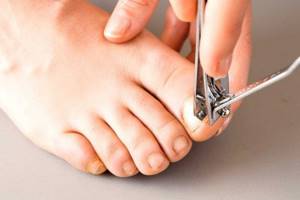
3. Using special tweezers or scissors, you need to even out the length of all the nails and trim their edges with a nail file.
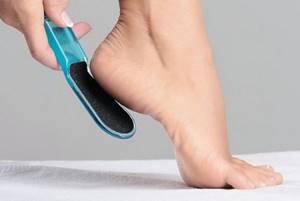
4. The feet are treated with pumice or pedicure abrasive files , especially areas with keratinized skin.
5. A softening agent is applied to the cuticle and its edge is moved back with a special spatula or orange stick.
6. If you are doing a classic pedicure, then the cuticle and side ridges near the nail must be cut off. In hardware pedicure, cuticles are removed with special thin attachments of a milling cutter. 7. At the last stage, feet and nails are polished with special buffs. 8. The legs are smeared with antifungal cream and given a light massage.

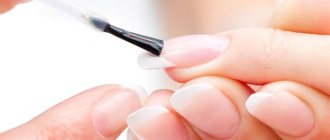
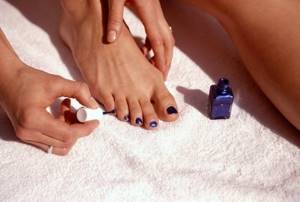
9. Apply a transparent base varnish to the nails and allow it to dry completely.
10. Apply varnish and use one or another decoration. If you apply gel polish, then you need to dry it in a special lamp , apply and dry the finishing layer, and also remove the sticky layer with a special means. You can learn more about how to properly do a gel polish pedicure at home by following the link The most beautiful shellac pedicure with photos and videos.
European, or unedged, pedicure is not recommended for those who have very rough skin on their feet and hard cuticles.
Types of pedicure
There are several types of pedicure. Let's look at each in more detail.
- Medical. Who needs a medical pedicure and why? People suffering from certain foot and nail diseases often seek help. It is provided by a podiatrist.
The medical pedicure procedure is aimed at preventing and getting rid of problems such as ingrown toenails, calluses, heel spurs, etc.
- Classical. It is divided into edged and European. They differ only in the way the cuticle is processed. In a classic trim pedicure, the legs are first steamed and then the cuticle is carefully removed with rounded manicure scissors.
- Dry. There are several names for this type of pedicure: European, French and unedged. With a dry pedicure, your feet do not need to be steamed - the entire procedure is carried out without water. It is replaced by special disinfectants (keratolics), which make it easy to treat the feet from the remnants of old dead skin.
The cuticle is removed using cosmetics or the film is pushed back with an orange stick to the base of the nail. The advantage of a dry pedicure is that it eliminates the possibility of infection with fungal diseases, as, for example, with a classic pedicure.
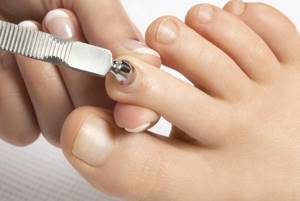
- Hardware. A pedicure is done with a special device with several attachments. They have different purposes. For example, a diamond cutter is used to cleanse the foot of old and rough skin. Silicone ones are designed for polishing nails.
During a hardware pedicure, cutting objects are not used, and water for steaming is also not needed. The keratinized skin is removed with special cosmetics, and the cuticle is simply trimmed with a nozzle.
Despite the universality of the pedicure procedure, it is extremely important to choose a good and trusted specialist whose tools are always sterilized and whose work area is neat and clean.
If it’s too expensive for you to contact a professional, you can learn pedicure for yourself or read the step-by-step instructions in this article and carefully apply the knowledge in practice. Read on!
Also, some types of pedicure are contraindicated for pregnant women and diabetics.
Combinations with other types of design solutions
When the pedicure is done and your feet are fresh and neat, you should think about their beauty. There are some techniques that will help you make your style and image harmonious and beautiful.
- Manicure and pedicure in the same style and color scheme automatically create the integrity of your look.
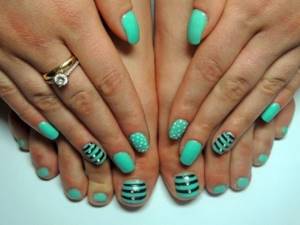
- Consistent style and one color scheme with different pedicure and manicure designs always looks harmonious.
- Shoes in nude shades imply a calm and subdued pedicure palette. Bright colors and rhinestones would be inappropriate here.
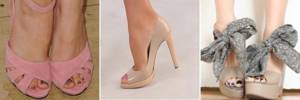
- French pedicure is always a win-win option for any shoes and any style of clothing.
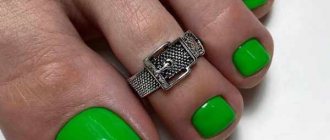
- The combination of colors and style of pedicure and handbag looks very interesting.
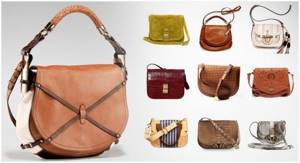
- For unity of style, you can repeat some elements of your accessories in your pedicure.

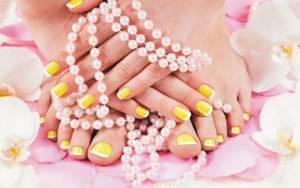
- Whatever color of French pedicure you choose, it will always remain a classic, so a thread of pearls will always come in handy.
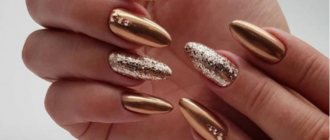
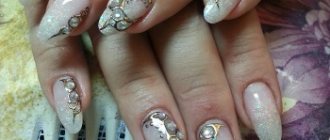
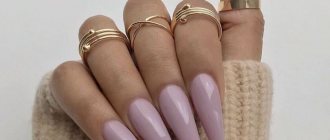
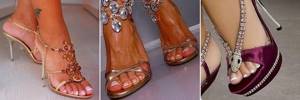
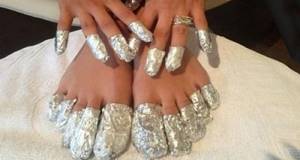
- The delicate summer palette of your wardrobe, of course, implies pastel shades in your pedicure, which you can diversify by alternating colors and delicate, light decor. In this case, rhinestones and sequins will look very good.

- A more strict clothing style dictates calm and, as a rule, monochromatic pedicure design options. Dark contrasting shades will be very relevant.

- To emphasize a bright style and extravagant accessories, you can use red, white and black colors in a pedicure and generously decorate your nails with decor. In this case, unusual color combinations, the use of bright accents and interesting prints would be appropriate.

Doing a pedicure at home is not at all difficult. It all depends on which pedicure you prefer and how proficient you are in the technique of performing it. By following our recommendations, you can easily make a beautiful pedicure yourself and surprise everyone with an unusual design and interesting nail style. Learn, get inspired, experiment and be beautiful! We are waiting for your comments.
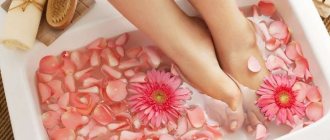
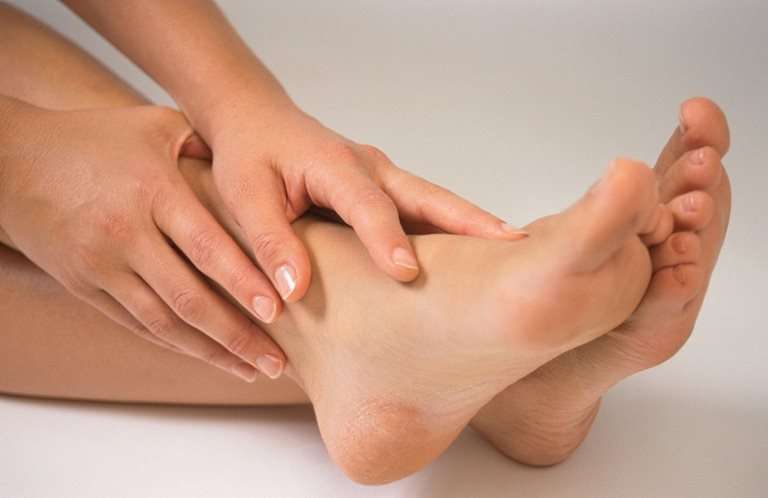
Treating the foot
In order for the heels to become soft, you need to take strict measures and treat them with a machine.
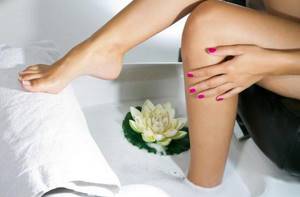
But first you need to get your feet wet.
- Having placed them in a bath with soda and aromatic oils (if you have calluses and the skin is simply too rough, professionals advise adding fir oil to the water, and if your feet are tired - lemon oil), you need to relax properly. Too hot water is not recommended, either. As well as too long maceration, that is, soaking. 25 minutes is enough, and during this time you can have time to do a manicure.
- Now let's grab our heels in the truest sense of the word. The heels are processed by the machine in the direction from the center to the edges; we hold the machine as if we were peeling potatoes with it. Do not touch the skin in the center of the heels, otherwise it will grow with double force.
- We pay special attention to all calluses. Before maceration, you can treat them with softening agents. By the way, calluses can be removed relatively painlessly - using liquid celandine. Here it is important to work with gloves, and lubricate the area around the callus with a thick cream, because the thing is poisonous and can burn the skin on your hands and feet. Deep core calluses need to be treated with it for several days in a row, while small and dense calluses can go away in one go. It is important to remove the dissolved callus using the same machine and rinse the foot very well.
- We also process the side of the foot with the machine - also from the center to its edge.
- Next we take on the toes and top of the foot. Yes, your fingers also need to be machined.
- Now we polish the heels and feet with special files. The heel is polished with sharp movements from left to right, then in a circular motion, the rest of the foot - only from left to right. It will be a little ticklish.
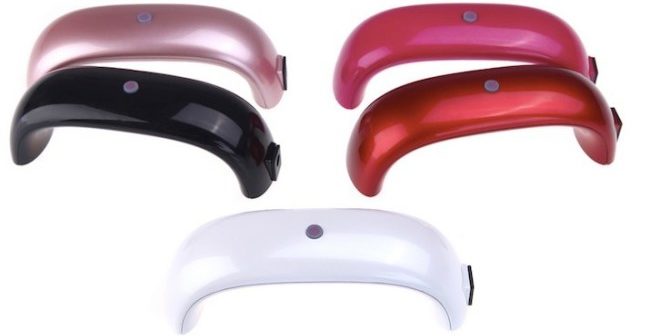
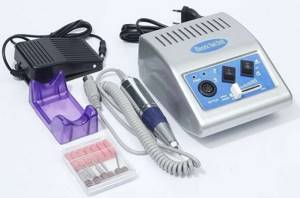
A few words about the electric pedicure machine
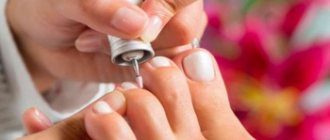
A pedicure apparatus is a special electric instrument that is used to perform a “dry” method of treating feet and toes. This pedicure is a variation of the European version of foot care. Today on store shelves you can find an electric pedicure set for every taste. Different models differ in design, number of attachments, functionality, power and, of course, cost.
Which one should you choose for a home pedicure? What attachments are needed for complete care? Let's try to understand this issue. As a rule, a qualified master uses a professional device equipped with a large number of attachments and several rotation modes. For home use, a less powerful and more compact pedicure machine is suitable. For example, as in the photo.
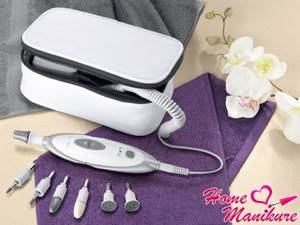
Typically, an electric set contains attachments (special cutters) for both manicure and foot treatment. The more expensive the set, the more functions it performs. Some salons use a pedicure machine with a vacuum cleaner that sucks up dust generated during nail filing. However, such machines have one drawback: if the vacuum cleaner breaks, you will have to repair the entire tool.
Benefits of gel polish
This coating is preferred if you do not want to injure your nails. When applying it, you do not need to cut down the nail plate much.
Gel polish is also chosen for the following advantages:
- long service life;
- beautiful appearance of nails;
- variety of color solutions;
- additional protection;
- ease of application and removal.
If all rules are followed, the coating will last for at least a month.
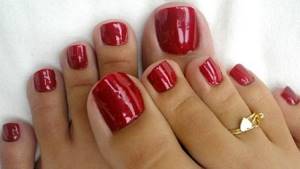
Red rich gel polish
How to remove gel polish
To remove the product, you need foil, a removing solution, cotton pads and a manicure spatula.
- To begin with, the surface is lightly treated with an abrasive file to ensure better penetration of the liquid.
- Cotton pads are cut into several small pieces. Each one is blotted in a special professional solution. You can use plain nail polish remover, but it should contain acetone for best results.
- Pieces of cotton pads are placed on the nails and tightly wrapped with foil. You need to keep the product for 15 minutes. After this, the discs are removed and the remaining coating is removed with a manicure spatula.
Removing gel polish from nails
Useful Pedicure Tips for Beginners
- If you have to use a peeling or scrub, and there are microcracks on your feet, be careful, because... With increased sensitivity, allergies or dermatitis may develop.
- Try a new cosmetic product on a small area of skin in advance. To do this, apply the product on it and leave for about forty minutes. Rinse it off. If there is no redness or itching after twelve hours, then everything is fine.
- During the cold season, wet pedicures (baths) should be done at least two hours before going outside.
- For hygiene purposes, disinfect all pedicure tools before and after use and keep them away from family members.