One of the most important components of a beautiful manicure is the correct shape of the nails. It is also worth noting that work on it is one of the most time-consuming. In addition, she is also the most responsible - the slightest flaw in the configuration of the nails and the impression of the manicure is ruined. Many girls who practice nail polish at home even prefer to turn to professionals to give them the correct shape of their nails, and then maintain it themselves.
Photo from the site: spb.yapokupayu.ru
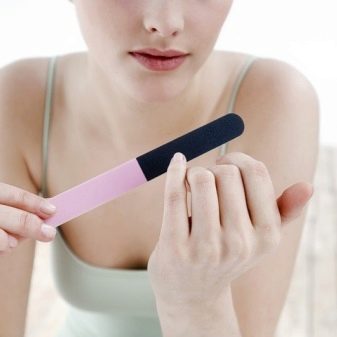
Especially to help beginners, “Ideal Manicure” will tell you in detail how to shape your nails at home, and reveal the basic techniques and secrets of the procedure. With a little practice, you'll have nails that look like you've been to a salon.
Varieties of nail shapes
Each person, as a rule, has his own nail shape. In the salon, the master can choose the one that best suits the client. What needs to be taken into account in this case? Usually they look at the thickness and structure of the fingers and hands, and assess the general condition of the nail plates. A girl's style can also play an important role.
Also, manicure should follow the fashion trends of our time. Of course, you should not rely on them blindly; here it is worth taking into account the preferences of the client herself. If a certain nail shape is fashionable, but does not suit a girl, then there is no point in choosing it. It is better to turn your attention to another, more suitable one.
If you choose the right shape of the plate, you can highlight all the advantages of your hands and also remove the disadvantages. There is one unspoken rule: the shape of the nails usually follows the outline of the cuticle. What types of nails are there? Five forms can be distinguished:
- round;
- almond;
- square;
- oval;
- rectangular.
Now let's talk about each in more detail.
Round form
As a rule, round nails are quite comfortable and practical. This manicure is most suitable for girls with large fingers and large palms. If you have difficulties choosing a shape, then you can safely make a round one. It is not only stylish, but also comfortable.
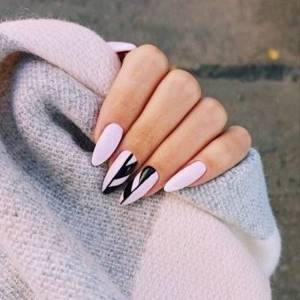
Almond
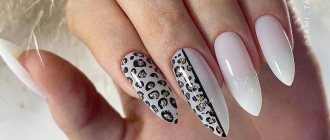
The almond shape of nails looks very stylish and resembles an almond. In this case, the edge is rounded and the center is sharpened. This manicure will make your fingers extremely attractive. But this form has a significant drawback: nails can break quickly. You can also make almond-shaped nails using gel polish. You can also ennoble your fingers using artificial tips.
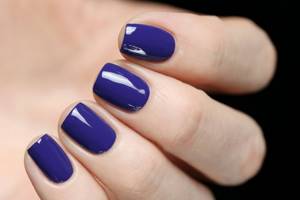
Square
This nail shape is most suitable for those with long fingers. Regardless of how long the nails are, this shape will look very advantageous. As a rule, in this case, the file is held perpendicular to the axis of the nail plate and filed. What are the advantages of a square shape?
- This is a very fashionable trend this season. In addition, square nails not only look natural, but also natural.
- There are no difficulties in designing nail plates.
- Designing this nail shape is quite safe. In this case, a lot of movements are made with a nail file, and fragility and delamination are eliminated.
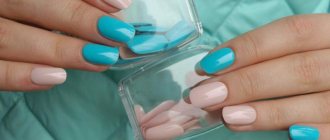
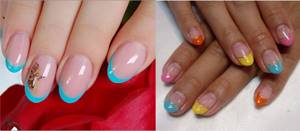
Soft square
These are nails in the shape of a rectangle, only the ends are slightly rounded. This manicure will be an ideal solution for girls who have weak nails. In addition, this shape will suit both long and short nails. The combination with a French manicure will be especially good.
Oval
The oval shape of nails is considered classic. The oval will look especially good on long fingers. Any length of nails will do, but it is best if the nails are short or medium. It is also important to know that the top line of the nail plate always follows the outline of the cuticle.
It is worth highlighting the significant advantages of oval nail shapes:
- This form is more practical. The fact is that there are no pointed corners on the nails. This means that you can do household chores without any problems.
- The shape is quite appropriate for both girls and women. You can also come to any event with these nails. This also applies to work. In addition, for a gala evening, your nails can be decorated with intricate decor, which will enliven the entire image and give it solemnity.
- In addition, oval nails can easily be turned into rectangular or square ones.
Execution technique
You can make oval nails not only in the salon. Today, modern women have many opportunities to shape their oval shape at home. The approach to this issue begins with performing a high-quality hygienic manicure, because without it the manicure will not look beautiful, and most importantly, well-groomed. Let's take a step-by-step look at the main stages of the technique for creating an oval shape.
Preparing tools
In your work you will have to use a file, manicure scissors or cuticle cutter (cuticle tweezers), an orange stick, and a pusher with a spatula. In order not to injure the skin and protect it as much as possible from irritation, it is advisable to purchase a special oily cuticle remover. This is a clear product that will prepare the skin for painless removal. It does not corrode the skin, but softens it, thereby simplifying manicure.
Cleaning cuticles and pterygia
After carefully opening the bottle of cuticle remover, apply a thin layer to the skin around the nail bed, excluding the area at the top where the nail grows. As soon as the product is applied to the nails of one hand, they are softened in a bath of warm water. It is advisable that the temperature be at least +40 degrees, since cold water is harmful to bones. After 4-5 minutes, remove the tray, wipe your fingers and begin to clean off the excess skin. To do this, take a pusher (a metal tool with a spatula), first push it back, and then lift the cuticle.
Next, with careful movements, the excess skin is turned upward, thereby forming a line for the future cut. It is cut off with a cutter or scissors, trying to remove it in one line. Removing excess skin from the nail allows you to visually lengthen the plate, which is especially important for short and wide nails. After the skin is cut, check the quality of the peeling using an orange stick. It is passed around the nail. If something rises upward from the cut, the flaws are immediately trimmed.

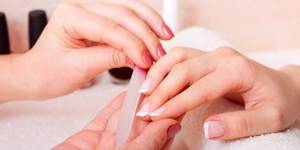
Length and shape
The length is chosen according to the shortest nail
It is important to consider that it should look the same on all nails. You will have to use your own eye, you should not spare nails that are too long and leave them on, even if only one is broken
You will have to use a file for your work. In this case, its movements should be directed only in one direction. Ignoring this nuance will lead to delamination of the nail and rapid chipping of the applied coating. The file is pressed with its flat side in relation to the nail and moved in the direction from the base of the nail to its edge, while trying to ensure that the movements of the file are delicate.

First, the sides of the nail plate are filed, only after that they begin to round it. As you round, make sure that symmetry is maintained on both sides of the plate. You can focus on the base of the nail bed. It would be useful to check the quality of the work by turning the nail away from you with the top edge facing up. You should not equate the sharpness of the upper edge of the oval, because it will be different for the little finger and, say, the thumb. A narrow and small tip may appear sharp, while a wide and large tip may look like a soft square.
To avoid errors when working with a file, you should often pay attention to the base of the nail being processed.
Shutdown
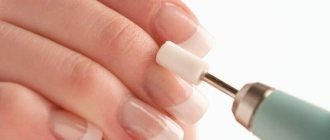
After the nail is filed, it will need to be protected from possible breakage. This is done through decorative manicure. If it is not yet provided, you can apply a soothing cream to the skin treatment areas. You can buff the nail plates only before directly applying gel polish. You cannot saw them with a coarse abrasive; for this you use a soft grinder.
Selection of tools
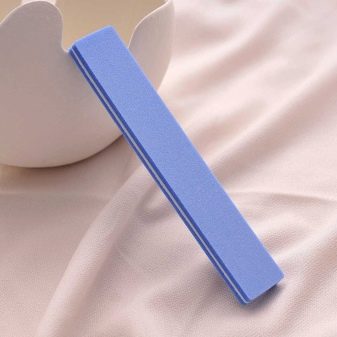
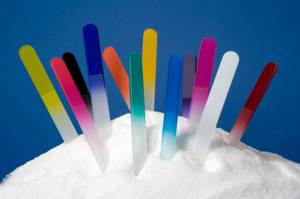
How to give a beautiful shape to your nails without a manicure file? In this case, you should pay attention to the tools. If your nails are natural, then the file should be ceramic or glass. In addition, a ceramic nail file acts gently, without damage. If your nails are artificial, then a metal file will do just fine. This also applies to toenails. In other cases, such a crude tool should be abandoned.
However, one nail file will not be enough. You should stock up on a whole manicure set:
- Manicure scissors are a must;
- tweezers with which you can remove cuticles and hangnails;
- a wooden file (used to remove dirt from under nails);
- nail polish remover;
- a special brush that is used to clean out various dirt;
- polishing file;
- a white corrector pencil (usually they should be used to tint the inside of the nail);
- cuticle cream that prevents cuticle growth.
Peculiarities
Beautiful long nails are a trend that will never go into the shadows and will always be relevant and in demand. Many women try to grow their nails and give them a beautiful shape.
Gradually, the natural round shape of the nail may become boring, and a desire arises to change your image. A reasonable question arises: how to diversify your nail design and what shape to choose?

Every girl takes care of her manicure, cuticles and nail length. The length of the finger and the shape of the nail plate determine which nail design is best to choose. With the right manicure, your fingers will look sophisticated, your hands will look graceful, and your image will look attractive.
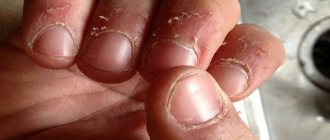
Of all the forms, the pointed one is considered the most fragile, fragile and brittle. When you press hard on the nail, barely noticeable cracks and small defects appear. If you do not pay attention to this and do not notice the occurrence of microcracks, then there is a high chance that you will have to cut off the nail, thereby ruining the entire manicure.
Recommendations on how to properly shape your nails
Before you get started, you need to check whether the lighting in the room is of high quality. If you don't see all the small details. There won't be a perfect manicure. It’s also worth taking a closer look at your tools: they should all be made of high-quality materials. It is better not to purchase cheap files of poor quality.

It is best to already know in advance what form is needed. If you want to wash your hands with soap before a manicure so that they are perfectly clean, then you should wipe them dry. Otherwise, the nail plate will split. It should also be taken into account that professionals determine the length by the shortest nail.
During work, you can accidentally cut the skin of your fingers. To prevent this from happening, it is necessary to cut only those nail plates whose length exceeds 2 mm. Movements with a nail file should be slow and careful, but not chaotic. If your hands are too dry, then cream helps.
How to make an even nail shape without mistakes? These important rules will allow you to achieve this ideal:
- The file is applied perpendicular to the side lines of the nail plate or the end.
- Movements with a nail file should be carried out from the bottom side.
- The lateral edges of the nail itself usually run parallel to one another. Then you need to taper towards the middle. The stiletto design is an exception.
How to give your nails a round shape?
Making this shape is quite simple.
- First, cut your nails with manicure scissors. It should be the desired length.
- We round the corners with a nail file. The movements go from one edge to the other. Don't press too hard.
- Then you need to remove the cuticle. An orange stick will come to the rescue.
- You can also use nutritional products after the procedure.
All nails should be the same length.
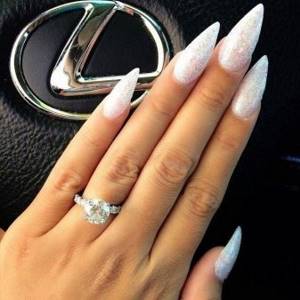
How to learn how to make stiletto nail shapes?
Giving this shape to your fingernails is an art. That is why it is used by experienced craftsmen. As a rule, you can’t do without extensions here. Craftsmen use acrylic and gel polish. However, it is worth keeping in mind that such an eccentric manicure is only suitable for strong and healthy nails. It can damage weakened nail plates.

If you already have gel polish on your nails, then you should discard the stiletto, because you can ruin the coating and the existing shape. Typically, stilettos are extended using paper templates. The technique is like this:
- We file natural nails. In addition, it is necessary to cut off the top layer.
- Then the nails should be disinfected.
- Lay out the templates and cover them with primer.
- After this, you need to lay out the gel.
- The length of the nail should be stretched according to the template.
- Then we dry the first layer under ultraviolet light.
- After this, we lay out the free edge of the nail with gel and, using tweezers, give the entire shape a bend. This can also be done with a brush and gel, but this technique can only be done by an experienced master.
- Then you need to remove the sticky layer.
- We file down the nail. We place the file horizontally, moving only in one direction, from the free edge to the side parts and, of course, to the middle.
- . We remove dust from the fingers, treat the gel surface with a cleaner and apply varnish.
There is no need to make the edge too sharp, as it is very inconvenient and you can accidentally get caught on something.
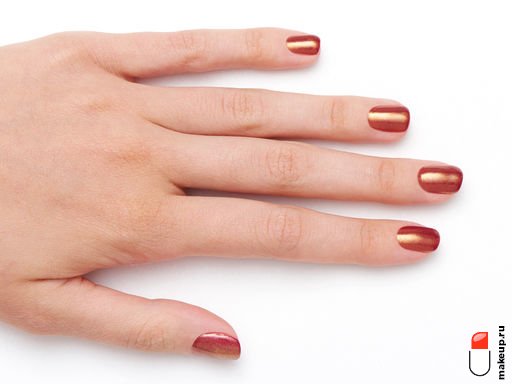
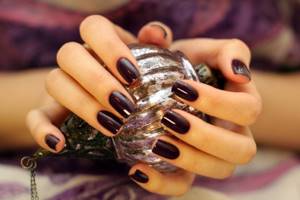
DIY mirror manicure
The easiest way to create a mirror manicure is with a special shiny powder (rubbing), which can be found in specialized stores. Also, you will have to use not ordinary, but gel polish. In addition, you will need special coatings for gel polish (base and top), a UV lamp and a cosmetic sponge.
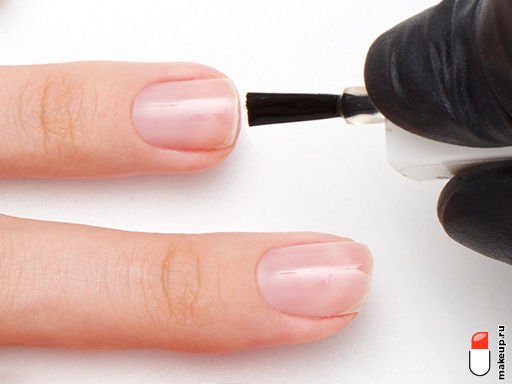
1 Apply a special transparent base for gel polish, hold your nails under a UV lamp for two minutes so that the coating has time to harden.
2 Apply burgundy or wine gel polish in two layers, also let each layer dry under a UV lamp.

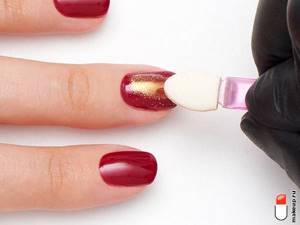
3 Apply a clear top coat to each nail and cure under a UV lamp for two minutes.

4 Before your nails have time to cool, quickly spread the eye shadow sponge. The hotter the nail plate is at the time of application, the more saturated the resulting color will be.
5 Reapply clear top coat and cure under UV lamp.