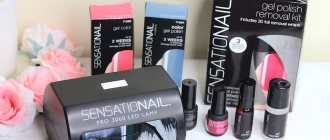
Have you decided to do your own acrylic nail modeling and do acrylic nail extensions at home? Before you go to the store, it doesn’t hurt to find out what should be in the set of tools for acrylic technology, how much these tools will cost, and what will be more convenient – tips or forms.
Practicing beauty experts tell you what you need to do acrylic nail extensions at home.
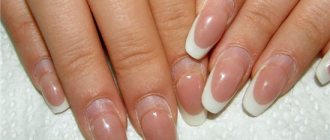
Photo on Unsplash
What you need to do acrylic nail extensions at home - a starter kit for extensions
Based on the indicated price range, remember that for the first time it is absolutely not necessary to purchase the most expensive products. Moreover, this technology may simply not suit you, and as a result, the money will be wasted. Start small.
- Hand disinfectant.
- Tool for disinfecting instruments.
- Files for filing natural nails.
- Files for filing and polishing acrylic nails.
- Monomer (needed to dissolve powder).
- Acrylic powder (white - for French, pink, colored).
- Primer (needed for adhesion of the nail and coating).
- Brush for removing dust after polishing nails.
- Brush for spreading acrylic (preferably several).
- Bonder (needed to wash off dried acrylic from the brush).
- A couple of stacks (cups) for working with acrylic.
- Pusher. Price – 200-500 rub. Or orange sticks.
- A solution that softens the cuticle.
- Cuticle oil (for the final stage of extension).
- Tips.
- Glue for tips. Liquid glue dries instantly. Glue gel – about a minute (it will cost more). The second option is optimal for wavy nails - it evenly fills all the cavities of the nail plate.
- Tip cutter.
- Finish coating.
Common disadvantages and mistakes of acrylic modeling
Forewarned is forearmed! Knowing the most common mistakes will help you take these nuances into account in your own work and avoid disappointment. Among them:
- Sawing of the nail plate at the preparation stage . This will lead to pain and interfere with comfortable work with acrylic material. It is only necessary to slightly remove the natural shine before degreasing and dehydrating
- Incomplete removal of the cuticle and pterygium before extensions is the main cause of chipping and detachment
- Incorrectly selected shape and modeled arch , which can lead to detachment and increased trauma of the nail plate during impacts and stress on artificial nails
- Untimely correction , when the cuticle zone and the middle stress zone shift to the edge, and the edge of the nail begins to “peck”. Such nails can be broken along with damage to your own. Recommended intensity of correction – every 3-4 weeks
- When correcting, you do not need to completely remove the old material . If there are no detachments, it is enough to cut down the overgrown areas, remove excess thickness and apply new material
- Acetone should not be used when caring for acrylic nails.
- You cannot cut acrylic nails with scissors and tongs - remove excess only with a file.
Which acrylic modeling option would you choose for yourself, shapes, tips?
What do you think is the most difficult thing about modeling for beginners and beginners? Share with us in the comments. Comment
The best brush for acrylic extensions – what is it?
One of the most important criteria for choosing acrylic brushes is the density and elasticity of the beam, as well as the sharpness of the tip. Also remember:
- Don't skimp on brushes. The quality of your manicure will largely depend on the quality of your brushes.
- The best brushes are made from kolinsky, sable and marten. Cheap ones - made from squirrel.
- The handle of the brush should be light and comfortable.
- Marking: for modeling – No. 6-12, for design – No. 1-6. For extensions, as a rule, number 8 is used.
- Brush shape. To create a thin layer of acrylic on the cuticle area - oval, with a thick “belly”, with a flattened base, the tip is thin. For acrylic modeling - the same, but smaller in size.
Don't forget that a new brush is usually coated with a special factory glue. Therefore, before starting work, the brush should be washed.
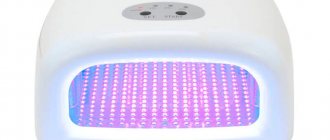
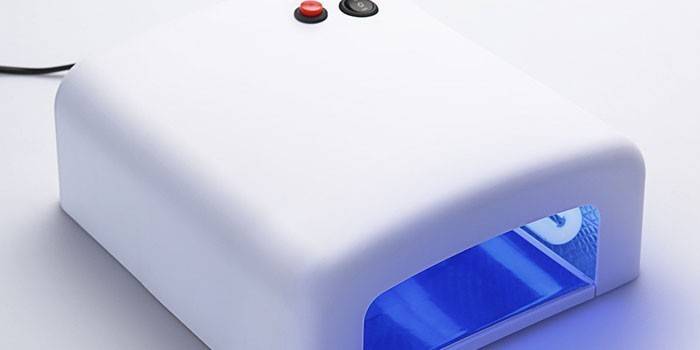
How to choose the right UV lamp
Gel-based nail extension equipment includes an ultraviolet lamp. This device is also used to secure certain types of coatings. The performance of the master and the quality of the finished manicure depend on the power and type of UV lamp. Today such a device can be bought in an online store or shopping center. Selection rules:
- For home use, you can choose a lamp with a power of 24 to 36 W. This parameter affects the polymerization time of the composition. The higher it is, the faster the gel or varnish will harden. Professional devices have a power of 36 W.
- For a beginner, it is better to choose an inexpensive fluorescent lamp rather than an LED lamp - the latter option is used only for certain types of materials.
- What matters is the type of lamp ignition - with an electronic or induction circuit. The first method makes the device cheaper, but is considered less reliable - the lamp may fail when there is a voltage drop in the network. The second option involves using a starter, which extends the life of the device.
- It is convenient if the llama has additional functions - a fan for quick drying of the varnish, a timer.
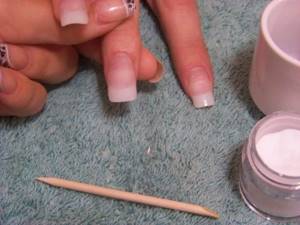
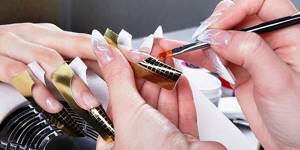
Tips for nail extensions

Colady illustration
- It is easier to lay tips on the free edge than forms.
- Tips are more comfortable with large pillows.
- With the help of tips, you can model even nails that have been broken at the root.
- Tips are easier for a beginner to handle.
Disadvantages of tips
- Flatter nail shape.
- Inability to create an edge, gothic stiletto, side or pipe.
- The weak point is the gluing area. If the tip was glued poorly, the nail will fly off very quickly.
- Tips are a bad solution for wide nails. And also for those growing down.
Equipment
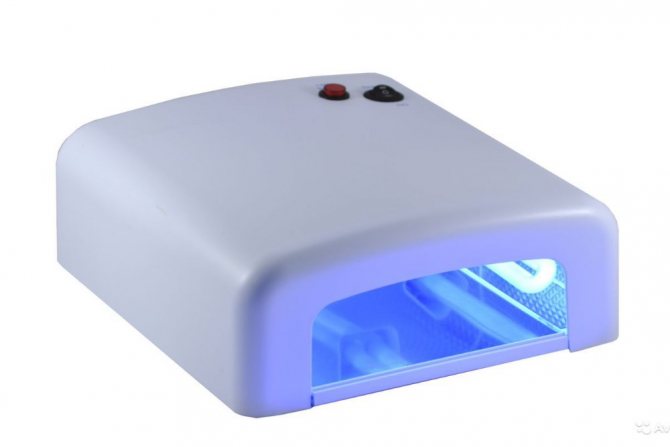
UV lamp
The most important and basic element on the list of what is needed for gel nail extensions is an ultraviolet lamp. When purchasing products and equipment for home extensions, this device will become your main expense item. Despite the rather high cost, it is beneficial to have such a lamp at home. It is necessary not only for gel and acrylic extensions, but also for simply applying shellac or gel to nails. Ultimately, when performing many salon procedures at home, the lamp quickly pays for itself.
The power of this device must be at least 24 W, otherwise its use will be pointless. Pay attention to the fact that it is equipped with a timer; this will greatly simplify the process of performing a manicure. Depending on your desires and financial capabilities, you can choose a device with additional functions, such as airflow, etc.
Forms for nail extensions
Colady illustration
- Possibility of creating any shape.
- Possibility to make nails narrow.
- Subtlety and elegance of nails.
- The resulting monolithic structure (provides very high strength to the nails).
- The ability to hide defects in natural nails (latitude, downward growth, etc.).
Disadvantages of forms
- Not everyone can create a beautiful shape with their help (you need experience and talent).
- Extending injured nails using forms is very difficult.
Materials for acrylic
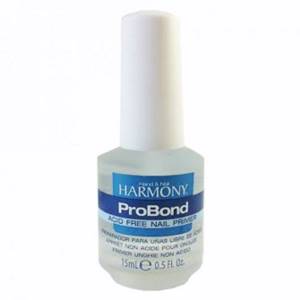
Bond
Since extensions can be carried out with two sculptural polymers - gel or acrylic, the set of necessary materials will be different. Below we list what materials for acrylic nail extensions are needed to create a manicure at home.
- Acrylic liquid is actually the material from which the new nail will be made;
- Acrylic powder for extensions, transparent;
- White acrylic powder for extensions;
- Acrylic powder for extensions, pink or peach, depending on the desired color of the future nail bed;
- Camouflage powder;
- An antiseptic that will prevent the development of infection under the new plate;
- A dehydrator that will dry the plate and improve its adhesion to the acrylic layer;
- If extensions are carried out using tips, then glue for tips will be required;
- An acid-free primer that will act as a primer under the first layer of acrylic.
To remove acrylic you need a special liquid. Mixing the monomer (acrylic liquid) and powder leads to rapid hardening of the material. The main advantage of the material is that for gel nail extensions, the first thing you need is a UV lamp, while acrylic polymerizes in air.
[yandex2] [google2]
Gel materials
Working with this material is easier, especially for beginners. Although extensions onto forms are still quite difficult. Below is a list of materials for gel nail extensions.
- Colored gels for extensions – white, pink or peach (depending on the desired color of the nail bed);
- Transparent base gel;
- Transparent finishing gel that will add more shine;
- Camouflage gel for extensions;
- Glue for tips if necessary;
- Antiseptic;
- A dehydrator will make your manicure more durable and prevent peeling;
- The primer guarantees tight adhesion of the artificial plate to the natural one.
Degreaser
As the pictures show, gel nail extensions create a more natural and natural looking plate, especially when applied to forms. Unlike acrylic, the gel does not have the unpleasant odor and toxic fumes that acrylic is characterized by. Therefore, both materials are equally popular, although recently one can trace the trend of increased demand for gel extensions.
The common item that is required for both gel and acrylic nail extensions is forms. They can be made of paper, plastic or metal and are removable and are essentially stencils that are attached to your nail. After the polymer has dried, they are removed. They come in upper and lower ones, the upper ones are attached to the nail and the polymer is applied under them. The lower ones are attached under the free edge of the nail and the gel is laid out on them.
What are the possible contraindications?
Since sharp-smelling acrylic is not a highly toxic substance, it will not cause negative health effects. However, there are contraindications, or factors that can reduce the effectiveness of the extension procedure. There will be no harm, but detachments will occur and the nails will not “take root.” Contraindications for acrylic nail extensions:
- Diabetes mellitus, coronary heart disease and other cardiovascular diseases, cirrhosis of the liver - this is a list of the main diseases that can cause artificial nails to peel off, forming pockets.
- Pregnancy.
- A course of treatment with antibiotics, or in more severe cases, chemotherapy. If treatment is started after the nails have been done, this does not mean that they will immediately fall off, but peeling is possible.
- Allergies, individual intolerance to acrylic. Although rare, there are clients who react acutely to volatile chemicals. As a rule, they are aware of their peculiarities and do not extend their nails with acrylic.
- Skin diseases, herpes (with rashes on hands).
- Fungal diseases, viral and bacterial infections of the nails and skin around them.
- Traumatic lesions of the nails, panaritium or hematoma under the nail, as well as serious injuries to the nails after artisanal removal of the nail covering.
Acrylic nail extensions in themselves do not harm clients. Acrylic is recommended for all women who want to achieve beauty and well-groomed hands.
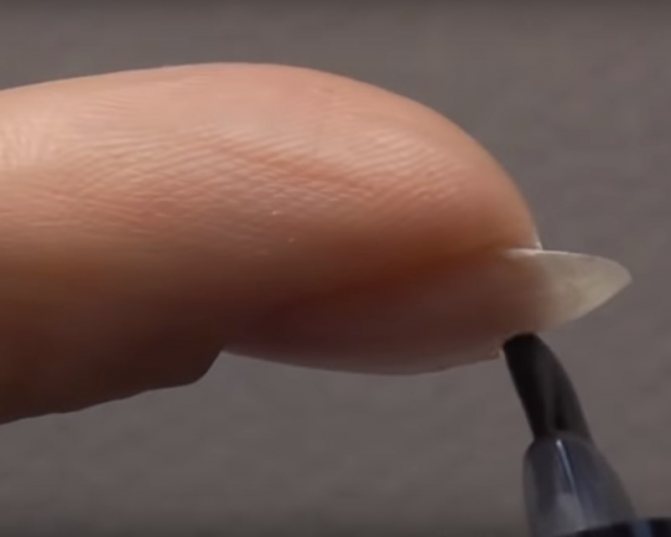
How to apply under gel polish: technique
Apply the base under gel polish, if it has a thick texture, as follows:
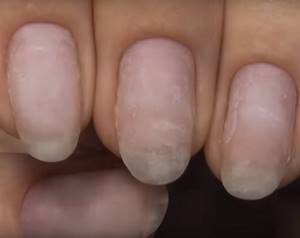
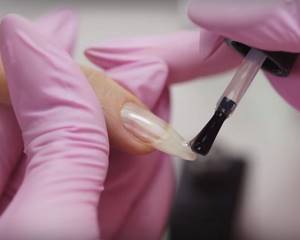
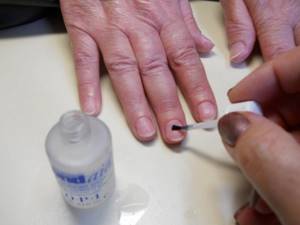
- Prepare your nails, that is, perform a hygienic manicure. Then you need to brush off the sawdust with a brush, go over the plates and ends with a buff, and degrease them.
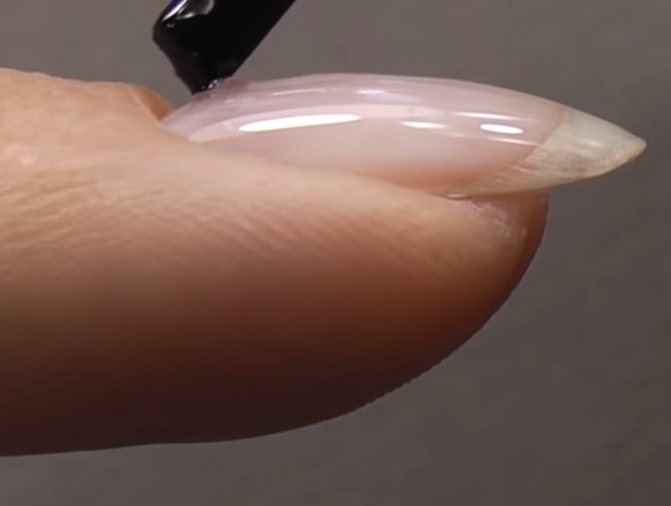
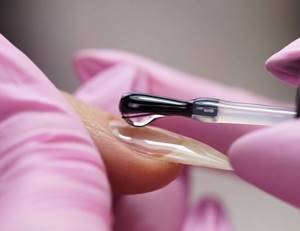
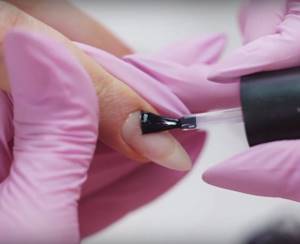
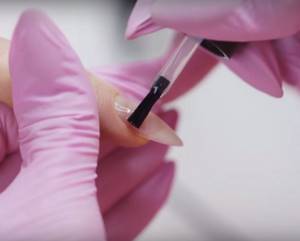
- Apply the product to the nail in three parallel strokes from the base to the free edge. You need to take a little base.
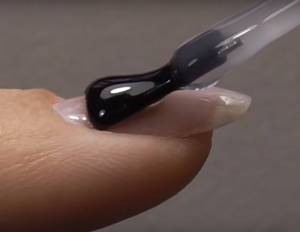
- Then add more product to the brush so that a drop forms at the tip. It is placed in the center of the plate at a distance of 4 mm from the base. And they lead this drop, without touching the nail with a brush, to the free edge.
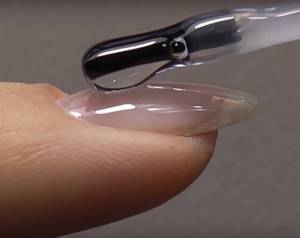
- The finger is turned over with the pad facing up. The droplet formed in the center is distributed more evenly by moving from it to the free edge.
- The finger is returned to the reverse position. Now you need to remove the existing defects, that is, just lightly walk over them with a brush. After this, you can dry the layer in a lamp.
For nails where the manicure wears off quickly, you can also use a primer. It is applied after the degreaser has dried. There is no need to dry the primer in a lamp; just wait 2-3 minutes to apply the base.
Watch this video on how to apply a thick texture base under gel polish:
For medium consistency
The technique for a medium consistency foundation is slightly different:
- The finger is tilted slightly downwards, the brush with the material is placed on the midline and the tool is pushed towards the cuticle.
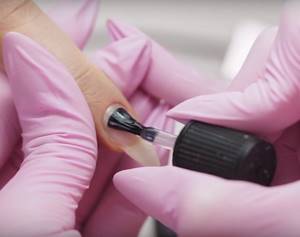
- Then they return to the free edge, thus drawing a line to it from the base of the nail.
- Place the brush slightly to one side and coat the sinuses one by one, turning it so that you can also go along the end.

- Take a new portion of the product and place a drop on the highest point of the nail, then lead it to the free edge.
- Then they help the formed tubercle to be distributed more evenly by zigzag movements of the brush along the plate.
- The nail is turned down and helped to level the material with an orange stick or a hair tool.
- Then evaluate the glare under light, if it is smooth, ellipsoidal, and dry the product in a lamp.
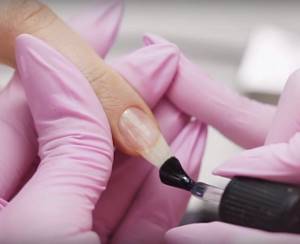
For liquid base
Liquid base is applied faster:
- Paint the center line from the cuticle to the free edge.

- Then they pass along both sinuses, turning the finger in the desired directions and placing the hand at an angle.
- Take a new drop of material, place three points on the cuticle with it and draw a line to the free edge.
- Additionally, the sinuses are stained with the product, taking a little more of it each time.
- The finger is turned down briefly, then sent to dry.
Correct application of the base is indicated by a uniform oval highlight, which is clearly visible under the lamp. If you can see that the product is not lying quite evenly, you can remove the sticky layer and file the surface to the desired thickness.
Watch this video on how to apply a medium and liquid texture base under gel polish:
Aids
Manicurists have long figured out what products are needed for nail extensions. The fact is that sterility is necessary for high-quality work. If there is fat on the nails, there will be no adhesion. Therefore, to prepare the nails, they are degreased. The product that is used is called “clinser”. This is an alcohol-containing liquid that may have some other inclusions (for example, thymol, an antifungal drug). In Russian, this name has not taken root; the word “degreaser” is often used instead. It can be replaced with pure alcohol.
The acidity of alcohol is 6 units, and nails and skin have a natural acidity of 5.5 units. To equalize acidity and increase adhesion (adhesion of the material to the keratin of the nail), a weak acid solution is used. It's called a "primer". For acrylic technology, the primer contains a higher concentration than for gel technology. Therefore, a distinction is made between acidic and acid-free primers. The name is conditional, since both contain acid, but in different proportions.
Acrylic tools
Not only the materials, but also the accessories for nail extensions with gel and acrylic differ. However, there are a number of common tools for working with both types of materials. To create an acrylic nail you will need the following tools:
- Acrylic brush;
- Forms or tips depending on the chosen extension technology. If forms, then upper or lower;
- Container for monomer and mixing it with powder;
- File 150 grit;
- File 180 grit;
- Highly abrasive nail grinder;
- Polishing buff.
The high abrasiveness of the files is explained by the fact that acrylic is a rather rough material; a delicate file cannot handle it. The grinder must also have high abrasiveness, because the nail plate is ground down quite strongly. Next, we will look at what you need to purchase for gel nail extensions; such extensions are more gentle on your own plates.
[yandex3] [google3]
How to remove acrylic paint from nails
Acrylic paint can only be removed with a special solution. This can be nail polish remover without acetone. This will remove the nail polish along with the acrylic coating.
You can also remove the acrylic coating with an acetone solution, but this is undesirable as it may turn natural nails yellow.
You cannot tear off artificial nails or rudely tear them off, even if they partially come off and form “pockets.” Your nails are seriously injured, and then you can’t apply acrylic or gel to them for a long time.
Even if you have good nail polish removers, it is advisable to have your acrylic nails done by a professional. Only a master will be able to do this correctly, without causing harm to real nails. The process of removing acrylic coating can be long, labor-intensive and require a lot of solvent.