Rating: 5/5 (3)
The beauty industry attracts not only its masterpieces; many are captivated by the very process of creating a well-groomed female image. Girls, wanting to join the flow of the beauty industry, most often start with manicure . Some people plan to provide manicure services to others, while others may want to master the procedure exclusively for themselves. It doesn’t matter which way, but many girls come to the desire to learn how to do their own nails.
What tools and materials are needed for nail extensions (basic list)
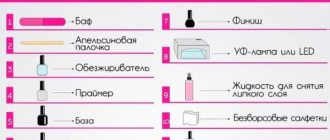
To begin with, let’s outline what is needed for any nail extension (list of materials for beginners):
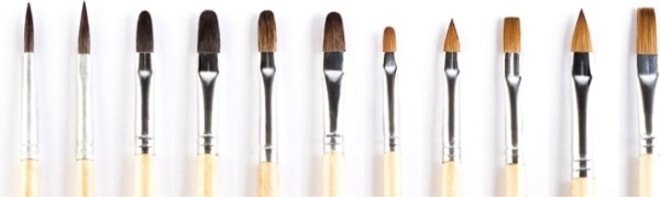
- a set of brushes for different stages of work;
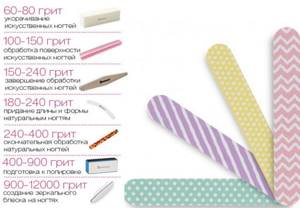
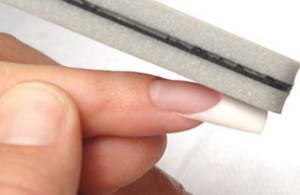
- a set of files with different abrasiveness;
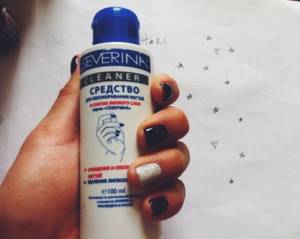
- disinfectant liquids;
- lint-free wipes;

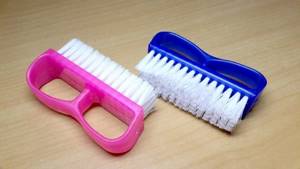
- a brush for brushing sawdust off your fingers;
- a set of tips or forms to give sufficient length to nails;
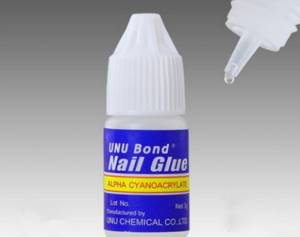
- liquid special glue for manicure repair.
Sterilization products
Before starting the nail extension procedure, you should sterilize the tools for work.
Sterilization takes place in several stages:
- Preparation of solution for disinfection. We dilute water and concentrate in equal proportions.
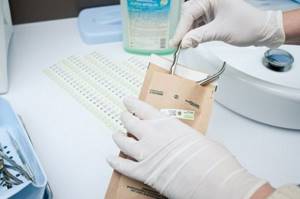
- We process the tools. When opened or disassembled, immerse them in the solution and place them on a specially prepared metal tray.
- Sterilization of instruments in craft bags. Only completely dry devices are placed in the sterilizer. Sterilization is carried out under high temperatures. The tools must cool down before they are removed.
Instruments with anti-corrosion coating are subject to disinfection. When applying gel nail extensions, modeling brushes, buffs, pushers and files must be sterilized. For proper disinfection, instruments must be completely covered with the solution and placed in a sterilizer.
Devices cannot be sterilized without first being treated in a disinfectant solution.
Sterilization of instruments is a mandatory step when applying gel nail extensions. Due to it, viruses, fungi and microorganisms are destroyed. By pre-cleaning the devices, dirt, skin residues, blood and other elements are washed away.
What you need to purchase to work with nails, depending on the type of coating
Gel extensions add rigidity and durability to nails in any life challenges. The transparent gel polymerizes without penetrating the surface of the nail and therefore does not affect its structure. But the process itself is longer, and the damaged coating cannot be repaired.
Equipment and materials exclusively for gel extensions
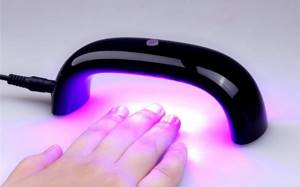
- UV lamp or LED lamp for drying the coating;
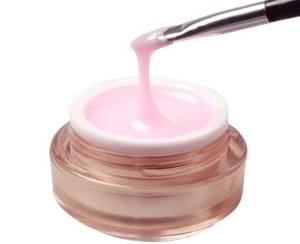
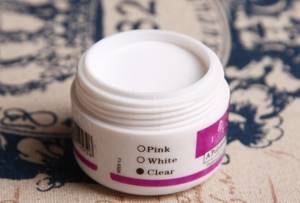
- transparent gel base, which is used to prepare the base for the coating;
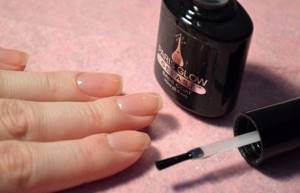
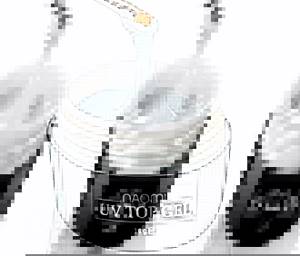
- transparent gel finish, which protects the design from possible injuries;
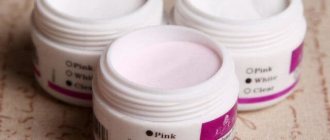
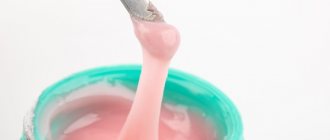
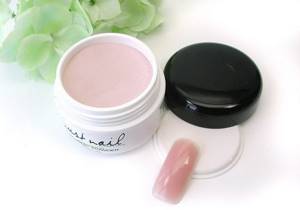
- thick colored gels to match the color of the nail plate (pink, peach or white);
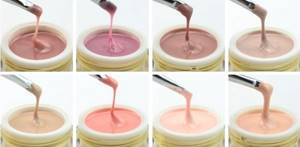
- thick camouflage gel, as close as possible to the natural color of the nail;
- a dehydrator, which acts as a degreaser;
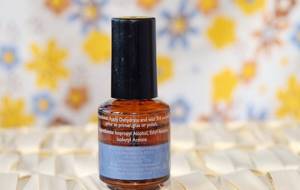
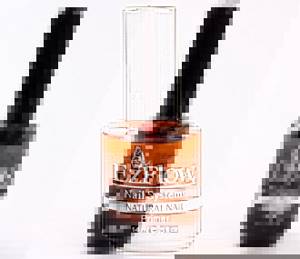
- primer to improve the adhesion between your nail and the gel coating.
Working with acrylic is more harmful in itself, but the material for working is more beneficial and pliable. In addition, a chipped nail can be corrected at any time.
Other components of the acrylic extension process
- acrylic transparent powder;
- acrylic camouflage powder;
- colored acrylic powder (white, peach or pink);

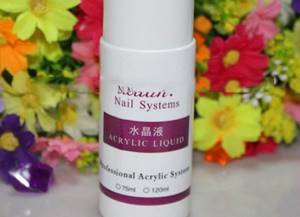
- acrylic transparent monomer is the most important component in the nail formation procedure;
- dehydrator-degreaser;
- primer primer for the first layer of acrylic.
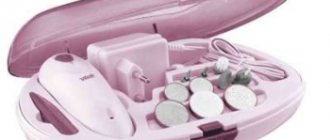
For beginners at the start of their training, it is best to purchase professional materials for nail extensions. All components for the procedure must be from the same line of a trusted manufacturer. The most profitable option is to buy a ready-made set that contains everything you need to do nail extensions for beginners.
Ready-made starter kits - pros and cons
If you enter the request “Buy a starter kit for nail design” into a search engine, Google and Yandex will return thousands of relevant pages with offers to buy budget starter kits, but this is not the best idea for a novice master.
IMPORTANT! The main reason why you should not purchase a ready-made set made in China is its low quality. To attract buyers, manufacturers fill the set with cheap, low-quality goods and set an attractive price.
The right way is to independently purchase the necessary equipment and consumables according to the checklist that you will find in this article. The online store pilitte.com always has the necessary tools and consumables in stock. It is enough to decide on the direction in nail design and collect the necessary base.
How to choose all the necessary equipment for nail extensions
The first thing you should decide on at the start is what kind of lamp you need for nail extensions. New LED lamps are more expensive, but the drying process is noticeably reduced (from 3 minutes in a UV lamp to 30-45 seconds in an LED lamp - and this is for one nail). The lamp must be equipped with a timer .
The second question that needs to be resolved is how you will increase the length of the nail - using tips or forms.
To apply nail extensions with tips, you need to choose the size of the tip, which (and this is important) will fit perfectly with the curve of your own nail. Tips are easy to use, but one set may not contain all the sizes you need . Professionals buy large packages with different numbers of plastic nails.
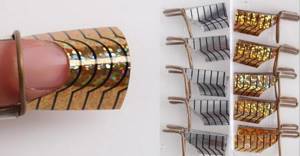
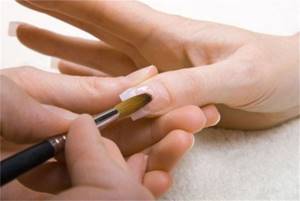
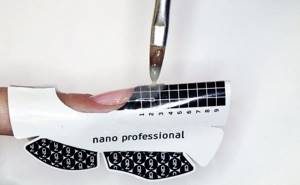
What you definitely need to purchase for nail extensions on forms is special foil in rolls . Extensions on forms give a thinner and more perfect nail, but the process itself will take some practice.
What and where else should you buy for nail extensions? All other tools for the process should also be selected with special attention. brushes for gel or acrylic , of the highest quality . Any lint from the brush will give the coating a visible defect. Buy files with a reserve and check each time before work to see if the abrasive layer is clogged. You can't get a good manicure with an old nail file. All other auxiliary materials can be purchased in specialized stores.
General recommendations for beginners when purchasing a starter tool kit
To make starting work as easy as possible, the master should take care in advance of having all the necessary materials, but most importantly, check their quality. Saving is not the best option when it comes to providing nail design services, especially if you want to develop a base of regular customers.
FOR YOUR INFORMATION! Cheap gels and bases do not stick well to the nails, causing chips and cracks to form - all this contributes to customer dissatisfaction, which is best avoided. In addition, materials of the middle or high price category are much easier to work with - they “lay” on the base easier and more beautifully, dry faster and hold up well.
In addition to cost, you should pay attention to such characteristics as; expiration date, presence of markings with the batch number and manufacturer, integrity of the packaging, as well as the presence of a warranty card.
The easiest option is to purchase a complete starter kit, but this is not recommended - most often such kits are of dubious quality and are produced in cheap factories in China.
A good way is to assemble the first set yourself, taking into account the chosen direction in nail design, the season and the expected number of first clients.
What to do before getting nail extensions
- Get your hands in order. For extended nails, the cuticle is not cut. It is carefully moved with a wooden stick.
- Determine what length of nails is needed for extensions . It is impossible to increase the length of your own nail by more than 3 mm using the gel itself. You can even stick tips on a nail that has been cut at the root, after which they need to be shortened. On the forms, the nail is immediately made to the required size, only then it is lightly filed, but in this design your nail must be at least 2 mm.
- Decide what extension material you will practice with , gel or acrylic. As a rule, craftsmen work with one material all the time.
There is ongoing debate about whether constantly wearing artificially created nails is harmful. There are women who have been carrying out this procedure for more than ten years without a break and are not going to give up a beautiful and vital manicure. The work of a good, proven master will never harm your hands, but it all depends on the condition of your own nails. Whether you need to give your nails a break from extensions is up to you to decide.
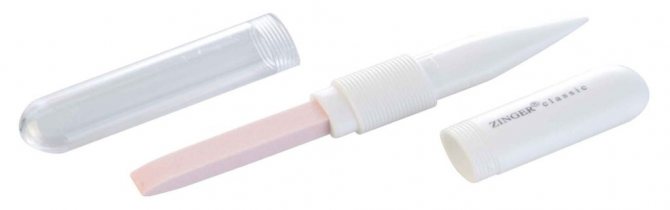
Types of nail files for home use
At home, you can also use reusable professional files of any shape presented in the article. This is due to the fact that there is no need to sterilize them or throw them away after each use. Simply wash under running water with a soft brush and soap, and then dry. You can use them until the abrasive wears off, and this will happen quite quickly. Below we will look at more reliable options for nail files that do not have to be changed every week.
Metal

They are the most popular in everyday life; they are often included in sets of tools for manicure at home. Their abrasive is durable, so they have not gone out of use for several decades. But, unfortunately, they provoke delamination of the nail plate, which is why thin nails become even thinner and brittle.
In professional practice, such files are used in pedicure. They are flat and allow you to file the corners of your toenails neatly and safely.
Glass

They are quite fragile, so they should not be dropped and should not be carried with you in your bag all the time. Original glass files, when filing, seem to seal the free edge, preventing delamination. So those with soft and thin nails can choose them for home care. They are not suitable for cutting artificial materials.
Ceramic
Similar to glass ones, they very carefully file down the free edge. They can also be used to clean off pterygium on the nail plate if the need arises for a European manicure.
Laser

They appeared on the Russian market about ten years ago and continue to gain popularity. They are made of metal or plastic coated with diamond. A pattern resembling perforation is visible on the surface of the files. This pattern is applied with a laser, which is why the files got their name. They file quite carefully, so they are suitable for thin natural nails. These files can also be used to treat leather.
As a rule, all these types of files do not indicate abrasiveness. Therefore, when purchasing, ask the seller for medium or fine abrasive, or carefully read the description on the label.
Step-by-step instructions for the extension process
Gel extensions on tips
- Disinfect prepared nails with spray.
- Carefully file off the top glossy layer of the nail . Do not move the file randomly, only along the nail growth line, lightly scraping the top layer of the nail. Brush the dust off your nail.
- Choose a suitable tip size .
- Apply nail glue to the edge of the tip and immediately apply to your nail. Hold in the desired position for about 10 seconds until the polymer sets. Do this procedure with all nails.
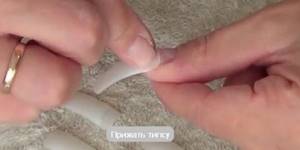
- Form desired nail length, use a nail file to level the small step at the junction.
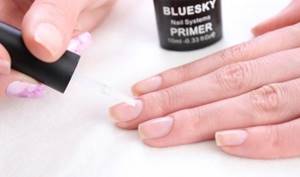
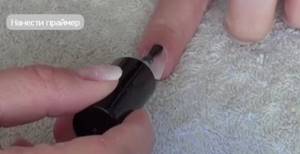
- Apply base primer to your nail.
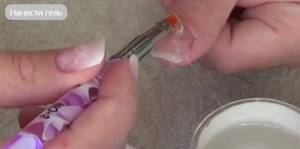
- Apply pfirst layer of more liquid gelI. Dry in a lamp. Remove the sticky layer with a napkin.
- Use thick gel to form the shape of the nail . Pay attention to the smooth transition from the middle of the nail to the tip and to the cuticle. Dry in a lamp, remove the sticky layer.
- Using a polishing buffer, remove any possible irregularities from the surface of the almost finished nail. Once again adjust the shape and length.
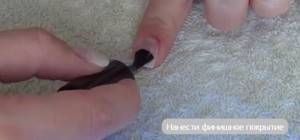
- Cover with a protective gel finish. Dry, remove the sticky layer.
- Lubricate the cuticle with fragrant oil.
Acrylic extensions on tips
The procedure for preparing the nail and attaching the tips (steps 1-6) is the same as for gel extensions. The differences begin at the coating formation stage.
- So, the required length has been formed, let's get to work.
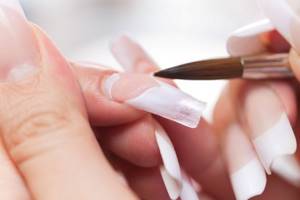
- Dip the brush into acrylic liquid then immediately into pink acrylic powder, forming a small pearl. Immediately transfer it to the nail and distribute it over the surface. Periodically, to smooth, dip the brush into the monomer. To shape the entire nail in one go, you need to practice beforehand.
- Dipping the brush into monomer and into transparent powder and form a transparent surface of the entire nail. The border near the cuticle should be made in the form of a smooth transition to a very thin layer at the edge of the nail.
- While the acrylic is still slightly plastic, use tweezers or your nails to gently press the nail on both sides along the growth line so that get a beautiful “arched” end.
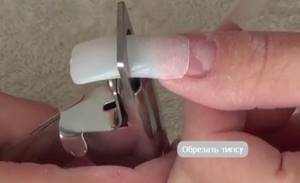
- After the acrylic has dried and completely hardened , we file down the edge of the nail, forming the length and side sections.
- Polish the entire surface of the nail with a buff.
- Covering the nail transparent finish to give your manicure a special shine and prevent various types of damage

- Lubricate the cuticle with aromatic oil.
How to do extensions on the form can be seen in the photo.
Useful tips
- Before you get started, you need to know all the basics of disinfection .
Sterility is needed to prevent the transmission of various diseases. Ideally, disposable instruments and devices should be used. If this is not possible, then be sure to use disinfectants and only for their intended purpose: a product for cleaning instruments is not suitable for degreasing a table and vice versa. - Watch your movements carefully . They should be smooth and soft. You should not apply a lot of force while working with the client’s hands, otherwise you risk losing the line between living skin and its dead cells. At first, it is best to follow the rule “it is better not to cut than to cut.”
- Get a first aid kit . You should always have peroxide, adhesive bandages, and alcohol on hand for emergencies. It is ideal to have medical glue: it stops bleeding and quickly heals wounds.
- Maintain communication with the client . During an easy, casual conversation, he will always tell you how close his blood vessels are to his skin, which finger is most often injured, etc. Moreover, such a conversation will help you relax and do your job better.
Video tutorial on how to do nail extensions at home
The video shows a master class on all stages of working with acrylic nail extensions and reveals the secrets of creating a perfect smile using a French manicure. As the work progresses, the master additionally explains what materials and tools make nail extension exemplary. Manicure is performed on forms.
The video shows a real master class on resurrecting an injured nail. The master talks about what you need to do gel nail extensions at home and explains why you need a primer for nail extensions . Length restoration is done using tips.
Share your experience in nail extensions. What type of extensions do you prefer, acrylic or gel? We will be grateful for your feedback.
How much does the kit cost?
The price of the kit depends on many parameters. The cost of the kit is influenced by the number of materials and tools included in the composition, the presence of accessories for decoration, and the brand. Approximate prices for popular sets:
| Name and manufacturer | Equipment | Cost in rubles |
| NOGTIKA, Acrylic extension kit |
| 1590 |
| Runail, Gel nail extension kit |
| 2210 |
| NOGTIKA, Set for gel extensions |
| 1790 |
| EzFlow, Competition Powders Proline Acrilyc Kit, Professional kit for modeling acrylic nails | Contains all necessary consumables and tools. Designed for 35 full procedures. Includes:
| 9360 |
| Irisk Professional, Set for gel nail modeling |
| 1410 |
| EzFlow, Get It! Cover Gels Professional Kit | Set for 55 full extensions, containing:
| 8030 |
| Patrisa Nail, Starter set No. 1 “Gel nail extensions” | Suitable for working at home. Compound:
| 2575 |
| .Ibd., Traditional UV Gel Student Kit, Student kit for modeling gel nails |
| 5090 |
| InGarden, Starter kit for acrylic + gel extensions | Contains materials for 25-30 procedures. Set contents:
| 10660 |
| Irisk Professional, Acrylic nail extension kit |
| 1220 |