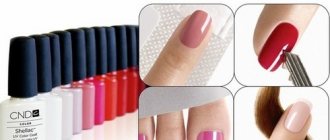
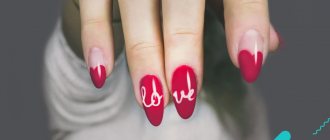
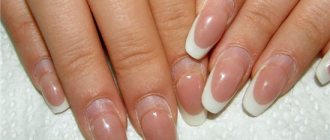
Can't grow your beautiful and long nails? No problem! After all, they can be increased. They do this in a beauty salon, or on their own at home. In this article we will look at step-by-step instructions with photos of gel nail extensions and what materials are needed for this.
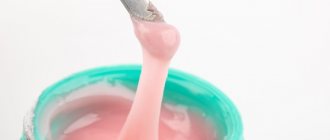
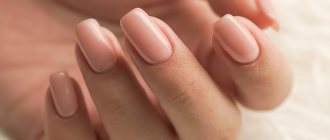
The technology of gel nail extensions is based on the use of a special material that hardens under the influence of ultraviolet rays - UV gel. It gives nails a glossy shine, smoothes out the uneven surface of natural nails and allows you to achieve the desired length. In most cases, it does not create irritation to the cuticle and skin lateral ridges.
Girls prefer UV gel because it:
- ideally corrects imperfections of the natural nail plate;
- allows you to achieve a glossy shine to your nails;
- suitable for modeling popular nail shapes;
- has high strength;
- easy to use;
- has no smell.
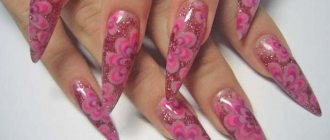
You can create designs on gel nails in a variety of ways. These nails are decorated with special decor: beads, rhinestones, sparkles, foil, three-dimensional elements. In addition, the surface of gel nails is painted with acrylic paints or gel paints for design. You can purchase attributes in the nail art department.
Nail extension tools
To do your own nail extensions you will need:
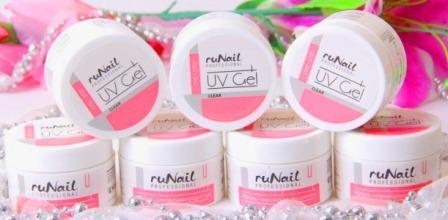
UV lamp, gel or acrylic, set of nail files, buff, primer, orange cuticle sticks, forms for gel extensions or tips for acrylic extensions. The gel is needed in three colors: white (if French extensions), pink or beige (camouflage) and transparent.
Photos of required materials:
How to properly care for extended nails
There is a misconception that the extension procedure can free you from nail care. Of course this is not true! If you don't take care of them, they will look unattractive over time. In order for your extended nails to please you, they need to be given attention and taken care of completely.
First of all, you need to protect your nails from sharp blows. It is imperative that you undergo a correction procedure (every two to three weeks) in order to eliminate minor defects. During the process of nail growth, slight deformation, wear and tear of the material and loss of shine of the artificial coating occur.
To remove nail polish from gel coating, you must use products that do not contain acetone. This also applies to the contents of nail polishes. It is recommended to use a base before applying varnish. Gloves should be worn when washing dishes, laundry, and cleaning to protect your artificial nails. Gel nails are afraid of alkalis and acids, which can destroy them.
By following simple recommendations, you can always keep your nail extensions in perfect and stunning condition.
Gel extensions
It’s very easy to do this at home; you just need to download a free online video lesson in Russian.
- We prepare the nail - remove the cuticle and file off the top layer with a large file, degrease it, apply primer
- Applying the form
- We apply the first layer of gel and give it a shape, send it to a UV lamp for drying. Taking off the uniform
- We degrease this layer of gel and apply the next one and send it to the lamp
- We file down the bumps and irregularities, adjust the shape and length with a file, degrease and apply the next layer of gel and send it to the lamp
Editor's choice: European manicure: pros and cons of the procedure
Before applying the last layer of gel, you need to apply a pattern or varnish, if the varnish is under the gel, in order to fix it with the top layer.
The procedure is not complicated.
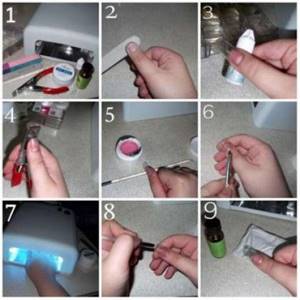
The correction is carried out in the following order:
- We file off the old gel with a file, apply a form and apply new layers of gel according to the same principle as for extensions.
What is the procedure for removing extended nails?
The gel is a very stable coating with good molecular bonding. Removing such coating is considered a difficult process. If you've ever heard of solvents that can easily remove gel from your nails, chances are you're talking about fake gel. High-quality and good gel coating can only be removed mechanically, by sawing.
This procedure should be carried out with utmost care so as not to damage the natural nail plate. You should not use a machine for this, because it adds the risk of local overheating of the nail surface.
To remove nails from non-photosensitive gel, the nails are wrapped in napkins or cotton wool soaked in acetone. Then wrap it in foil to prevent the acetone from evaporating. The nails remain in this state for about 15-25 minutes. Then the gel must be moved with a special stick (from the cuticle).
Of course, the entire coating cannot be removed using this method, so an emerald file with a hardness of 180 is used. Thus, the hardest remnants of the gel are cut off from the nail plate. After removing the residue, the nails are treated with a special lotion or oil and covered with a vitamin preparation.
If it is necessary to remove extended nails from a photosensitive gel, then the procedure initially begins with filing.
Many experts do not recommend removing nails unless absolutely necessary, because removing gel is a lengthy process with a high risk of damaging your natural nails. But professionals differ in their opinion that nails need to be given rest and “breathing.”
Video tutorial on gel extensions:
Of course, you may not succeed the first time, but gradually, by getting better at it, you can become an excellent nail extension artist and make your wildest nail design decisions come true, while making money!
Creating a nail shape using gel forms does not always work out the way you want. Especially for beginners. Don't worry, everything can be fixed with a file!
A file can be used to trim and remove unevenness, giving the nail the desired look.
It is best to start with short square nails, since this shape is easier to do than the rest. As a beginner, you first need to get your hand used to applying the gel and filing it.
To ensure that the gel sticks well to the nail, file off the top layer of the nail plate well and degrease thoroughly!
Editor's choice: Yuki flakes manicure: the twinkling of the Universe on women's hands
Also carefully remove the sticky layer from the gel before applying the next layer.
For a French manicure, it is better to use a stencil, since not everyone can do a French manicure evenly right away.
After you get the hang of creating the shape, you can start designing your nails. For a beginner, it is better to apply all kinds of patterns with a special tool, rather than with a thin brush.
You can first practice on an ordinary tip so that you can apply a neat design to your nail.
In order to build up well, it will take a little time and skill. Practice your skills, watch the video, learn and don’t be afraid!
Shapes of extended nails in the photo:
Videos and master classes. Is it really possible to learn this way?
Constantly watching videos can replace full-fledged courses. The only thing: in order to master gel nail extensions, novice nail technicians are advised to choose instructions that show this process step-by-step on video . This is the only way you can see the master’s movements and try them yourself.
On the Internet you can find quite a lot of well-known video courses on this topic. They are watched by both beginners and experienced professionals. Scroll through the advertisements and posters of your city. there is a master class on nail aesthetics coming up soon . There you can hear valuable advice on working with nails, as well as ask questions to professional nail technicians. They will tell you how to do gel nail extensions in conditions of constant rush and influx of clients, which you definitely won’t see in the video.
On the Internet you can see a huge number of videos showing how hands are transformed thanks to gel coating . If you watch them carefully, you will be able to catch all the details. Ask your nail technician friend if he watches manicure videos. The answer will be positive, because any experienced person always improves his knowledge.
Advantages and disadvantages of purchasing materials and tools as a kit
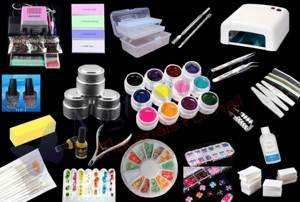
There are many gel sets with different configurations, but whether it is worth buying components for extensions as a set, the opinions of experts differ. Purchasing materials and tools as a kit has its advantages:
- Acceptable price. The price of the kit is always cheaper than the cost of materials purchased separately.
- By purchasing materials in a set, it is possible to purchase the necessary tools, even if a person does not fully understand the topic.
- During the work process, the master will need to additionally purchase only some components; all the rest will last a long time.
You can buy a set of tools and materials on the Internet in one click, which significantly saves the buyer’s time, but there are also negative aspects:
- It is not possible to select the required volume of a particular product.
- Products from only one manufacturer.
- In any case, ready-made sets will have to be completed. The principle of work of each master is distinctive, and it is impossible to take into account all individual characteristics when creating a kit. For example, every master is accustomed to working with a brush of a certain size. Kits rarely include silk, which is used to repair cracks on artificial nails, and every master should have this material, etc.
Professionals purchase all materials separately because they clearly know what they need for their work. To buy modeling gel inexpensively, it is better to buy it in large volumes, and gel that is sold in sets most often comes in a volume of 15-20 ml.
Preparing the nail plate for extensions
Before extensions, it is recommended to adhere to the following general rules:
- 4 days before the procedure, you should not do a trimmed classic or European manicure. These cosmetic services do not eliminate damage to the cuticle, which makes further installation of the material difficult.
- The regrown part of the nail should be up to 3 mm long. This size allows you to determine its shape, select the appropriate overlays and ensure reliable fixation of the material.
- 12 hours before extensions, avoid applying cream to your hands, and 3 hours before the procedure, refrain from contact with water.
The sequence of nail preparation includes 5 stages:
- Sanitation . Hands are treated with a disinfectant (alcohol, chlorhexidine).
- Cuticle treatment. The procedure involves softening it and gently pressing it to the nail base.
- Creating a Form. The overgrown edge of the nail is filed, giving the desired bend.
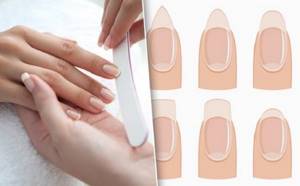
- Removing shine . The procedure is carried out with a nail file with an abrasiveness of 240 or less. A thin fat layer is removed. An overly sharpened nail will not withstand lengthening and may bend and break. The film is removed by moving a file from the cuticle to the edge of the nail. The removed coating will be restored in 40 minutes. You should calculate the time for performing the main lengthening procedure and perform stage 4 of preparation immediately before it. The sawn layer is removed from the nail and fingers with a brush.
- Application of primer . The action of the product lasts for 30 minutes. Laying out subsequent layers of artificial nails begins immediately after degreasing. Lost time leads to the restoration of the biological nail plate, from which the future nail can quickly peel off.
Famous brands
Nail Creation is a well-known company producing materials and tools for the nail art industry. It has been operating in Russia for twelve years and has established itself here as a promising company with a wide range of high-quality products.
Catherine Nail Professional is a respected and well-known company with products in demand all over the world. A well-known manufacturer of materials for gel extensions, non-acid gels, tips, decorative varnishes and salon equipment. This company has more than 20 thousand salons around the world.
Professional Nail Systems - a company that has existed for over 30 years, has invented tips for extension technology and gels for three-dimensional design.
Nails undergoing extension procedures must be completely healthy.
Tips for choosing
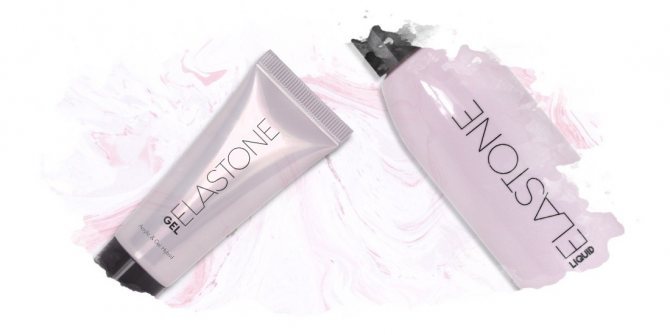
When choosing a brand, we recommend paying attention to several main factors:
- The increased strength of the material creates a durable coating: the nails are strong and do not break under influence.
- Wearability, resistance to external damage.
- Polygel composition. It is better that it be equipped with a vitamin and mineral complex to strengthen the nail plate.
- The absence of a strong odor is the key to comfort in the work of the master and for the model itself.
- Availability of a line of products from one manufacturer. We recommend purchasing coatings, tops and polygels from the same series, so you will strengthen your nails to the maximum level.
Based on the level of complexity of the coating for which your skills are tailored, pay attention to the image of the manufacturer. We recommend that you read reviews and ratings like ours in advance to have a more complete understanding of the products.

