Do you dream of beautiful and healthy nails?
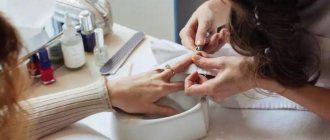
A hardware manicure will help keep your hands in perfect condition - simple, effective and safe. Today, this is the most progressive method of treating the nail plate and adjacent areas, which almost eliminates the possibility of injury. Manipulations are carried out using a special device - a milling cutter with several interchangeable attachments. It allows you to quickly and easily: get rid of the old decorative coating, give the desired shape to the edge of the nail plate, remove the cuticle, pterygium and deeply clean the lateral sinuses, sand the nail and, if necessary, level its surface before applying a new layer of varnish.
Which is better – edged or hardware manicure:
We are constantly looking for the most gentle ways to get our hands in order. The aggressive trimmed manicure was replaced by the European one, with its careful processing of the cuticle without removing it. However, this technology is not suitable for everyone.
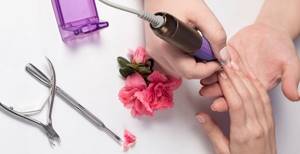
Hardware manicure is the next step towards the development of the nail industry. Its undoubted advantages:
- The cutter carefully removes only dead skin particles without damaging the cuticle, as often happens when trimming with tweezers. As a result, there is no danger of wounds with further possibility of infection. Not only thin, but also denser cuticles are effectively removed, leaving the nail hole smooth and neat.
- To perform a classic manicure with high quality, hands are first steamed in a bath, which provokes the spread of fungal diseases. Hardware treatment is performed on dry skin, so it is much more hygienic.
- After gentle removal with a cutter, the cuticle grows longer and does not become rough, as with a trimmed manicure.
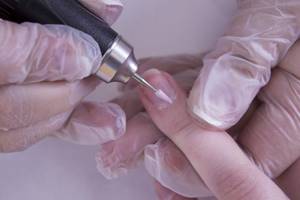
- Problematic nails are treated delicately: brittle, flaking, uneven, damaged by improper extensions. As a result, any gel polish then fits and lasts much better on them.
- The skin around the nails looks healthier and more well-groomed. You can also use a cutter to remove calluses from your fingers if they have formed from work.
- The procedure is easy to carry out at home. It is enough to go through video training, watch relevant lessons and step-by-step photos from professionals, and then practice a little to achieve tangible success. The machine for hardware manicure is so easy to use that high-quality nail treatment will not be a problem even for beginners.
- All necessary operations are performed in 30–50 minutes. For a trimmed manicure, the master will need 1.5 hours.
Machine processing is often called the improved European method. Problems can only arise if the nails are in very poor condition. It will not be possible to bring them back to normal in one session.
Peculiarities
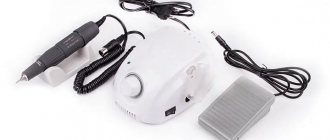
The description of hardware manicure is very similar to dry European manicure. Only if in the second case special hand tools are used to remove dead skin, cells and roughness of the nail, then in the first case a device is used. The device for this nail treatment can be imagined as a small milling machine. It consists of a handle, a motor and a shaft on which you can install a variety of attachments. Models are represented by the brands Vitek (Vitek), Scarlett.
Photo – Hardware manicure
Due to the complete absence of cutting tools, this type of hand care is used for those with very delicate skin and blood vessels close to it. To remove the cuticle, a special rough attachment is used, which simply removes the top dead layer of skin with multiple passes. This makes this technology not only the safest, but also practical, because if you have a device for hardware manicure, absolutely anyone can do it.
What do you need for a hardware manicure at home?
First of all, we need a router and a set of attachments for it. In addition, you will need additional tools:
- Orange sticks or pusher to push back cuticles.
- A special brush that is used to remove dust while processing nails.
- A file (preferably glass or ceramic) with a hardness of 180 – 240 grit.
- Often craftsmen buy a special desktop vacuum cleaner for the convenience of sawdust extraction.
What you need to know about the structure of the nail to use a milling cutter
For the procedure to be effective and safe, you need to know some physiological features. You should start with the skin. It has 3 layers:
- Dermal – the deepest. If you touch it, it will bleed.
- Epidermal - protects the base layer from damage. But it also cannot be cut, it contains living cells.
- The horny layer is a dead layer consisting of several more layers. You can remove everything except the bottom one, otherwise regeneration processes start and the cuticle grows faster.
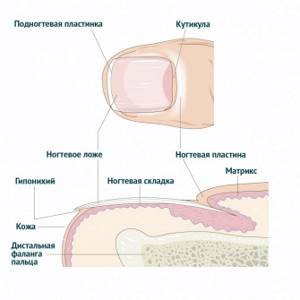
The nail plate is surrounded on three sides by skin ridges. The one located at the lower edge is called the eponychium. Its main function is to prevent harmful bacteria from entering the nail root. That is why it cannot be touched. The cuticle is the dried part of the eponychium. It is necessary to remove it along with the pterygium (skin that has grown on the plate). Based on this, it is important to consider the following points when doing a manicure:
- The nail bed contains nerve endings and capillaries. If you damage them and cut off the excess, it will hurt, after which a wound will form. It takes a very long time to heal.
- Only the stratum corneum can be processed with cutters. But you also need to not overdo it, so that the body does not begin to quickly replenish lost living cells.
- To understand whether part of the cuticle is horny or not, you need to bring your fingers close to the lamp and examine their color. If it is pink or red, you cannot touch such skin.
How to choose a router for home hardware manicure?
- The power of the device must be at least 35 W. If you plan to do manicures not only for yourself, but also for clients, the optimal value will be 100 - 120 W.
- Another important indicator is speed. For a hardware manicure at home, a cutter rotation speed of 20 thousand rpm will be sufficient, and a pedicure will require 35 - 40 thousand rpm.
- The device should not be too expensive, but you should avoid cheap models as their quality leaves much to be desired.
- A machine with reverse is preferable.
- It is important that the handle of the router has a collet clamp - it is the most convenient and reliable, and is also equipped with a cooling system.
Review of popular devices for home use
Hardware manicure (training for beginners is also accompanied by the choice of the first device) cannot be done efficiently without a convenient tool. When choosing, they take into account in which room it will be produced and how the device will be used.
There is no need to spend money on expensive equipment if you have to do a manicure on yourself at home.
| Name _ | Production | Description | Advantages | Flaws | Average cost in Russia |
| RUNAIL PM-25000 | Russia (Assembled in China) | Inexpensive model ideal for home use. |
|
| 4500 rub. |
| TNL MP-68 | South Korea | Rich functionality for little money. Set includes 4 cutters. |
|
| 4300 rub. |
| IRISK JD-400 | USA (Assembled in China) | Bidirectional rotation mechanism with good power for modest money. |
|
| 5500 rub. |
| SCARLET MS95006 | China | A completely budget option for the simplest nail work. |
| Unsuitable for serious manipulations with the nail plate. | 700 rub. |
| VITEK VT-2201 VT | China | Cheap set for home nail care. |
|
| 2000 rub. |
| STRONG 90N 102 | South Korea | A good quality device in the mid-price segment, suitable for all types of manicure work. |
| The kit does not include attachments. | 17,000 rub. |
Don't miss the most popular article in the section: How to extend nails with gel polish. Nail extension instructions for beginners. Photo.
Description of cutters for hardware manicure
Diamond tips work best with thin cuticles; you can “trust” them with the most complex nails. However, the cost of such products is high. When performing hardware manicure at home, two cone-shaped diamond cutters of different diameters will be quite sufficient.
Diamond cutters
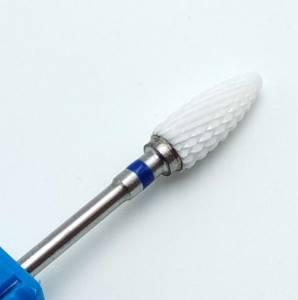
Ceramic cutters
Advice: ceramic nozzles are ideal for beginner craftswomen. They are considered the safest because they do not injure the skin and do not heat up during operation.
Pay attention to the markings of the cutters. For manicure, you usually need a tool with a red and blue line, which means low and medium abrasiveness, respectively.
Which attachments should I use for what?
| Type of cutter | Function | |
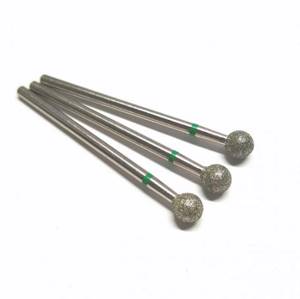
| Boron (ball) | Thins and gently removes the keratinized part of the cuticle, polishes the nail fold |
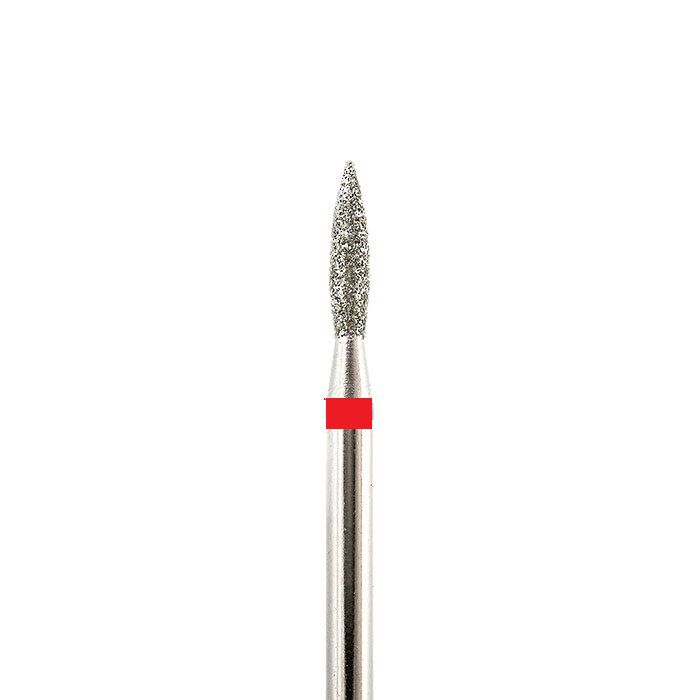
| Flame | Treatment of the lateral sinuses |
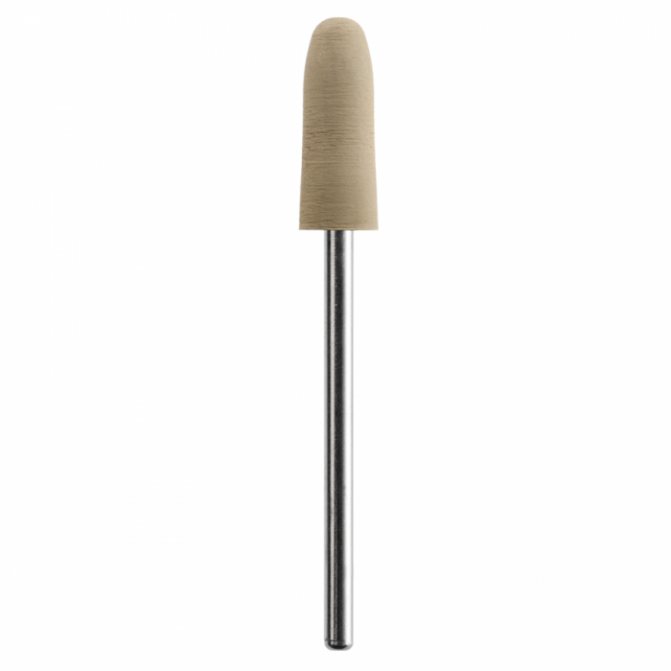
| Cone with rounded point | Cleaning the pterygium, making the side ridges smooth. | |
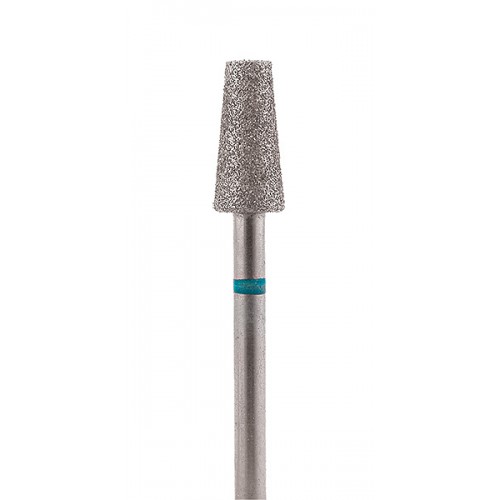
| Frustum | Sanding the skin adjacent to the nail plate |
| Reverse cone | Forming the free edge of the nail during a French manicure | |
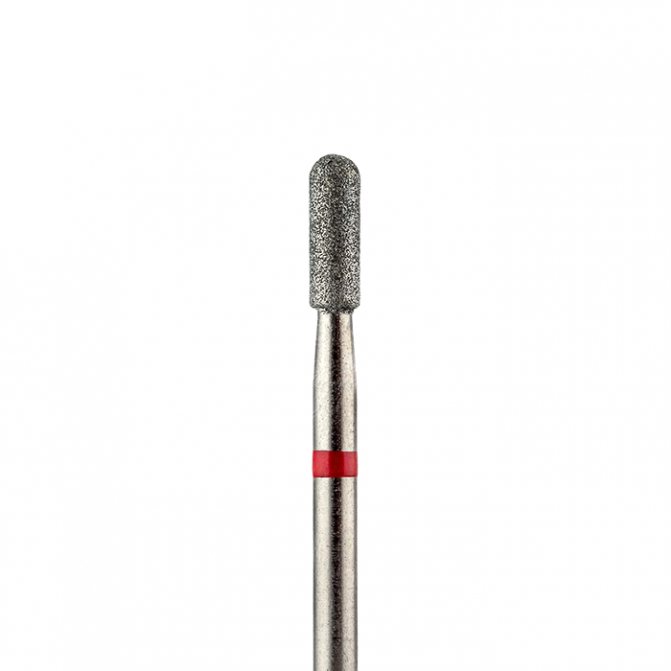
| Rounded cylinder | A universal tool. Lifts cuticles, cleans nails from pterygium, polishes, removes artificial coating. |
| Needle | Deep cleaning of the lateral sinuses and sinuses | |
| Silicone polisher | Adding gloss to the nail plate and surrounding skin |
Cleaning the pterygium and lateral sinuses
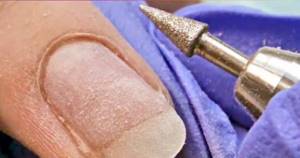
The nail can be divided into three treatment zones: central, lateral sinuses and along the lateral ridges.
- First we go through the central part with the nose of the cutter.
- Then, using smooth smoothing movements, we move from the center to the sinuses. It is important not to pull the skin on the sinus areas and make sure there are no adhesions in the pockets.
- The final stage is cleaning out the pterygium in the lateral sinuses. It is performed with the sharp part of a cutter with a narrow nose downward and slightly to the side, along the line of the side roller. Only the nose of the cutter works so that the belly does not form cuts. At this stage, it is important to remove all the pterygium without sawing through the growing points.
Top 7 models of devices for manicure and pedicure: select and evaluate
How to properly do a hardware manicure at home
Attention: To treat your own nails, it will be enough to read the step-by-step description of the hardware method on the Internet and watch the corresponding video materials intended for training beginners. However, if you plan to serve clients, you should complete professional courses where they will tell you about the secrets and intricacies of this procedure.
Hardware manicure for beginners step by step
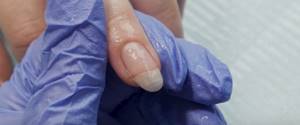
Apply disinfectant solution to your hands.
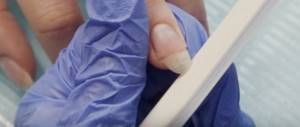
We give the free edge of the nail plate the desired shape with a file with an abrasiveness of 180 grit.
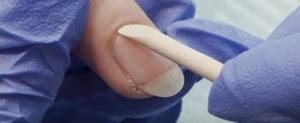
Before doing a hardware manicure, carefully push back the cuticle using a pusher or a wooden stick (the second method is more delicate).
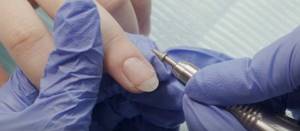
We remove the pterygium and lift the cuticle using a cone-shaped cutter with a rounded tip.
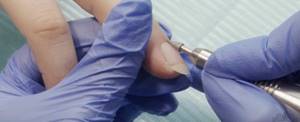
Important: The nozzle must be positioned parallel to the nail plate so as not to accidentally make a cut.
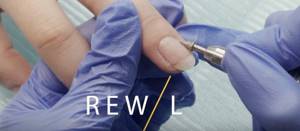
We work in reverse. When moving the cutter to the right, move your hand to the left and vice versa. Correctly performing a manicure involves first treating one side of the nail on all ten fingers and only then, after switching the cutter, the other.
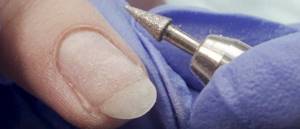
At the same time, we grind the side rollers.
Manicure for beginners at this stage is optimally done at 15 - 17 thousand rpm.
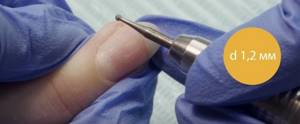
We thin the cuticle with a spherical bur, d 1.2 mm.
Important: Hold the cutter perpendicular to the nail plate. We move the ball only along the skin so as not to leave scratches. It is very important, when going through the sinus, not to change the position of the cutter, following the shape of the nail, otherwise you can snag and tear the cuticle skin. We guide the nozzle all the time in one direction, turning not it, but the finger.
We cut the cuticle with a round bur, d 3.0 mm, with fine abrasiveness. Here you need to move parallel to the nail, repeating the shape of the hole. We work at 17 thousand rpm.
Important: do not hold the ball at one point for more than 5 seconds. Even if the desired result was not achieved, it is necessary to move to another area to avoid overheating of the skin.
Using a rough grinder, we process the nail plate for a decorative coating. You can replace the cutter with a buff with the same abrasiveness.
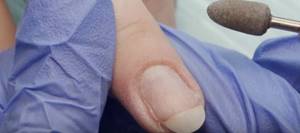
Use a gray polisher to go over the skin adjacent to the nail. The rotation speed of the cutter should be no more than 7 thousand rpm. We work only with the tip of the polisher, making light pushing movements and moving along the cuticle growth zone.
Using oil with regenerating properties, we nourish the nails and, at the same time, remove sawdust from them. Remove excess with a napkin.
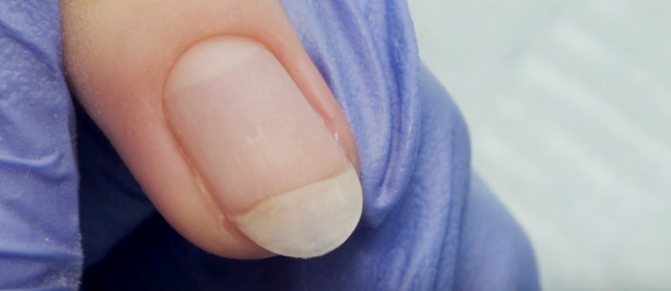
The main mistakes in performing a manicure
- Careless attitude towards the router and other working tools. Poor quality, poorly cleaned of sawdust, undisinfected attachments can lead to problems with nails and skin of the hands.
- High speed. While we are just undergoing training in hardware manicure, we cannot work at high speeds, this is fraught with injuries.
- Incorrectly selected cutters when removing pterygium. “Bullet” and “flame”, loved by many beginners, do not open the cuticle enough and also leave cuts on the nail.
- Working with a polisher. Do not hold the cutter in one place for more than 1 second or bring it close to the edge of the nail.
- Incorrectly selected abrasiveness. Nozzles with blue markings are suitable for coarse cuticles, while those with red markings are only suitable for thin or weakened cuticles.
- Continuous operation of the device. It is necessary to stop every 6 - 8 minutes to allow it to overheat.
- Cuticle remover oil should not be applied before the procedure, as its effectiveness will not increase, but will decrease.
Nails after a hardware manicure should be ideal in shape and retain their original appearance for a long time.
Toolbox processing
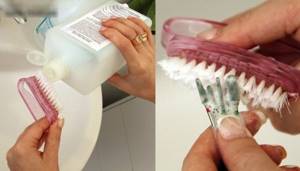
Tools and attachments should be cleaned after each use. The cutters are washed with water, and at the same time, particles of skin are removed from them using a brass brush.
Cleaning in an ultrasonic sterilizer is also a good option. It works on the principle of purification by vibration, which causes the liquid to vibrate. Microbubbles formed as a result of such exposure explode, clearing dirt from hard-to-reach places on the instrument.
Instruments are treated with antiseptic solutions or sterilized in special cabinets, for example, in a dry heater.
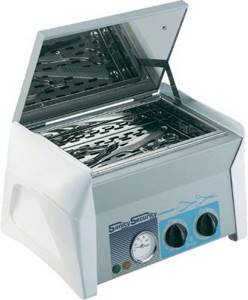
All instruments made of solid materials are placed in it, after which they are heat treated in an environment with a temperature of 180 ᵒC for 30 minutes, then removed and placed in sterile containers with a sealed lid.
Transition rules
The transition from the classic to the unedged method takes quite a long time. If certain conditions are met, the transition period can be significantly eased:
- you need to give the cuticle time to recover; you cannot trim it;
- the skin around the nail plate should be treated with oil twice a day, nourishing and moisturizing the cuticle;
- products to slow down cuticle growth allow you to do unedged manicures less often.
Manicure tools must be well sharpened. A suitable remover is selected individually. You need to take care of your hands and nails more often, nourish and moisturize your skin.
Every woman can do an unedged manicure herself, since the procedure does not require any special skills.
Gradation of cutters by hardness with color marks
All products have standard color coding according to the degree of abrasiveness (hardness). How to distinguish them?
- Black and purple are the most embossed surfaces designed for removing artificial nails.
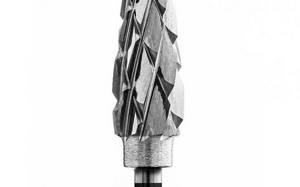
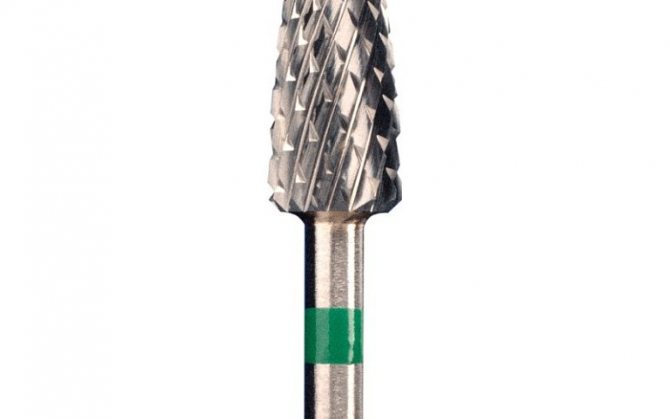
- Green – high hardness. This tool is used to remove keratinized corns and calluses on the feet, as well as varnish and decorative coatings from the toes.
- Blue – medium hard. It is used to clean calloused, damaged skin.
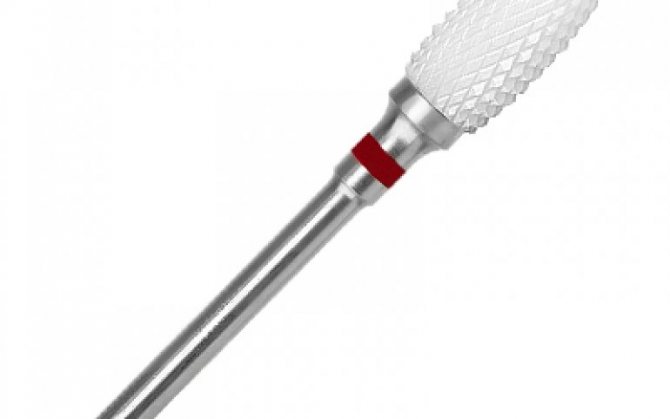
- Red is soft. Universal degree of abrasiveness, ideal for working with skin and plates, stripping pterygium. Products with two risks - increased softness.
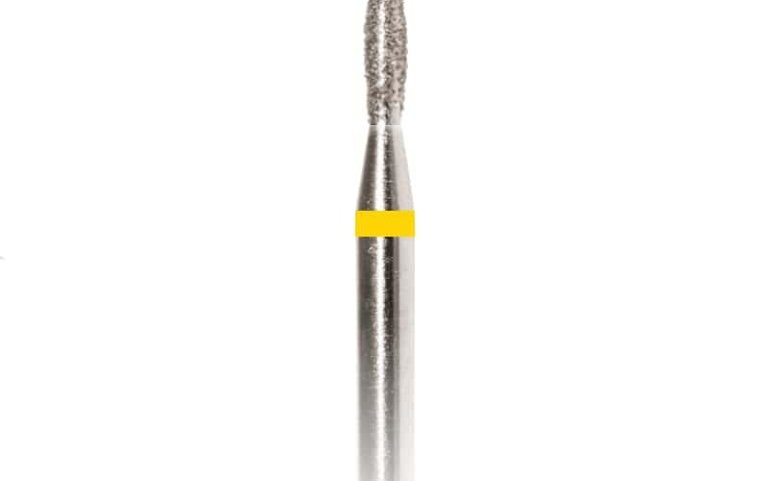
- Yellow – super soft impact. Used for delicate, allergy-prone skin.
- White – ultra soft. They perform small, delicate work on nails and treat very delicate skin. They are used extremely rarely due to low productivity and narrow specialization.
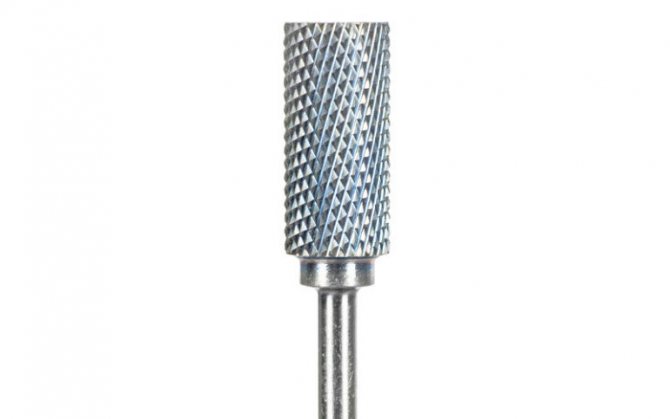
Advice from experienced professionals
When choosing oil to soften rough cuticles and eliminate hangnails, you should prefer apricot or almond.
To prevent problems with nails, it is recommended to rub castor oil into the plates daily. It has a noticeable strengthening and growth-accelerating effect.
To eliminate inflammation of the cuticle, you need to use tea tree oil, as well as essential oils of eucalyptus, grapefruit, lemon, and lavender. You should use no more than 2-3 drops per 1 tsp. base oil (almond, olive). Only tea tree oil can be applied in its pure form.
It is better to apply remover to varnished nails to soften the aggressive effect of the drug.
Preparation
Trim manicure
Immediately before the procedure, the nails are corrected using a nail file. The movements go from the edges of the nail plate to the center. To shorten the length you need to use a coarse file.
The second preparatory step before the procedure is a steam bath. To prepare it you will need water heated to 35 degrees. You can dilute it with liquid soap, sea salt, and essential oils. Steam your hands for 5-10 minutes and dry them with a paper towel.
You also need to prepare all the necessary manicure tools. They must be disinfected.
