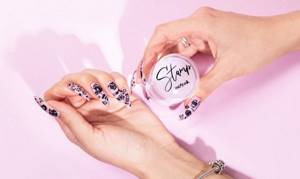
Stamping is an opportunity to make a complex, effective design in just a few minutes! One wave of the hand - and drawings appear on the nails, which would take much more time and effort to draw with a brush! This is why stamping is one of the most popular designs today.
What are the advantages of stamping, how to create a design correctly, what secrets does the technique conceal? Let's find out in this article.
What is stamping
Stamping, from English. Stamping is a technique of applying a design to nails through a stencil using a special stamp. The whole point of the technique is to fill the pattern engraved on the plate with paint and then imprint it on the nail plate.
In order to transfer a design to a nail, you need:
- Apply paint to the desired pattern;
- Print it on a stamp;
- Transfer from the stamp to the nail.
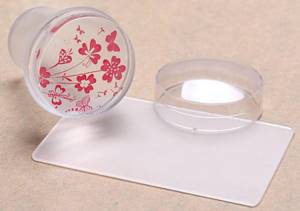
To create a design you need:
- A stencil is a plate with a pattern extruded on its surface, which is filled with paint and transferred to the nail;
- Stamp – a silicone or rubber pad with a handle for imprinting a pattern from a stencil;
- A scraper or scraper is a plastic tool for removing excess paint from the surface of a stencil plate.
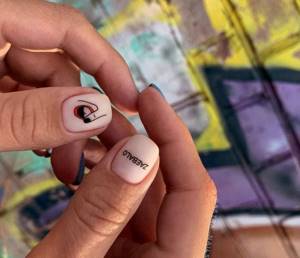
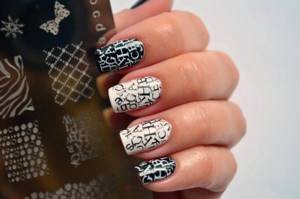
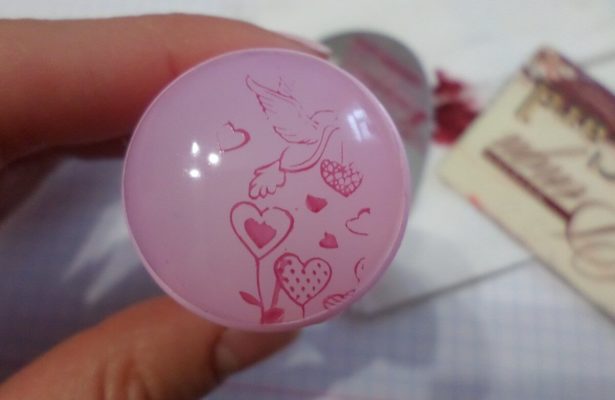
Exclusive “insta-world” prints
If you are just starting to explore the world of incredible and magical stamping, then we recommend that you take a closer look at insta-world prints. The plate contains many original and bold inscriptions. The most popular inscriptions are: with love, high, space, just, only.
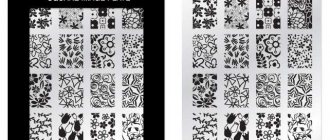
Stencil
A stencil is a flat plate with patterns placed on it. Based on the material, there are two types of stencils:
- Plastic. It is used when working with thick paints, as it has wide and deep embossing, where liquid products spread. They are cheap, but not durable;

- Metal. Suitable for working with stamping paints of different densities. It lasts quite a long time, but has a significant drawback - over time, small scratches appear on the surface of the stencil, where paint flows and spoils the result.
Most often, craftsmen use metal stencils because of their practicality, so we will discuss them in a little more detail.
Stencils from different manufacturers differ not only in metal density, but also in shape. There are three of them:
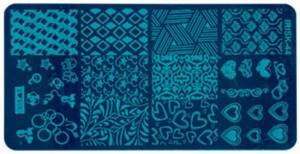
- Plate – rectangular plate;
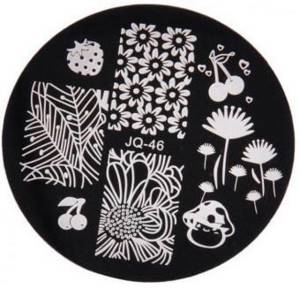
- Disk – round stencil;
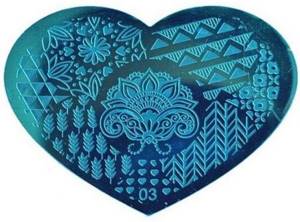
- Figured stencil – in the shape of a heart, rhombus, bow or hexagon.
From a functional point of view, stencils of different shapes do not differ from each other.
What else you need to know about stencils:
- Stencils made from the same material differ from each other in the depth of embossing . The deeper the design is extruded, the better quality it will be imprinted and transferred to the nail. The depth can only be checked experimentally. The deepest among the metal plates are considered to be stencils from the MoYou London brand;
- The stencil has a protective film on the working surface, which can only be seen upon closer inspection . When using for the first time, lightly scratch the empty part of the plate with a sharp tool - scissors or a pusher. If there is a film, it will come off and can be removed;
- Different designs are applied to the stencils, and not only in size . But also in terms of coverage area. They can be continuous or partial. To work with clients, it is better to have both.
What to look for when purchasing a stencil plate:
- Working surface . Make sure that a protective film is applied to the plate to prevent minor scratches during transportation. If there is no film, the patterns will most likely be transferred in stripes;
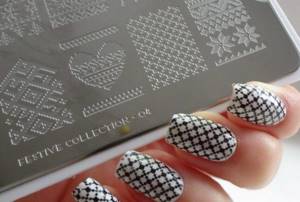
- Image size . This applies to solid patterns - lace, stripes. For short nails, choose designs of small size, for long nails - almost twice as large. Get both templates. If you decide to use short designs for long nails, there will be an area on the nail without a design - the stencil will not be of sufficient size;
- Drawings. Up to 30 different designs are applied to the plate. Don't buy a plate if you only like one - it's a waste of money. Ideally, there are 2-3 patterns on the plate that will be used. Attractive designs are often found on Irisk slabs.
Nail treatment
To make stamping look neat, you must first pay attention to proper preparation of the nail plate. If you leave uneven areas on it, the risk of incomplete transfer of the design to the surface increases.
A rough manicure on one hand usually takes up to 20-25 minutes:
- Adjust the shape of the free edge with a file;
- Apply remover or hydrogen peroxide to soften the cuticle;
- After a minute, use an orange stick or pusher to push away the keratinized epidermis and lift it;
- Using pliers, cut off the dry skin that has grown on the nail;
- Remove excess sawdust;
- Using a buff, polish the surface of the nail so that it becomes smooth, removing all natural irregularities and roughness.
After this, degrease the nails and use a dehydrator. This way you will increase the adhesion of the applied coloring pigments and the nail, which will increase the long-term preservation of the result of the work.
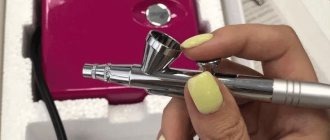
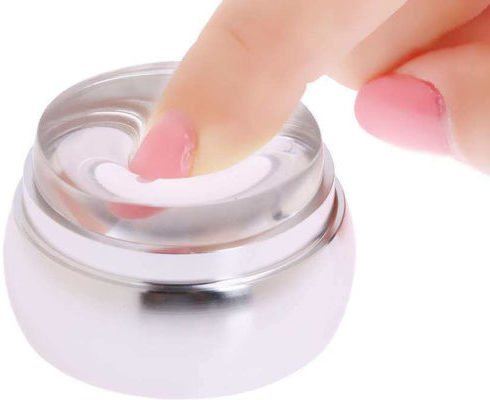
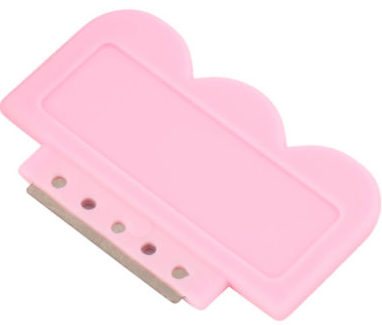
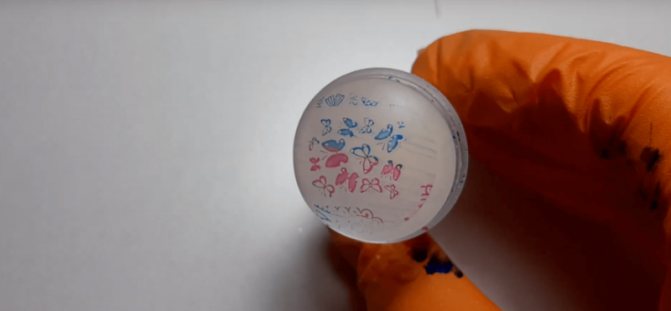
Stamp
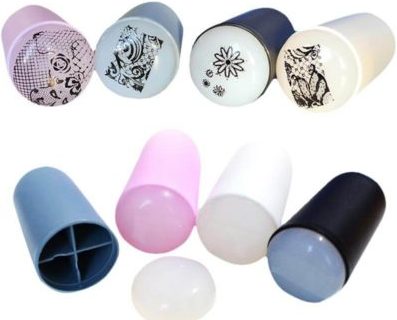
The stamp is a pad with a handle for transferring the pattern onto the nail. Based on the material of the pad, there are two types:
- Rubber is often a hard stamp that does not transfer the pattern well and is printed with “bald spots” in the area of the cuticle and side ridges;
- Silicone – the pad is always soft, sensitive to pressure. This stamp can be used to transfer any design.
In addition, the stamps differ in pad diameter and shape - round and square. The shape of the device does not matter, and the diameter is selected based on the size of the nail. For a pedicure, for example, a large size stamp is purchased, and for a manicure on short nails, a small one is purchased.
It is advisable for a manicurist to have stamps of different sizes, but for home nail design, choose the one that is the right size for you.
Some tips for choosing:
- Check the shape of the pad - it should be the correct semicircular shape. Even a slight deviation will harm the integrity of the pattern on the nail;
- Density. The softer the pad, the better the pattern will be imprinted on the nail plate;
- Cracks and breaks . Even a small tear indicates imminent damage to the stamp - the crack will increase over time and the tool will be unsuitable for work;
- Color . Stamps are available in color and transparent. Choose translucent stamps - through their cavity it is convenient to try on the pattern on the nail and accurately print in the chosen place.
- Availability of replaceable pillows . Stamps from some manufacturers allow you to replace the working surface when it wears out. Replacement pads are sold separately and are cheaper than buying a new stamping tool.
Bright new prints from Lesly plates
Lesly plates are filled with various shapes, stylish elements, figures, straight and broken lines, edges, corners. Create different compositions and choose various types of nail designs of any complexity. If you don’t know what you want, the new collection of “mix” prints is the perfect solution to combine the incongruous. Lesly Set 3 plate is a canvas for experiments: cones, pyramids, prisms, circles.
How to use a stamp correctly
When working in the stamping technique, not only high-quality materials are important, but also adherence to technique. When imprinting a design and transferring it onto your nail, there are several rules that help you create the perfect design.
It all depends on the material of the pad:
- Rubber stamp . Transferring the design to the pad from the stencil is carried out with firm, pointed pressure. When imprinted on the nail, the pad rolls from one side roller to another. Rubber products are best used when working with paints and varnishes that dry in air. Lamp inks will smudge when printed;
- Silicone . When working with a silicone pad, the design is transferred from the stencil by rolling movements from left to right, and on the nail, on the contrary, with one point press.
Treat the silicone stamp only with a degreaser - acetone spoils the working surface and it loses its properties. For intermediate cleaning, use tape or a clothes cleaning roller - press the working surface of the stamp against the sticky part of the tape or roller. The same method is used to remove small fluff after cleaning with a napkin.
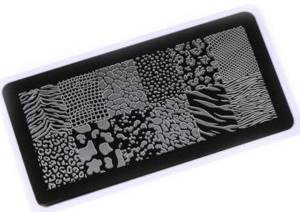
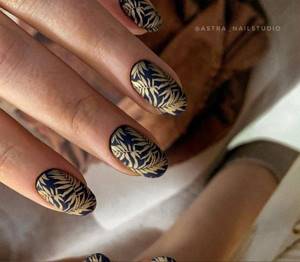
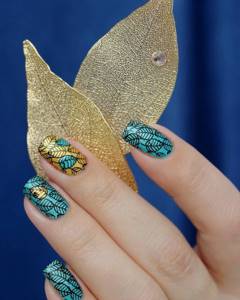
Original plant patterns combined with geometry
Plant motifs look very laconic and feminine on nails. The prints feature a variety of wavy elements that are ideal for creating unique, minimalist designs and compositions. In combination with geometry and bright varnishes, nails look impressive and attractive.
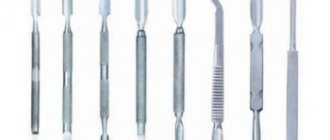
scrapper
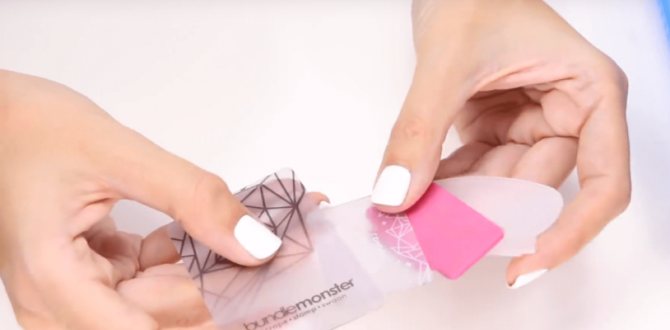
A scraper is used to remove excess paint from the stencil. There are scrapers:
- With blade. On the working edge of such a tool there is a small blade designed for thoroughly cleaning the surface of the stencil. But the blade damages the plate, leaving scratches;
- No blade. This scraper removes paint just as well, and it does not harm the stencil.

Try using a regular plastic card as a scraper - it turns out no worse.
How to work as a scraper correctly:
- Wipe the working edge of the scraper with degreaser;
- After applying a vertical stripe of paint to the stencil, place the scraper against the plate at a 45-degree angle;
- In one confident motion, pull the scraper to the side, removing excess paint through the pattern;
- Repeat removing the paint one more time to make sure the design is clean.
Try to scrape no more than twice, especially when working with air-drying varnishes.
How to choose stencil plates, stamps and stamping paints:
Review of materials and tools for stamping
Variety of Art Lines prints
Art Lines prints have taken the year by storm with their extraordinary expressive techniques. Your manicure automatically becomes incredibly feminine, sophisticated and seductive. The prints are suitable for medium and long nails. The plates consist of realistic silhouettes, sketches and are not limited by the number of sketches.
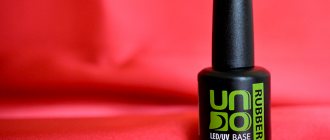
Paints and varnishes
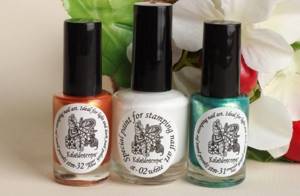
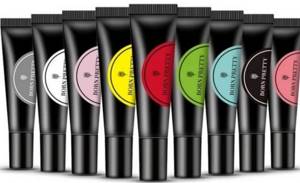
For stamping, paints and varnishes are used, the labels of which say “for stamping”. Such products are available from many brands, for example:
- TNL;
- Dance Legend;
- El Corazon;
- Born Pretty;
- MoYou London.
All of these products differ in the saturation of their pigment and the speed at which they dry. For example, TNL varnishes dry quickly - after 10-15 seconds the varnish stops imprinting, and Dance Legend takes a little longer to maneuver - about 20 seconds.
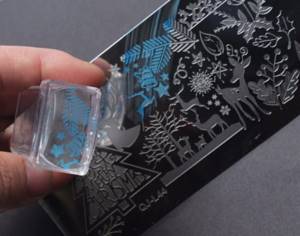
A few important points about paints:
- The pigmentation of the varnish can be checked by printing it on a black background . The black base makes it clear how the nail polish will behave on the nails. If the pattern is saturated, it will be so on other substrates. If the print is dull, it is better to use paint with pastel varnishes.
- The best pigmented polishes are Born Pretty and Dance Legend - almost all colors are rich and bright. But TNL inks print poorly, although there are several good shades, for example, 05 blue.
How to choose the right gel polish: we analyze all its types and top brands
Gel paint
Working with gel paint has its own characteristics, so study them carefully to make your choice regarding the dye for stamping.
- Good paint is distinguished by a clear outline when transferring the design . Gel paints rarely meet this characteristic, which is why more and more artists are working with airpuffing paints. They are better pigmented and denser, so they do not smudge;
- Paints are less pigmented compared to stamping varnishes;
- The gel paint is dried in a lamp , so you don’t have to rush to transfer the pattern.
Choosing a hybrid lamp for manicure and our rating
There are fewer manufacturers of gel paint than manufacturers of stamping varnishes. Common brands:
- Lunail;
- Born Pretty;
- Nail Republic.
You can create a design using gel polish, but when transferred to the nail it will lose its saturation and will most likely spread.
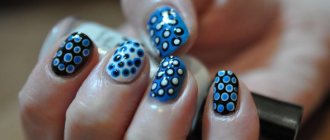
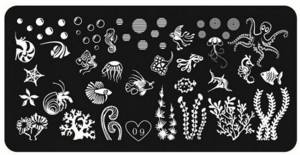
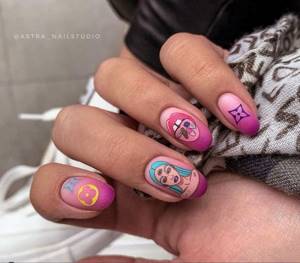
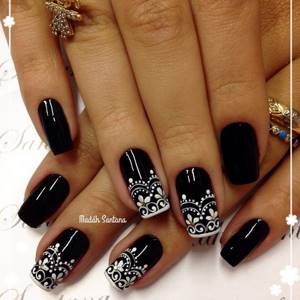
Floral
A current and very common theme in the design of French manicure with embossing is floristry, which includes images of twigs, flowers, and buds. A manicure with a floral print looks gentle and elegant and is sure to suit romantic people. You can use several variations of plant motifs on your nails at the same time, sometimes creating complex and intricate patterns.
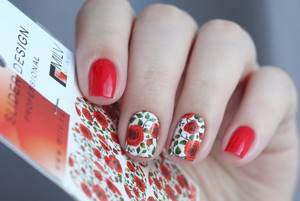
Roses
This model comes in a base coat of white, yellow, light blue, blue and beige. Sequins, rhinestones, and sequins are used as additional decorations.
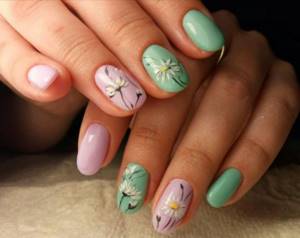
Daisies
These flowers are depicted not only in traditional white and yellow colors. Blue, orange, green and pink shades are also allowed here. The core of the daisies is often replaced with a handful of gold sparkles or rhinestones. The print can be interspersed with a continuous coating of several nails with a rich yellow varnish with a sugar effect.
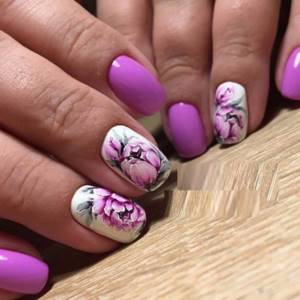
Peonies
A distinctive feature of this model is its characteristic oriental style. This design is not characterized by patterns, but by clear images that focus on the smallest details. It is better to refuse additional decoration of the print so as not to spoil the specific style of Japanese painting.
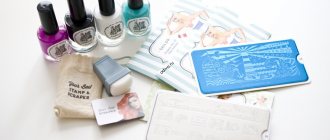
Step-by-step instruction
Stamping requires high speed, so prepare all the tools and equipment in advance:
- Products for standard gel polish – base, color and top;
- Stencil plate;
- Paint – gel paint or stamping varnish;
- Stamp;
- Scraper;
- Degreaser;
- Nail polish remover;
- Liquid tape;
- Tape or clothes roller to clean the stamp;
- Lint-free wipes.

If you use tape for cleaning, wrap it with the sticky side in advance. Open the bottle of paint, take out the napkins and arrange the tools conveniently so that you don’t waste time when printing.
- Apply the base to your nails and dry in a lamp - in ICE for 60 seconds, in UV - 120;
- Apply colored gel polish - if the product is not thick, then in two layers, allowing each to dry;
- Remove stickiness from a colored background using a degreaser;
- Choose a design on the stencil;
- Treat the pattern and scraper with nail polish remover;
- Shake the bottle of stamping varnish, rolling it in your hands;
- Cover the skin around the nails with liquid tape if the pattern covers the entire nail. If it is a single fragment, it is not necessary to close the skin;
- Apply paint in a vertical stripe to the side of the design and with a quick, confident movement, pull it to the right with a scraper;
- Transfer the pattern to the stamp. On rubber - by point pressing, on silicone - by rolling;
- Try on where to place the design on the nail and print it;
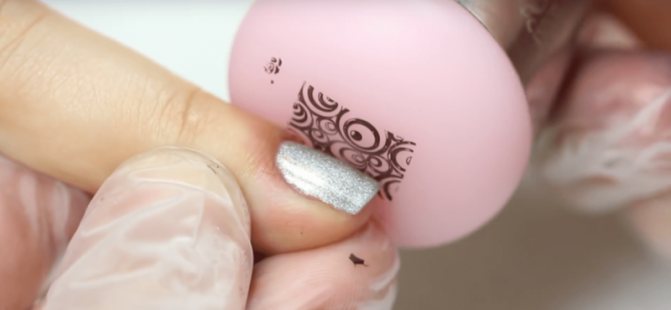
- Press the edges of the design onto the nail with light pressure and remove the liquid tape;
- Wait for the paint to dry, cover with topcoat and dry in a lamp.
Only after finishing the work and the design is completely ready, start cleaning the workplace - swirling the varnish, wiping the surface.
Detailed analysis of 9 stamping methods:
Stamping techniques
Flaws
- high cost of high-quality branded tools;
- inability to create a three-dimensional pattern;
- the need to redo the entire nail in case of mistakes
- difficulty of working with the right hand (for right-handers).
But minor defects in manicure, such as scuffs, staining, blurring of the design line, can be corrected before the varnish dries. To do this, use an orange stick, a toothpick and a lint-free napkin.
Another option is to glue rock crystal, matte pebbles, or a crumpled piece of foil to the problem area.
Why is the picture not printed?
A problem that often arises is that the pattern is not imprinted on the nail. There are several reasons for this:
- Low operating speed . Stamping varnishes dry in the open air, so the process of transferring the design from the plate to the nail should be short. After just 15 seconds, the pattern prints worse, and after 20 it dries out completely;
- The protective film has not been removed from the stencil;
- To process one of the tools - a stamp or plate, a liquid containing glycerin or oils was used and the paint could not adhere to the surface;
- Wrong stamp . Rubber stamps get the job done, but are more likely to cause problems. A pad that is too hard does not intercept the design from the stencil;
- Sticky silicone stamp . A stamp with natural stickiness is not able to absorb ink. Before first use, go over the pad with a buff or a finely ground file. Just don't press too hard and don't polish for too long - 4-5 light strokes will be enough. Always have two stamps in your arsenal - one sticky, the other not. Stickiness is used in work, for example, when working with pigments.
Rubbing: what it is, how to use it and all application methods with step-by-step instructions
Stamping helps you create an original design even without artistic skills, and a huge selection of stencils opens up endless possibilities for craftsmen.
Tell us about your experience and any difficulties you encountered in the comments! Comment
Brilliant
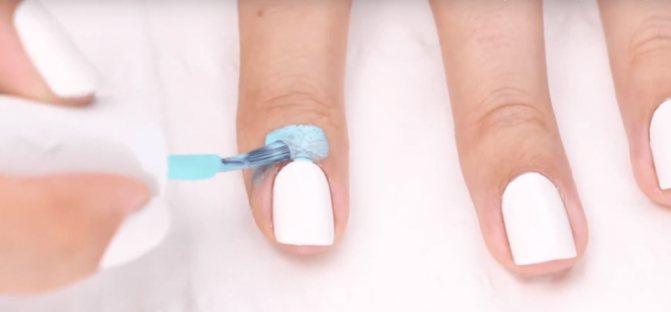
For this technique, a material with good residual adhesion should be used. This is usually a gel polish or rubber base. Conversely, the base should not have a sticky layer so that the film is only printed on the drawing.
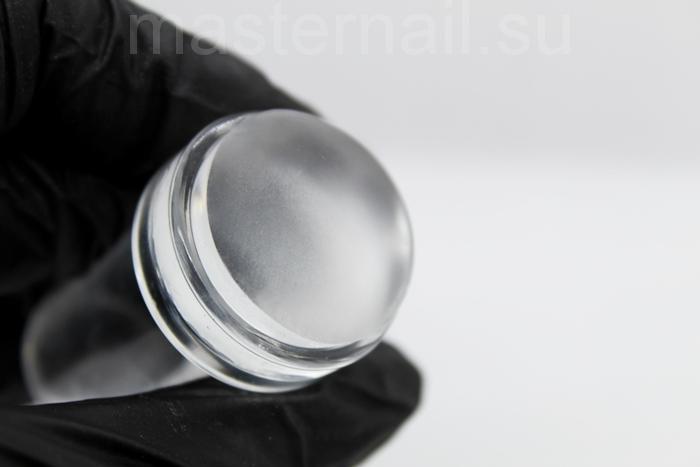
Before working with regular gel polish, you need to prepare a stamp. Namely, go over it with a buff, give it a slight roughness, remove dust and clean with a degreaser. The photo below shows what a prepared stamp should look like if you want to stamp with other materials rather than special paints.
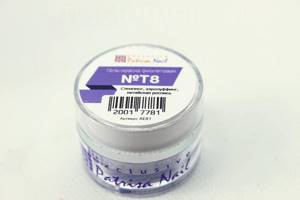
For the sample we used Patrisa Nail varnish, which is intended for embossing and Chinese painting. It is dense and highly pigmented. You don't have to put a lot on the plate.
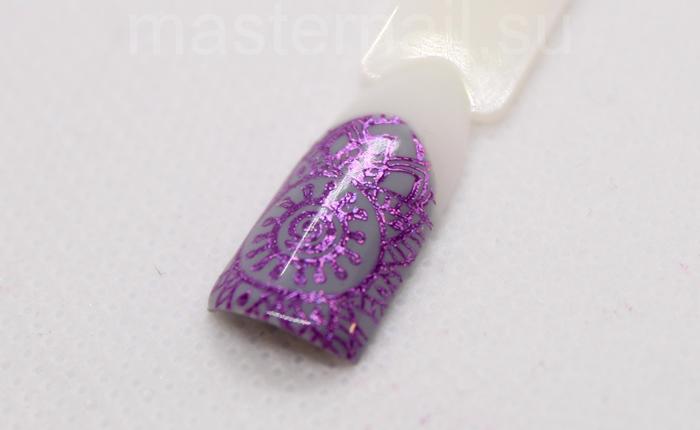
The tips are coated with gray gel polish and a thin layer of non-sticky topcoat.
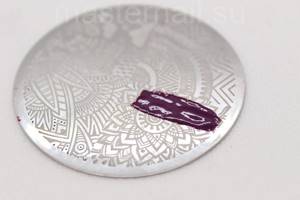
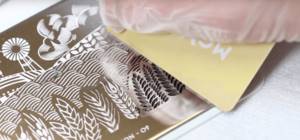
- Step 1 - Apply a small amount of paint to the edge of your chosen design.

- Step 2: Then use a scraper to run it over the plate a few times. Both times you need to move in the same direction so that the paint does not get dirty on the plate.
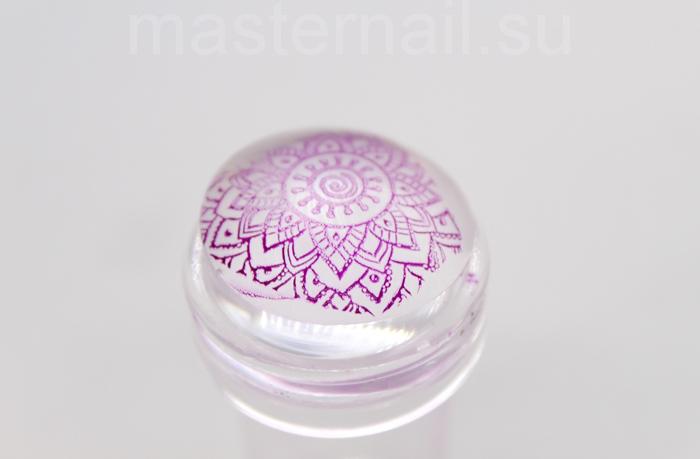
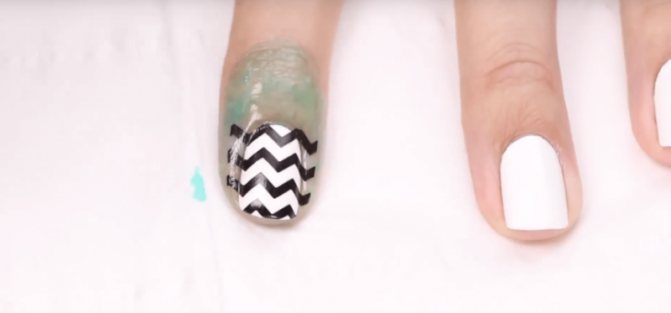
- Step 3 – Then transfer the design.
- Step 4: Here is the printout. The paint hasn't flowed, but there are some small gaps. If there are few of them, you can tint them with a thin brush. If there is a lot, then it is better to repeat it again. Possible causes of gaps when printing with gel polish: poorly cleaned plate, poor-quality varnish, insufficient pressure on the stamp when removing varnish from the plate, too deep engraving on the plate.
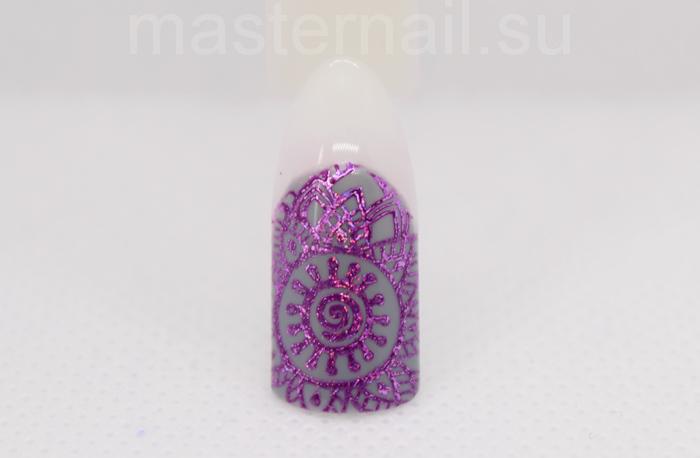
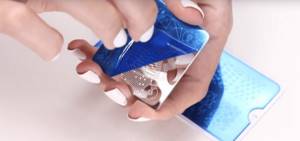
- Step 5: Before applying the film, dry the gel polish in a lamp. Next, degrease a piece of transfer film, wait for the cleaner to evaporate, and print the transfer film onto your design. Then cover with a finishing layer of glossy topcoat.