Beauty technologies do not cease to develop rapidly, surprising the world with new products every year. Materials for decorating marigolds are becoming more and more convenient and reliable. For example, acrylic (also known as acrygel, polygel, combigel) is a new material that is finding more and more supporters among professional manicurists. You need to know when you hear the word polygel that this is a real salvation for nails.
Manicure with polygel
Nail care in the salon and at home
Before you go to the salon to get your nails beautifully decorated, you should make sure that they are healthy and well-groomed. Many procedures, despite the high level of safety, are still stressful for the nail plates.
Beautiful and strong nails will withstand any manipulation if you supply them with “building materials” in a timely manner, that is, the microelements necessary for growth. You can get them by eating healthy, organic foods, such as dairy products and fruits. Cereals, nuts, and vegetables are no less useful.
You should not constantly apply varnishes and do extensions; sometimes you need to give your nails a rest and treat them. Nourishing oils, baths of herbal decoctions or cosmetic wax are excellent helpers in healing.
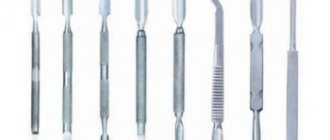
To make your nails look attractive, you should devote enough time to a simple home manicure: remove overgrown edges in a timely manner, carefully file off any irregularities, and push back the cuticles. It is important to use disinfected, serviceable tools.
Important! You should not buy varnishes, as well as other materials for nail design, on the cheap. Doubtful compositions, predominantly made in China, are of low quality and can harm the nails.
Why strengthen your nails with gel polish?
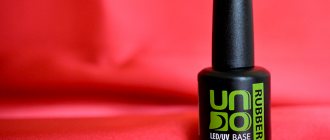
The simplest option is to strengthen it with a base. However, this option is not suitable for everyone. This is due to the excessive softness of the nail plate and its ability to bend in different directions. Unfortunately, most bases are quite flexible, so they bend along with the natural nail and the top coat.
Which quite often leads to chipping and peeling at the ends of the nail. However, this method is ideal if the client’s nails are quite strong and thick. In this case, strengthening with the help of a base will be sufficient. This method is also suitable if it is necessary to correct some defects in a natural plate. That is, using the base you can perform alignment.
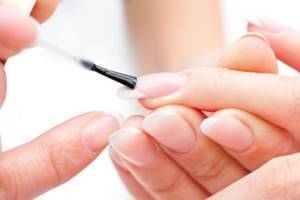
Strengthen nails with gel polish
Polygel what is it
Polygel nail extension
Poly gel nails is a new technology that uses a composition that combines the properties of gel polish and acrylic. It is particularly reliable and stays on the nails until it is time to make a correction to hide the regrowth. At the same time, the polygel does not damage the nail plate, as happens when using acrylic.
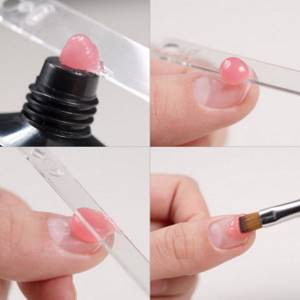
Applying acrylic gel to the nail
The composition differs from gel polish in consistency: it is thick and does not spread when applied.
Acrylatic has a number of other important advantages:
- Does not have a pungent odor. You no longer have to open all the windows wide and suffer from the chemical “amber” that causes headaches. In addition, when working with polygel, you will not have to suffer from the ubiquitous dust. The composition is heavier than acrylic, and its particles settle almost immediately without floating in the air;
- With high strength, the polygel coating looks neat and natural, due to the fact that it is not applied in such thick layers as acrylic;
- The composition does not harden without drying under a UV lamp, which means there is no need to rush with modeling. You can add polygel to your nails until there is enough of it. In this case, unevenness will not appear, and the coating will be uniform;
- The use of a special liquid, a clinser, when working with acrylics makes the application process extremely simple. The composition does not spread, does not harden, lays down evenly and is well distributed with a brush;
- Since streaks are excluded, the skin around the nail will not suffer from the aggressive effects of the composition. This is especially important for girls prone to allergic reactions. Another plus for those with delicate hands is the absence of burning when drying under the lamp;
- After application, the coating almost does not need to be filed, especially since it can be easily removed using a router or file. This flexibility allows you to achieve the ideal shape;
- A thin layer of combigel does not weigh down the nails; high adhesive properties allow you not to worry about the integrity of the coating.
Perhaps the only disadvantage of polygel is the very small selection of colors. The palette of produced materials consists only of shades that are as close as possible to natural ones. If desired, you can apply a layer of bright gel polish on top of the coating, and an impressive manicure is ready.
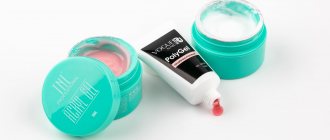
Acrigel from TNL
It has 11 shades from classic white to the popular pink parfait, and 18 ml jars are available in several colors. The manufacturer produces acrylic gel in turquoise-colored jars; sometimes the color of the inscriptions on them may change and this does not affect the quality of the product.
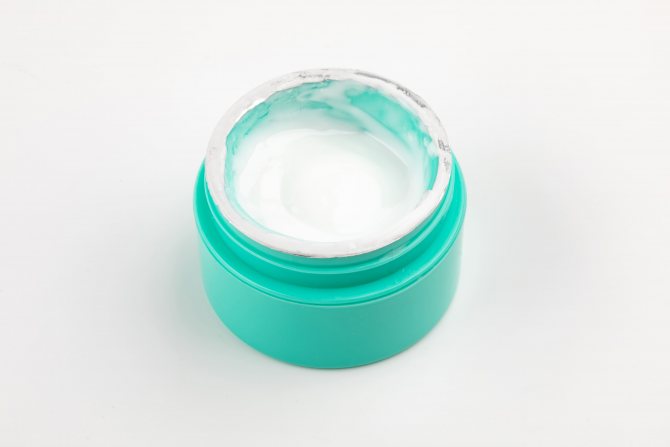
Acrigel from TNL is also distinguished by its thick consistency and viscosity of the material. Unlike Vogue Nails polygel, it has a more porous structure. Acrygel can be used to strengthen nails, extend or extend them using forms or top forms. Acrigel from TNL wears well for more than 3 weeks if the artificial material is handled correctly and nail extension technology is followed.
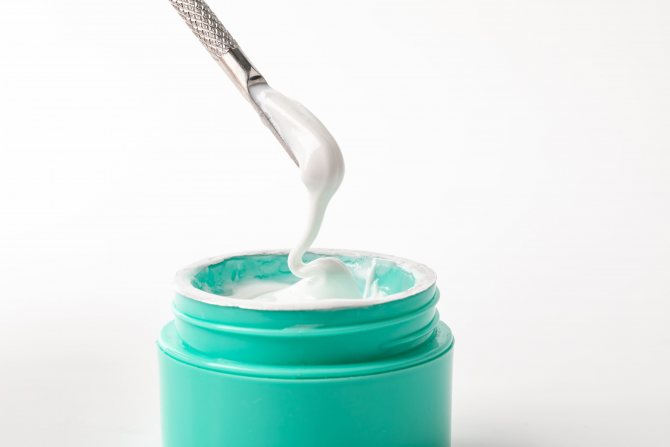
How to use acrylic correctly
Nail correction
If we are talking about nail extensions, then you can work with both top forms and tips. The main thing to do is a regular clean manicure followed by dehydration. An acid-free primer is applied to the prepared nails.
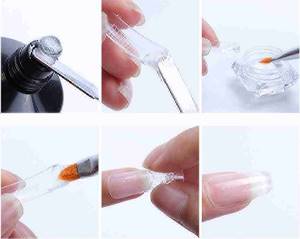
Extensions on top forms with acrylic
How to extend short nails with polygel step by step:
- Forms are applied to the prepared nail plates. If necessary, apply a layer of base coat.
- The brush is moistened in a cleanser so that the bristles are damp, but not dripping.
- You need to take a little acrygel from the tube and put it on the nail using a spatula.
- Next, the composition is distributed over the plate in a thin layer. First, the brush moves towards the cuticle (there is no need to push acrylic under it), then towards the nail folds, and then towards the edge of the form. You need to carefully distribute the polygel, reducing it to almost zero at the edges.
- If there is not enough material, you can add more until you get a thin, neat layer that completely covers the mold.
- The nail is dried in a diode lamp for about 30 seconds. The mold is then removed and the nail is clamped to form an arch.
- A clip for extension is put on the plate, and the nail is dried again for half a minute under the lamp.
- A 140-240 grit file produces sawdust without applying too much pressure.
- The nail is treated with a buff for perfect smoothness.
- Finally, all that remains is to apply top coat or gel polish.
Strengthening nails
Strengthening your nails with Combigel is also not difficult; even a beginner who is starting to learn the basics of nail art can handle it.
How to strengthen nails with acrylic:
- A clean manicure is being performed. If necessary, wipe the marigolds with a dehydrator.
- You don’t need to apply the primer on dry nails; apply it in a very thin layer on wet nails.
- After a minute, it’s time to apply the base and dry the nails in the lamp.
- Moisten the brush in a special liquid, apply the composition to the nail as for extensions.
- Distribute acrygel to strengthen nails, starting from the cuticle and ending with the free edge of the plate. It is necessary to reduce the layer to almost zero. In this case, the excess that collects at the edge of the nail can be removed; if the composition does not stretch well, moisten the brush in the liquid.
- Having collected more clinser on the brush, the polygel layer is leveled, removing unnecessary roughness and unevenness.
- Dry the marigolds under a UV lamp. This will take 2 minutes.
- File off the excess using a 180-240 grit file and buff it.
- If a natural nude shade is suitable, you can apply a transparent top. Provided that the design should be bright, the nails are covered with gel polish.
Applying gel polish to polygel
Note! You can use any topcoat that is convenient to apply, or purchase a special base for polygel.
Nail repair with polygel
The procedure for repairing damaged natural nails is similar to the step-by-step instructions for strengthening them with polygel.
How to repair nails with acrylic gel:
- The first step, as always, is to tidy up your nails and clean them.
- A base is applied to the plates.
- Using a spatula, place an acrygel ball on the nails.
- The brush is slightly moistened with clinser.
- The polygel is distributed over the nail with gentle movements.
- The coating polymerizes under the lamp for 1.5 minutes.
- The shape is filed using a file (maximum 180 grit).
- Finally, a base is applied to the nails.
How to replace liquid for polygel
As a rule, a special construction fluid is used to work with polygel. No less often, a clinser is used for this purpose.
The liquid can be produced by any company; this does not affect compatibility with acrylic. There are times when the constructing composition is not at hand at all. Then you have to look for a replacement for a special liquid among household chemicals.
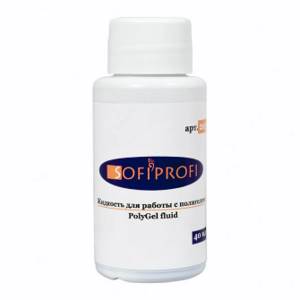
Liquid for working with acrylics
The simplest solution to the problem is to use regular alcohol. It is capable of softening the composition no worse than the constructive substance. However, professionals do not recommend replacing the original liquid with anything, because using third-party compounds can reduce the level of durability and ductility of acrygel.
In addition, alcohol will greatly dry out the skin around the nail, and with repeated use it will also damage the brush.
Rating of the 3 best products
Vogue Nails PolyGel
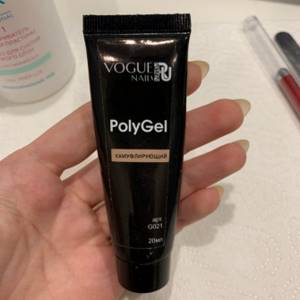
The material is perfect for working with weakened and thin nails. With its help, you can build up on tips, and also use it as a modeling material.
Reference. Polygel is convenient for working at different speeds: suitable for both beginners and professionals.
The product is easily distributed over the plate, does not spread and is convenient to form. The material is characterized by a light, subtle fragrance aroma, non-volatile. After drying in a lamp, the polygel becomes more like polymerized acrylic; it can be sawed without problems with a router and a regular file. The color of the material is transparent.
The main feature is high compatibility with a large number of gel polishes. Among the main advantages, users highlighted the convenience of applying and forming the plate, ease of cutting and ease of operation even for beginners.
Formula Profi Nail Shaper
The product is made in the USA. The company produces polygel in different shades: sand, pink, transparent and white. The material fits easily, giving the plate the required shape. To get the perfect manicure, it is enough to apply polygel and top coat; the procedure is also quick due to the fact that you do not need to apply a large number of layers of hardener.
The brush is convenient for application and shaping. However, users claim that the product is more suitable for experienced craftsmen; it is difficult for beginners to get used to it.
Kodi Professional
Another professional product from manufacturers from the USA. The product is intended to build and strengthen the nail plate. The material not only strengthens natural nails, but also nourishes them with vitamins and minerals. Thanks to its high elasticity, acrygel can be conveniently modeled both on tips and on forms. There is no smell.
Important! Suitable even for beginners. There is white and transparent polygel.
Why doesn't acrylic stick to nails?
What is shellac in manicure
Polygel is a stable coating and problems rarely arise with it. However, errors in its use sometimes lead to peeling.
Partial loss of pigmentation and peeling are possible if the brush is wetted too much with a special liquid. There is no need to saturate the polygel with it, just soften it.
Acrylic does not spread, however, if you dry the finished coating for a short time, it will float. So it’s better to lay out the material, dry it according to the rules, and then admire the neat work.
To prevent air from getting into the material, it is advisable to work with small balls. You should not apply large portions of the composition, believing that this will speed up the work. On the contrary, the more polygel is applied, the more difficult it is to distribute it evenly.
Tips for choosing
When choosing a brand, we recommend paying attention to several main factors:
- The increased strength of the material creates a durable coating: the nails are strong and do not break under influence.
- Wearability, resistance to external damage.
- Polygel composition. It is better that it be equipped with a vitamin and mineral complex to strengthen the nail plate.
- The absence of a pungent odor is the key to comfort in the work of the master and for the model itself.
- Availability of a line of products from one manufacturer. We recommend purchasing coatings, tops and polygels from the same series, so you will strengthen your nails to the maximum level.
Based on the level of complexity of the coating for which your skills are tailored, pay attention to the image of the manufacturer. We recommend that you read reviews and ratings like ours in advance to have a more complete understanding of the products.
How to remove polygel from nails
You can remove the coating using a 160-200 grit file or a manicure cutter. Soaking a persistent composition in any liquids is useless; in addition, it can easily damage your nails.
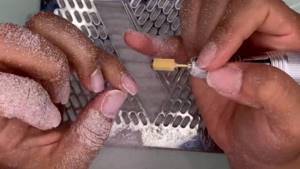
Acrylic Removal
Even a beginner can figure out how to use poly gel nails. The process of working with the material is simple, and the result will be better than when using other types of coating. Strengthening nails, repairing with polygel and extensions - with this composition everything is possible.
Materials and tools for polygel extensions
When we talk about extensions, a certain set of materials and tools is required. Polygel is no exception here. In addition to the acrylic itself, you will need:
- Brushes for nail modeling.
- Liquid for wetting the brush.
- Files for artificial nails (for polishing, grinding and shaping).
- Primer.
- Nail top. Using the database is not necessary.
- Tips or forms.
- Degreaser.
- Lamp for drying polygel.
- Lint-free wipes.
This list does not include materials for manicure, since they differ in many ways from the cuticle removal method (hardware, combined, classic, European, saw). You can supplement it with materials for design, but this is a matter of taste.
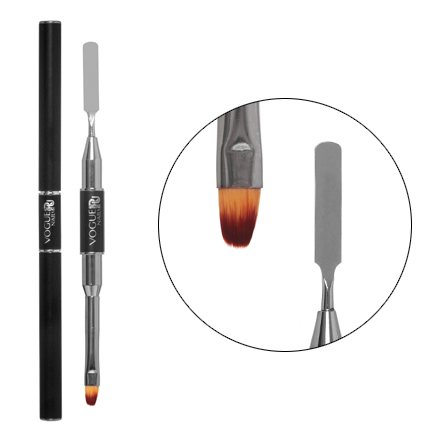
Separately, a few words should be said about the brushes. These can be brushes for modeling with gel or acrylic made of artificial bristles. You can also purchase special brushes that are designed to work specifically with this material.
