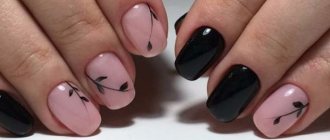
Do you admire when women's manicures are made with different designs? What if we tell you how to create nail designs yourself, even if you are new to manicure. Simple designs on nails with gel polish for beginners to make money at home
Do you admire when women's manicures are made with different designs? What if we tell you how to design your own nails. Yes, first you will have to figure out the easy options. But remember that they look no less impressive than complex patterns. Today on Manicurchik.ru you will learn how to make simple drawings with gel polish that even beginners can easily do. Each of them will be supplemented with a list of necessary tools and materials, as well as instructions for implementation.
What you need for drawings
Before painting on your nails, you should acquire special equipment, tools, and materials.
List of necessary materials for any design:
- Everything for gel polish: primer, base, top.
- Colored gel polish: You may need several colors.
- Lamp for drying the coating.
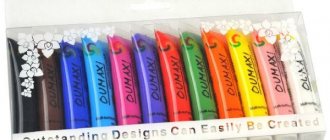
- Brushes, dots and other tools.
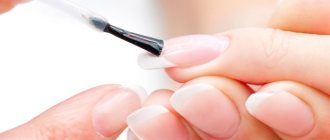
Before you draw a pattern, you should do a manicure. Then the nail is treated with a primer, a base and the main color gel polish are applied. Each stage, except for applying the primer, is dried in a lamp. Then you should choose the simple design you need. After applying it, the layer is dried and the top is applied. It should also be polymerized in a lamp.
on this topic:
How to apply gel polish at home: step by step (PHOTO)
Flirty polka dots
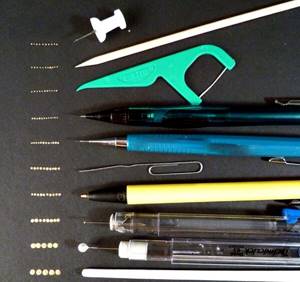
The cutest yet simplest nail design is undoubtedly the polka dot design. The tool invented to create this print is called a dots. However, if you don’t have one, don’t be discouraged, just improvise! To create dots in a manicure, a variety of tools can be used: toothpicks, pins, bobby pins, empty ballpoint pens and much more.
Cute polka dots can sit proudly on every nail, or they can be a stylish accent on just a few toes. In this manicure, size matters - small dots look cute, and large polka dots look bright and expressive.
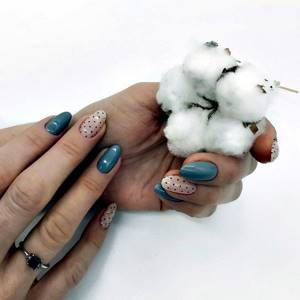
The sequence for this simple design is very simple:
- First, coat your nails with a base color and wait for it to dry.
- Then choose a contrasting shade and arrange the dots as you please.
- After the polka dot design has dried, ensure the durability of the manicure with a transparent base.
Points
The simplest patterns are dots, peas and circles. They can cover the entire nail or create a simple pattern.
What additionally you will need:
- dots or needle;
- gel polishes.
A minimalist pattern with a dot looks great. For this design, it is enough to place 1 dot on the nail, preferably at the base. The most convenient way to do this is with a dots, or a needle. The technique of working with dots is very simple.
Manicure step by step with simple dot designs
- Drop a little gel polish onto a jar or surface.
- Dip the tool into the drop and transfer the dot to the nail.
- Another option is to make a pattern of dots.
- Using the same principle, dots are applied all over the nail or in the form of any pattern.
also interesting:
What is a rubber base? How to apply rubber base
Delicate manicure: fashionable design ideas (photos)
Manicure SUMMER 2021: fashionable nail design (PHOTO)
Red manicure: 50 fashionable ideas (PHOTO)
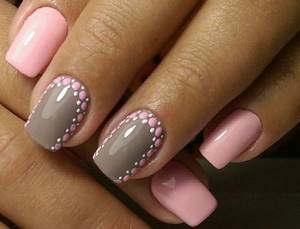
Video “Simple drawings for beginners: painting with dots”
New Year's manicure
Beautiful nails are considered an addition to everyday and formal looks. How to do a New Year's manicure step by step?
To do this, you must follow the recommendations of specialists. They include:
- The initial action will be to treat the cuticle. To do this, place your hands in a deep container with warm water;
- When the skin becomes soft, we begin to remove the cuticle;
- Next, we adjust the shape and length of the nails;
- Now we apply the red varnish and let it dry completely;
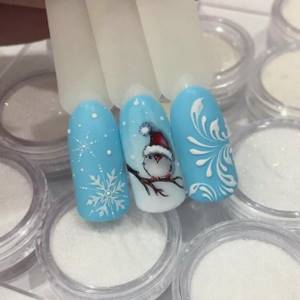
- Cover 3 nails with clear varnish. While the layer is still wet, start applying glitter. They will act as the main decor.
Stripes
If you are new to manicure, drawing from stripes can be done easily and simply. At the same time, there are many variations of designs with stripes that every girl will like. Using stripes you can create a checkered pattern.
What additionally you will need:
- fine brush: number 0, 00 or 000;
- gel polishes;
- adhesive tape: the required width (optional).
A pattern with parallel stripes can be drawn freehand with a brush. To make the drawing more colorful, alternate matching colors, and also make lines of different thicknesses. If you cannot accurately draw an even line, then resort to using adhesive tape.
To do this, after applying the main background color, remove the stickiness from the gel polish with alcohol or a degreaser. Apply the tape and apply gel polish over it. Then dry the drawing and remove the tape. This can be repeated step by step many times.
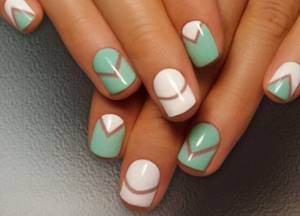
Simple designs on nails with gel polish for beginners
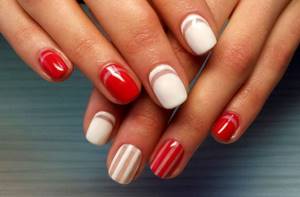
Simple designs on nails with gel polish for beginners
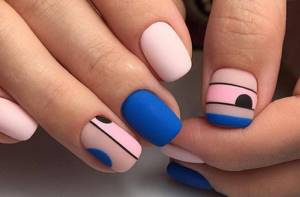
Simple designs on nails with gel polish for beginners
Video "Stripes"
French
French manicure is an all-time classic that always looks elegant and sophisticated. If you are used to doing this design only in the salon, try repeating the trick with a rubber band and you will learn how to create legendary nail art right at home.
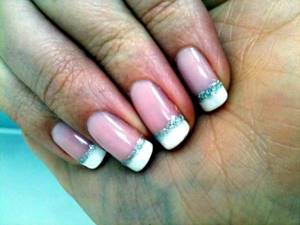
Interesting: Turquoise manicure 2019
The essence of this life hack is very simple: pull an elastic band around your finger and apply light varnish using a makeshift stencil.
If even with such tricks the French coat is distressed by its unevenness, outline the smile line with shiny varnish. This technique will disguise any errors, and at the same time make the manicure more impressive and trendy.
Rhinestones or dots applied with any varnish can also serve as smile decor.
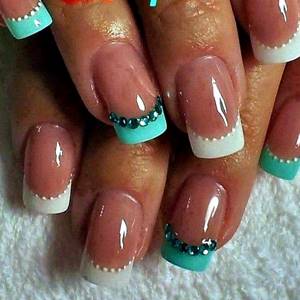
We recommend adopting a stylish mix of bright colors with a metallic coating - this idea looks great in a jacket.
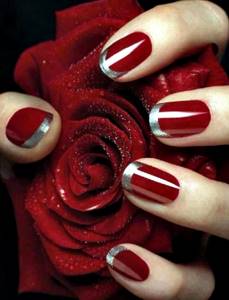
Patterns
A pattern with simple patterns of elongated dots can be either an everyday option or an evening one.
Monograms on nails: beautiful patterns step by step
What additionally you will need:
- dots;
- needle;
- gel polishes.
Several dots are applied in a row onto the main color of the gel polish. This should be done using dots. You can put dots of different colors, and also add a small dot of a different shade to one large dot. Then draw a continuous line with a needle through all the points. This creates a beautiful elongated pattern.
Video “Simple Dots Patterns”
Painting with a brush: Watermelon design
Brushes can be purchased separately in specialized stores, or you can buy ready-made sets: varnishes with a special, sophisticated brush specifically for applying a design.
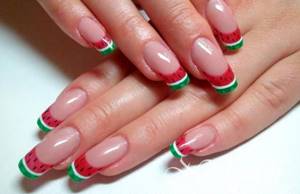
There are two ways to make the Watermelon pattern.
First option:
- The nail plate is covered with pink or red varnish.
- A green stripe is drawn with a brush near the hole.
- A thin white stripe is drawn above the green one.
- Dots imitating watermelon seeds are drawn along the entire nail plate.
- The top of the design is coated with colorless varnish or fixative.
The second option is similar in execution technique to the first. Only green and white stripes are drawn not near the hole, but at the tip of the nail plate.
Flowers
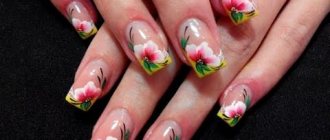
Drawing beautiful flowers on your nails is quite easy. They can be built based on dots and patterns.
What you need:
- gel polishes;
- dots;
- needle.
You should start drawing flowers with the petals. To do this, rather large dots are placed in a circle. They will form the basis of future flowers. Afterwards, from each point you should draw a strip with a needle to the center. Do this for each point. Then, from each point, draw the needle outward from the flower to pull out the petals. Next, the drawing is dried in a lamp. After polymerization, do not forget to place a dot in the center to imitate the middle of the flower.
Video “Simple flowers for beginners”
Cute daisies
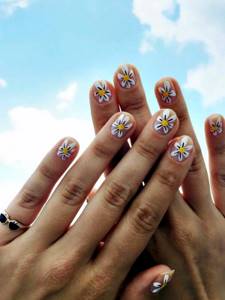
If you're looking for the most adorable at-home manicure idea, check out these heartwarming daisies. It's hard to imagine anything cuter! A nice bonus of this design is that simple drawings are completed in 2 counts!
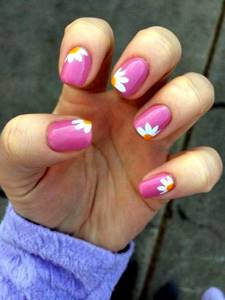
- The first layer is the base varnish.
- The next stage is drawing the flower cores.
- Only after the yellow varnish has dried, white is used - they need to paint the petals.
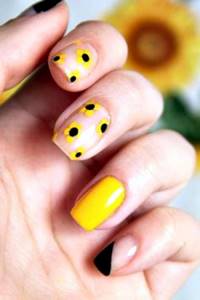
Catch some trendy design ideas for the summer season!
Glitter stretch
The most impressive design is made using shiny gel polish.
What you will need:
- gel polish with glitter;
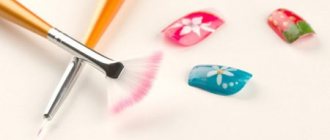
- fan-shaped manicure brush.
First, choose where the shiny stretch will come from: from the base or edge of the nail. In this place the concentration of sparkles will be greater, and then will disappear. A strip of shiny gel polish 1-2 mm wide is applied to the selected beginning of the design. Then, using a fan brush, stretch this strip to the other side of the nail and dry the layer. Repeat these steps about 3 times. Each time, apply the strip thinner and stretch it less and less.
Video "Glitter Stretch"
How can you make it easier to apply a design using stamping?
It’s easier to make any design using stamping. A large selection of patterns that can be made in a few minutes.
What additionally you will need:
- plate with a pattern;
- gel polishes;
- stamp;
- scraper.
Place a drop of gel polish near the pattern on the plate. It is stretched across the plate with a scraper. Then they lean the stamp against the pattern on the plate to transfer the gel polish. The design from the stamp is applied to the nail simply by applying it.
Leopard print
The hit of the season is animalism. It is literally everywhere - from clothing design and accessories to manicure. If you think that trendy leopard print nail art can only be achieved at a salon, arm yourself with a pencil and an eraser and get ready to be convinced!
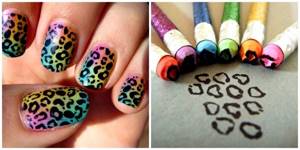
As you can see in the photo, everything is extremely simple. You just need to cut the eraser so that you get an impromptu stamp. Then it’s a matter of technique - dip the pencil in dark varnish and leave marks on the nails.
https://youtu.be/https://youtu.be/g4_VqtZEzBg
_
