Home page » Beauty » Nails
Author of the article
Svetlana Pavlikhina
Reading time: 6 minutes
AA
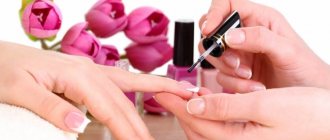
Manicure at home is always simple, painless, and safe. Using a minimal set of tools and varnishes that match the color, you can get your hands in order no worse than in a salon. There are many nuances that can ruin the result.
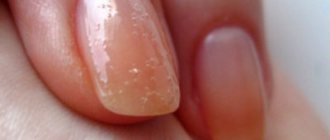
If the nail polish bubbles or layers unevenly, this is a consequence of improper application. Below are answers to the question of what to do for a perfect nail coating without bubbles and roughness.
Bubble Formation
Roughness forms during and after application if you vigorously shake the bottle with the product. This is done to thoroughly mix the liquid, even out its structure and color.
After intensive mixing, leave the varnish alone for 1-2 minutes, then begin the procedure.
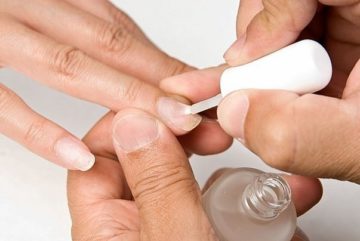
Without proper preparation of the nail for painting, the coating may swell, so first the nails are degreased with a special liquid and polished with a fine-grained file. After such manipulations, the base fits perfectly on the nail.
If you wash your hands shortly before the procedure, moisture remains on the stratum corneum, and when applying layers, it does not allow the product to lie flat. It is necessary to dry your hands well shortly before applying the product .
The quality of the coating is also affected by the structure of the nail (unevenness, roughness, porosity).
The stratum corneum is deformed under the influence of the following factors:
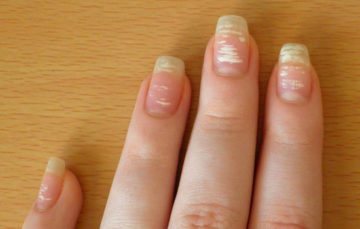
- Hand and skin diseases (fungal diseases).
- Vitamin deficiency, deterioration of the skin and nail plate.
- Using aggressive detergents without gloves.
Under the influence of any chemical components, the nail becomes thinner, brittle and porous. The varnish coating is poorly applied and adheres to it, and bubbles appear after drying.
Temperature changes
Strong and sudden temperature fluctuations lead to changes in the consistency of the varnish. It ceases to be homogeneous; air gets inside the liquid. And even if everything seems to be in order in the bottle, the problem will appear later when you apply the product to your nails.
To prevent this situation, do not throw varnishes and other manicure materials into the sun, keep them dry, dark and at a positive temperature. If they were in the purse with which you walked for a long time around the winter city, then do not use them immediately after returning home. Give them at least a day to adapt to the indoor climate.
Reasons for the appearance of blisters after the coating dries
The formation of such deformation is influenced by 3 factors:
- layering the product multiple times;
- improper drying;
- use of oily nail and hand care products shortly before the procedure.
It is important to consider all these factors to create a neat manicure.
Reason 1: layering
If you layer the coating repeatedly, then after drying tubercles appear on the surface. It is not recommended to use more than 3 layers .
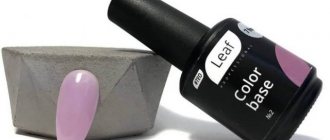
For the first application, use a base, then a color coating, then a fixer, glossy coating or top coat for gel varnishes.
If you apply more layers, their surface will become covered with bubbles, crack, or come off in layers the next day.
Reason 2: improper drying
You need to dry your nails under special lamps or in a calm state. Waving your arms is not recommended. When exposed to air, the varnish will form bubbles if the rules are not followed.
Reason 3: Using an oily hand product
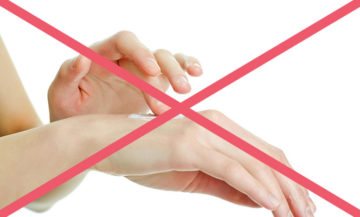
It is not advisable to apply creams and oils before the manicure procedure.
This product and varnish products have a different structure. The cream always contains oils or fatty acids, petroleum jelly, glycerin, which are its basis. The reason for the appearance of roughness: these substances have poor contact with the varnish structure, covering the surface of the nail with a thin, greasy film, which does not allow the varnish to adhere to the upper stratum corneum, so irregularities appear.
Opening a new varnish
If the bottle has not been opened before, and attempts to unscrew the cap ended in failure, it is recommended to take the following steps:
Read also: What is ovulatory syndrome?
- Make sure that all protective and decorative covers have been removed from the bottle. Hold the cap with two fingers and pull upward with force.
- If the top is difficult to grip and your fingers slip off the surface, you need to tighten your grip. Wrap the lid in a towel or wear rubber gloves. Turn the cap firmly counterclockwise and try to unscrew it.
If the methods are unsuccessful, try methods for opening a dried-on lid. Most likely, the difficulties arose due to improper storage.
Formation of tubercles after drying
Gel products and shellacs swell under the influence of a lamp when using a low-quality coating. Cheap dried products that are used many times deteriorate and bubble after drying.
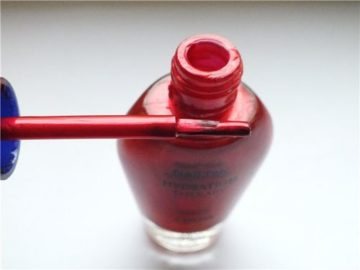
If the manicure is done at home, the roughness is formed by dried particles of varnish. They form on the neck of the bottle after repeated use of the product.
Air appears when the liquid is vigorously shaken.
If drying was done with a hair dryer, blisters will certainly form on the surface. Intense waving of your arms while drying also provokes the formation of unevenness.
Washing hands and dishes immediately after the procedure contributes to the appearance of unevenness, because the varnish has not completely dried, all its layers have not “settled”, water can disrupt the structure and spoil the smooth coating.
They begin to do anything with their hands only after the product has completely dried: when pressed, the coating does not roll off, and no fingerprints remain on the surface.
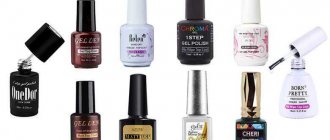
Poor quality materials
The choice of components for manicure must be taken with great care. The consequences of bad materials are not only bubbles, but also allergic reactions.
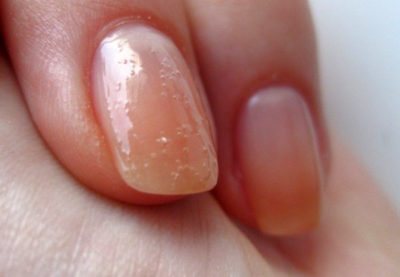
- Damaged varnish. If the bottle is not closed after use or the cap is not screwed on properly, moisture and air will get in. Oxygen is a catalyst for chemical reactions, as a result the composition of the coating changes. Here you have peeling and chipping of the coating, the appearance of bubbles when applying gel polish during drying and after the procedure.
- Use of incompatible materials. This happens when treated with compounds from different companies. Each manufacturer offers its own development of primers, degreasers, and varnishes. There may be antagonist components that enter into chemical reactions to form droplets of liquid or gas. Here is your answer why nail polish bubbles after application .
- Materials of questionable quality. These are expired gels, “cheap” China, counterfeits of well-known brands. Expired gels dry out and change consistency, which leads to cracking and bubbling of the manicure. Well, no one dares to say what is included in fakes and cheap materials.
Whatever the reasons for the appearance of bubbles on the nails after applying varnish , you want to get rid of the defect as quickly as possible. Yes, so as to preserve the manicure.
Why do bubbles form?
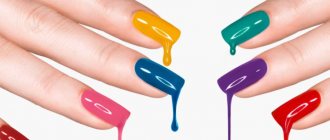
Reasons for uneven application of nail polish:
- damaged dried varnish;
- hard or uneven brush;
- nail plate with deformation.
These factors affect the uniformity and gloss of the coating. To obtain an ideal surface, every point should be taken into account.
Varnish structure
When a product sits for a long time without being used or is poorly sealed, it dries out. A solvent may appear on the surface, the structure will delaminate, and such a coating may not lie evenly on the nail plate. It is not advisable to use it.
Brush
A thin brush with bent, stiff bristles or stuck pieces of dried polish may not cover your nails evenly.
If the contents of the bottle can still be used, then the brush should be replaced with a new, softer one, without adhering particles.
Nail
Bubbles form on an uneven, curved nail plate when applying the coating. To eliminate this defect, the nails should first be thoroughly treated with a soft file and degreased.
Afterwards, a thick consistency varnish is applied, which is used as a leveling agent. It is able to provide an even coating and prevent the formation of blisters.
Preparation for application
To avoid the formation of roughness when layering, the product should not be shaken before use. It is better to mix it and warm it up by rolling it between your palms. This way the coating will become uniform, elastic, and no blisters will appear.
What to do, if?
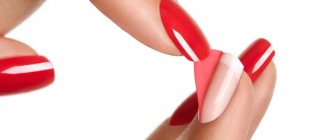
If your newly painted nails become blistered, you have two options. The first is to disguise unpleasant formations with a variety of means. For example, use special decorative stickers, or apply a chaotic or original pattern. This will not only save your time but also make your nail design attractive.
The second solution is to remove the damaged coating and reapply it. This method is more preferable, as it does not require additional stickers or skills in handling a thin brush. But to prevent new layers from becoming rough again, it is necessary to follow certain application rules.
How to prevent bubbles
A manicure takes a lot of time and it is very disappointing if, after all the efforts, the coating does not look perfect. To prevent this from happening, certain rules must be followed. It is easier to apply the varnish evenly at the very beginning than to correct emerging defects later.
Rules for layering the product (painting):
- The surface of the stratum corneum is prepared for the procedure - degreased. Oil-free nail polish remover is suitable. Then wipe dry. It is necessary to polish and level the surface with a special file.
- Before layering the varnish, the bottle is heated in your hands by rolling it; shaking the contents is not recommended. Then you need to remove dry particles from the neck of the bottle with a cotton swab moistened with acetone. Do this carefully so that fibers do not get into the bottle.
- To make the structure of the varnish uniform, you can place the bottle in warm water for 2 minutes before use.
- The base, coating and top are chosen from the same brand or manufacturer: products of the same line have the same composition, and they will not “argue” with each other.
- After application, the colorless base is allowed to dry thoroughly, only then can the colored layer be applied.
- All coatings are applied in a thin layer, while the brush is pressed tightly to the nail - this avoids the formation of bubbles.
- Do not paint the cuticle or skin of the finger.
- The coating is completed with a clear varnish or sealer.
- Gels and shellacs are dried using a special lamp. A product for home use based on acetone is dried in a calm state, without waving your hands, without blowing with a hairdryer or immersing your hands in water.
- Preparations for quick drying (sprays, gels) are used if there is no time for the fresh coating to dry naturally.
It is important not to use products that have expired.
We solve the problem on the spot
Completely redoing a bubbling manicure is not an attractive idea. Well, since the problem occurs often, the masters have several practical tips in store:
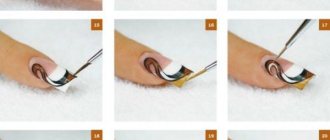
- layering accessories is the easiest way. Rhinestones, stickers, and beads will add chic and correct minor defects. 3-D flower applications help well;
- for serious problems, relief drawings will help. They are difficult to perform, but hide voluminous bubbles well;
- correction with special means. The top damaged layer is removed, the lower ones are leveled, and then the finishing coating is restored. Correctors can be purchased in specialized stores, but it is better to visit a salon.
One last piece of advice. If bubbles appear on your nails after polishing, you should start restoring the nail plates. At this time you will have to abandon complex treatments. But then the coating will fit perfectly and last a long time.
How to smooth out raised bumps
You can get rid of blisters and even out a fresh layer using topcoats designed for this purpose. They can dissolve the top uneven coating and fill it with their own structure.
When dry, the treated surface becomes absolutely smooth and even. This fixative is a quick and easy way to remove bubbles from nail polish.
Gel polish on your nails gets blistered, but this can be avoided
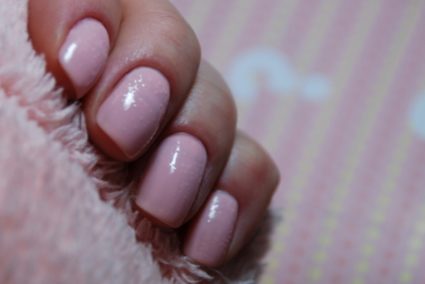
An ideal gel coating looks smooth, shiny, without signs of separation or blistering, and a well-executed manicure lasts up to 4 weeks. Experienced craftsmen achieve excellent results using high-quality tools and materials from trusted manufacturers, as well as strictly following the technology of applying and drying gel polish.
Beginners often make the same mistakes. Before their eyes, the initially flawless beauty begins to swell. You have to remove the top, and sometimes what is underneath, and start work from the very beginning.
This can be prevented by knowing why bubbles form, and by studying the recommendations of experts on working with gel polishes.