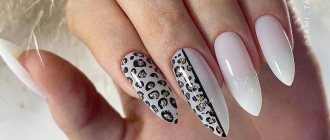
Many girls now prefer to get long nails done in a salon by extensions, since the length of the natural nail bed is not always enough. However, even a master can make mistakes during manipulations, unevenly distribute the gel or acrylic, which will lead to premature failure of the coating.
To restore the condition of the manicure, some girls prefer to use methods on how to grow nails at home without gel and acrylic; there are several similar methods that will help repair the damaged area.
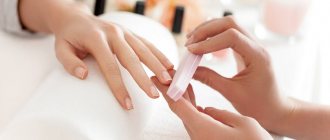
Nail care before extensions
If your nails are kept in good condition and manicures are done regularly, then there is no need to specially prepare them for extensions. On the day of the procedure, you cannot use hand cream and do paraffin therapy, as well as oil wraps. Nails absorb these substances well, which will interfere with their adhesion to the extension material. After the manicure, at least 4 days should pass; if an individual approach is required, it is better to wait a week. During this time, you can prepare your nails for extensions, taking into account their characteristics.
Curing without lamp
Advantages of drying gel polish without a lamp:
- doing nail design at home is cheaper than in a salon;
- gel polishes that are insensitive to light are sold at affordable prices;
- no need to purchase an expensive special lamp;
- a simple procedure accessible to non-professionals;
- saving time.
Drying red manicure
What is nail extension
One of women's secrets is extended nails. Contrary to popular belief, they can look very natural. Girls with thin and brittle nails have to resort to this procedure in order to get at least the minimum length. Anyone who wants to experiment and make an impression can choose a larger size and significantly increase the length. Nail extensions at home are also common; no serious equipment is required.
How to grow nails
For modeling, materials from the list are mainly used:
- gel;
- acrylic;
- silk;
- resin
Three technologies are used:
- On tips.
- On forms.
- Without auxiliary modules when building up within the boundaries of the nail to strengthen it.
Materials for extensions
The most popular materials for nail modeling are as follows.
Acrylic
Initially used by dentists, but gradually moved to nail salons. Working with acrylic is similar to making dental fillings: the powder is mixed with a solvent, it becomes plastic and able to take the desired shape.
Attention! Acetone dissolves acrylic, so you need to remove the polish from such nails with other means, for example, special napkins.
The material is durable, such extended nails can be easily removed with a special liquid if desired. The disadvantage is the matte surface, which gives a contrast with the natural nail and porosity, requiring the application of a special coating before colored varnish. In addition, acrylic has a fairly strong smell; you cannot do such extensions if there is a child in the house.
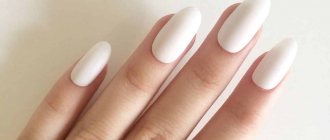
Acrylic extensions
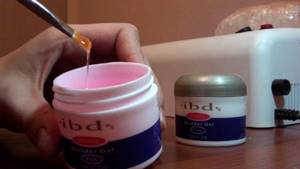
Gel
A more modern material hardens in a special UV lamp. This method has a bactericidal effect, so the nails are protected from fungus in the event of small delaminations during extensions. The coating is glossy, which gives it a natural look. The disadvantages are its fragility under temperature changes and the complex removal process.
How to extend nails at home with gel? To do this you will have to get a UV lamp. The material hardens under the influence of ultraviolet light and is itself in the form of a liquid. For the first time, it is better to use gel - it is quite easy to build it up, and it does not have a strong odor.
Resin
It is a type of gel. This material is more durable, but also more expensive.
Silk
Most often, it is an auxiliary method of gel extension, in which a piece of tissue is placed inside layers of polymer.
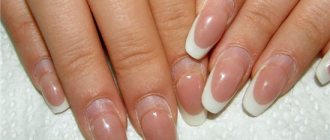
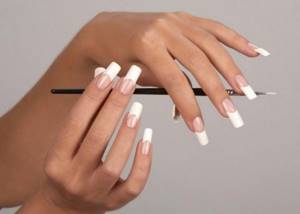
Nail modeling is usually done on tips or forms. The first option is false nails with a layer of acrylic or gel placed on them. They are applied to part of the nail plate. Tips are not suitable for everyone. This method is used if the nails are very short or irregularly shaped.
Types are divided by:
- place of attachment - this area is selected in accordance with the characteristics and size of the nail;
- shape - they are classic, curved, straight;
- length – can be made to any length according to the client’s wishes;
- color - tips can be natural colors, transparent, different shades or with a ready-made pattern.
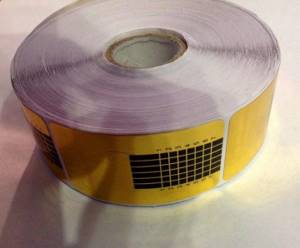
The second method of nail extensions is forms. They are templates attached to the free edge of the nail. The extension material is applied according to the given shape. Usually oval or square templates are used, there are also universal ones. The choice of extension method depends on the condition of the nails and the client’s wishes.
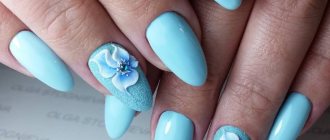
Gel extensions
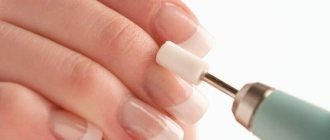
How to remove DIP powder coating?
It is quite difficult to remove and takes much longer than a base or gel coat.
How to remove DIP powder coating:
- Some companies suggest removing the coating each time using acetone-containing substances. Thus, the effect on the skin of allergy sufferers will be a real challenge. After all, people who have allergies are likely to react to a liquid that contains acetone.
- But you can remove it without using acetone, using a cutter. But this process is much longer than when removing the gel coating. It is necessary to remove the materials almost completely, leaving only a thin, transparent base that remains after applying the base and transparent powder.
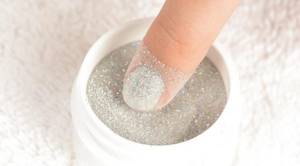
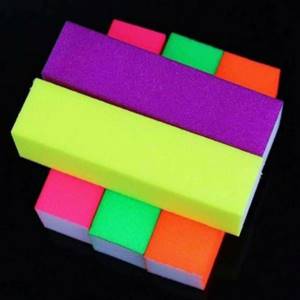
Mineral powder with glitter
Procedure at home
If you know the technology of nail modeling and stock up on the necessary materials and tools, then you can carry out the procedure yourself; it’s not difficult to learn. The more you train, the less time it will take. How to grow nails at home? For beginners, it is better to do everything step by step, taking your time and strictly following the instructions.
Extensions without gel and acrylic
How to remove extended nails at home
Extensions without the use of acrylic and gel are possible using silk. This technology allows you to achieve a more natural result with less harm to your nails. Broken nail plates are often corrected in this way. The technique involves the use of small pieces of silk or similar synthetic materials. The nail breathes under a light and thin coating.
Attention! Silk is quite fragile and is not suitable for those who work a lot with their hands or lead an active life.
Silk extensions are a rather complicated procedure; beginners should not start with it. The result lasts for a week.
Silk extensions have their advantages:
- no harm to nails;
- will help repair an injured nail;
- absolutely natural look.
The disadvantages of silk extensions include:
- low strength;
- fragility of the result.
In order to make silk nails yourself, you need to stock up on a lot of free time and materials. The step by step guide is as follows:
- Nails should be clean and free of grease, and a buff should be applied to them to ensure that the silk adheres to the surface.
- Apply glue specially designed for silk or tips.
- Next, a piece of fabric of the desired shape and size is fixed.
- The surface of the silk is smoothed over the nail with an orange stick, and excess material is removed with small scissors.
- An activator gel is applied.
- After drying, the coating is sanded and varnish is applied if desired.
Note! If silk is used to mask damage to the nail, then it is better not to use varnish, this will allow you to monitor the condition of the plate and control healing.
Silk nails
Building up for yourself
It’s easier to do the extensions yourself using tips, but you can also try using forms. They are:
- upper - the material is placed on a recess in the mold, then pressed against the nail;
- lower - acrylic balls are given the required shape with a brush.
The second technique is quite complicated and is not suitable for beginners. It is better to use extensions on the upper forms. In addition, such nails will be smoother. The step-by-step technique looks like this:
- Hands are disinfected.
- The natural layer of fat is removed from the surface of the nail using a file.
- The cuticle is removed.
- The plate is lubricated with a primer (base) and degreased.
- Select the required forms.
- A pair of acrylic balls are placed inside the workpiece, they are distributed depending on the required length.
- The form is applied to the nail, pressed, and excess material is squeezed out.
- Hold for 5-7 seconds and use a brush to treat the inside of the nail.
- When the acrylic has hardened, the form can be removed.
- The shape is corrected with a file.
- The cuticle is treated with oil.
Extensions without gel and lamp
To extend nails without using a lamp and gel, use tips. There are a large number of their forms and types on the market. It is recommended to purchase plastic tips; this quality is checked by bending them slightly, and there should be no white stripe.
Attention! You can’t make a pointed shape on tips; square and square-oval ones are best.
This technique has undeniable advantages:
- low cost;
- simplicity and short execution time.
Tips have some negative sides:
- short service life;
- wear out quickly;
- look unnatural.
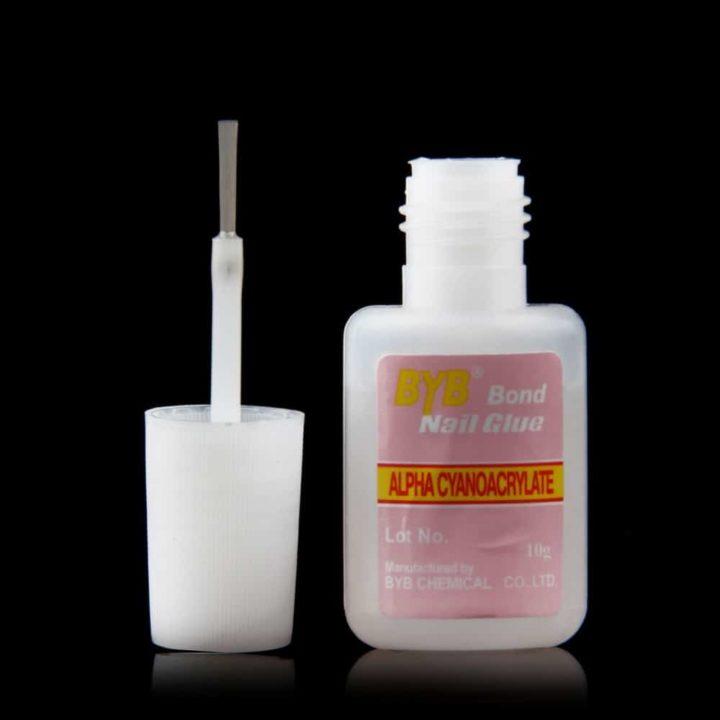
To extend nails using tips, you will need glue, tweezers, a file, glue powder, activator, and varnish. The work is carried out as follows:
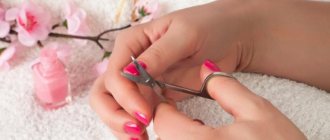
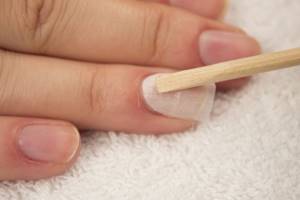
- The cuticle is removed using an orange stick.
- The surface of the nail is treated with a nail file for better adhesion to the glue.
- The plate is degreased.
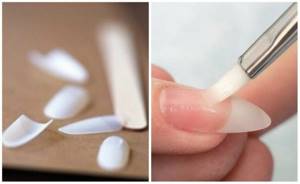
- The width of the nail and the tip are adjusted to each other.
- The blanks are laid out in order, depending on their numbering.
- The contact zone of the tip is fixed on the nail, from its middle at an angle of 45 degrees - the step of the workpiece should meet the nail along the edge. Press the entire structure and hold for 15 seconds. It is necessary to ensure that air does not accumulate under the tips.
- After performing this procedure, you need to wait about 10 minutes.
- Then, one by one, apply a layer of glue to each tip and dip the nails into the powder. Allow to dry.
- These actions should be completed when the nail density is sufficient.
- The final step is to use an activator - it fixes the powder and makes the surface smooth.
- You can apply the varnish of your desired color.
Extensions with tips
No Light gel
The term “shellac” usually refers to high-quality light-sensitive gel polishes that are polymerized (dried) using a special UV lamp - ultraviolet or LED lamp. You can, of course, dry your nails directly under the sun without a lamp, but this is a rather lengthy process.

No Light gel
But there is a group of gel polishes that do not require a special lamp for polymerization. Manufacturers have produced several types of gel polishes (this includes single-phase 3 in 1 gel polishes) that can dry using other means. When choosing such a varnish, you need to look for the term “No Light gel” (insensitive to light) on the label.
Advice from experienced manicurists
How to grow eyelashes at home
To preserve artificial nails, you can use the advice of experienced manicurists:
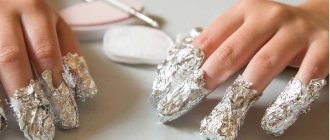
- Remove varnish from extended nails with a liquid without acetone; you should work with household chemicals while wearing gloves.
- The shape of the nail is corrected not with scissors, but with special nippers or a file.
- You should avoid heavy loads and sudden movements with your hands.
- Constant cuticle care is required: you can use special oils and gels with vitamins. Rub the products into the base of the nails with light massaging movements. If necessary, use cream to reduce cuticle growth. It is better to replace a soaking manicure with a product to remove excess skin from the nail.
- When visiting the sauna and swimming pool, you need to avoid temperature changes - this will make your nails brittle, they need to be allowed to cool and dry well, then they will regain their strength.
- Correction is necessary approximately once a month. Nails grow, you need to place the material on the growing area. The exact time between corrections depends on the rate of nail growth and other individual characteristics.
- It is right to give your nails a rest at least once a year for 2-3 weeks, because constant procedures affect their condition.
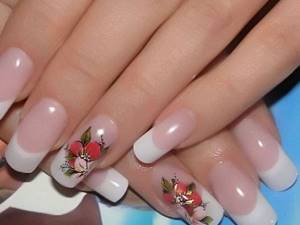
If you want to have a good manicure, then you can achieve this in different ways. The nail extension procedure is just one of them. It allows every girl to try on a bold look or simply give her hands a well-groomed look. You can make it an extreme length with an interesting pattern or the most natural option, so that no one will think about artificial nails.
Contraindications
It should be understood that the extension procedure can cause irreparable harm to the body if the client has the prerequisites for this. In particular, there are two categories of contraindications.
The first of them involves rejection of the extension material for objective reasons, and the second involves harm to the client’s health during the extension procedure.
So lack of adhesion or poor alignment is present when:
- diabetes;
- pathologies of the cardiovascular system;
- herpes;
- excessive sweating of the dermis;
- hormonal imbalance;
- menstruation;
- taking antibacterial drugs;
- bearing a child and others.
Harm to the client's body can be caused if there are damages and injuries to the nail, there are bruises and bruises under the surface of the plate, allergic reactions to the products used, or nail fungus. Under such circumstances, it is better to completely abandon a beautiful manicure until complete recovery.
What else should you remember?
In addition, remember that some hand skin products may not have the most favorable effect on new nails, or rather, delaminate them.
If the nail begins to peel, do not pick it apart. This won't lead to anything good. A correction needs to be made.
After the procedure, you need to regularly care for the skin around your new nails. In the morning and evening it is necessary to moisturize it with a nourishing cream. Correction is necessary every 14-28 days. When applying extensions for the first time, keep your nail length short.
This remark is especially relevant for our women. False nails are not a corkscrew, a screwdriver or a knife. Their main purpose is beauty.
All routine household work, such as washing clothes and dishes, should be done with gloves. When using graters and other kitchen utensils, be careful not to break or trim your nail.
It must be remembered that exposure to open flames can cause your nails to burn. The area under the nails should not be cleaned with sharp objects. In such cases, use a soapy toothbrush.
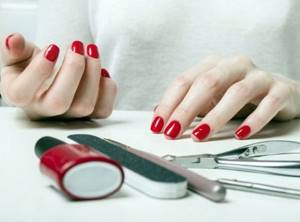
Tools and materials
- The first thing you need is an ultraviolet lamp in which you will dry your gel.

Then you need to purchase the following tools:
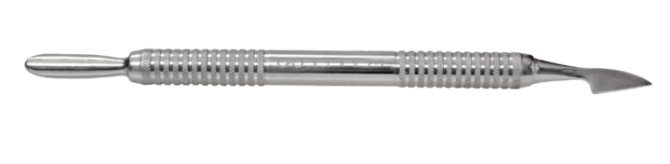
- A metal cuticle spatula, which is used in trimming manicures.
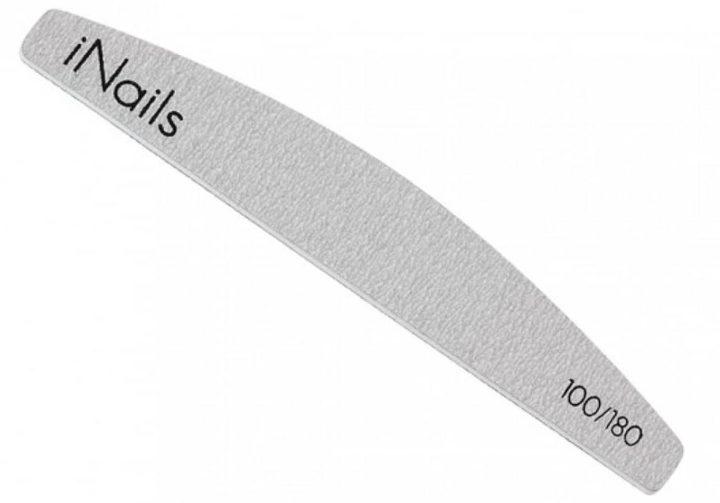
- File for gel, low hardness.
- Forms or tips for future nails.
- A cutter is a tool that cuts tips to the required size.

- Buff – for polishing the nail.
- Glue for tips.
- Tweezers.
- Brushes for extensions.
And of course the material itself:
- Antiseptics for treating hands and tools.
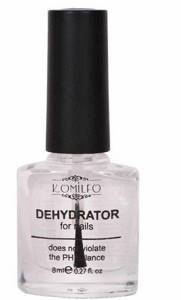
- A dehydrator is a liquid that helps dry the nail plate efficiently.
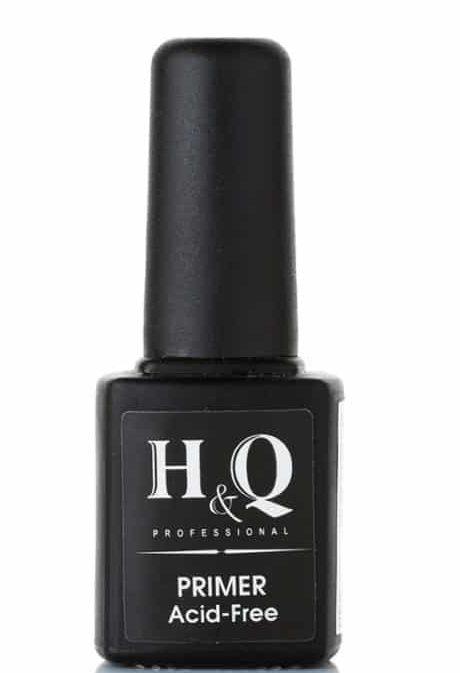
- A primer is a product that is applied first to the nail and helps the gel adhere better to your nail.
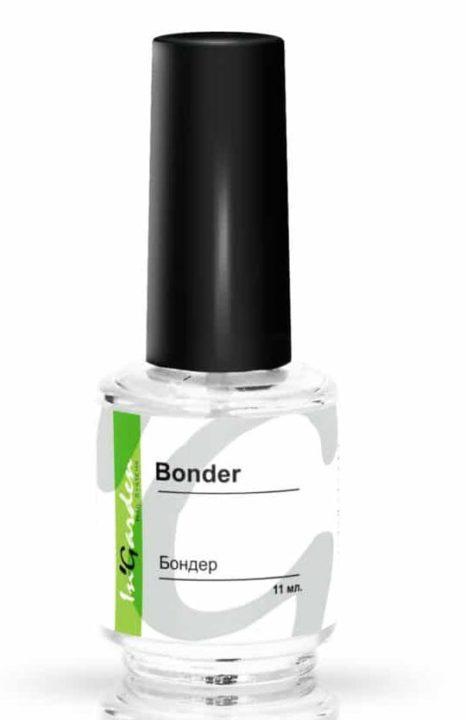
- Bonder.
- The gel itself can be colored or colorless.
- Finish coating or top.
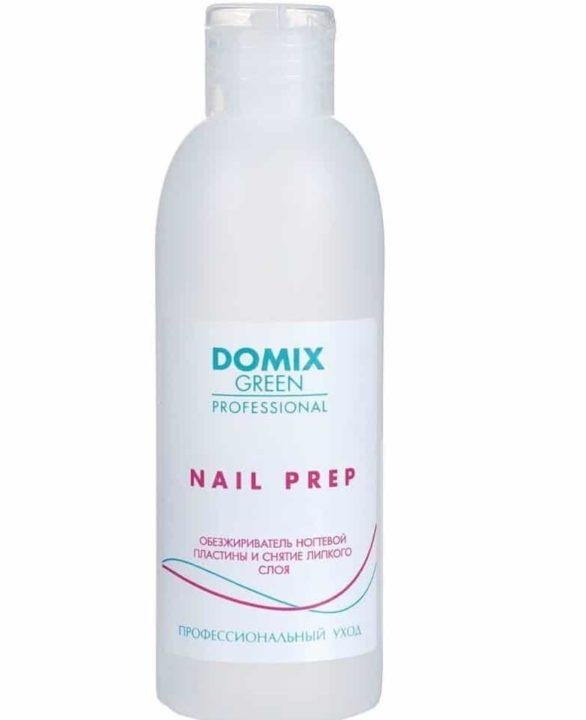
- A product for removing the sticky layer from gel.