To correct extended nails means to “repair” the nail covering on an artificial basis. The purpose of this event is to change the color of the nail, shape and give it a fresh and aesthetic look. The adjustment procedure is indicated every 2 weeks. How is the adjustment made? Here are the step-by-step instructions.
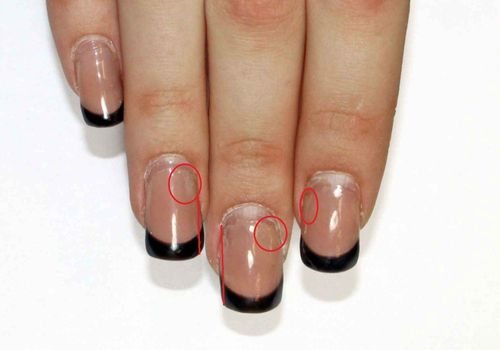
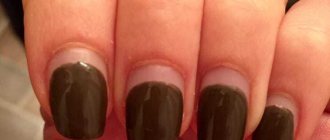
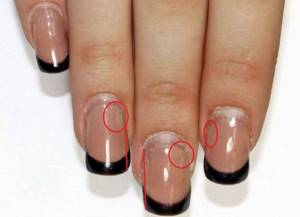
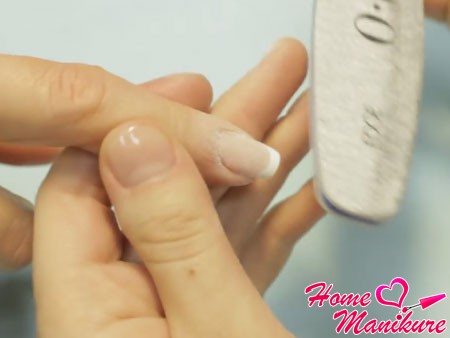
Nails in need of correction
In what cases is it necessary to correct extended nails with gel?
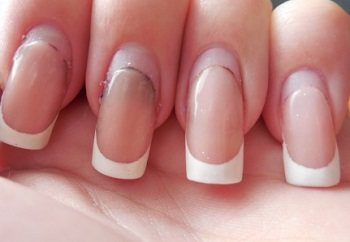
Correction of extended nails is necessary as they grow
The most common reason for needing gel nail correction is for them to grow back . Overgrown nail extensions not only do not look very nice, but they are also much more likely to break than those that have just been done.
Other reasons to visit your master or to work magic on the beauty of your nails yourself are blows and pressure, as a result of which the plate becomes deformed and cracks appear.
Gel nails often crack along with natural nails. This is unpleasant, but not critical - the defect can be corrected.
How correction is performed with nail polish removal
Correction of nails coated with gel polish with complete renewal is carried out as follows:
- First of all, as usual, you need to treat your hands with an antiseptic;
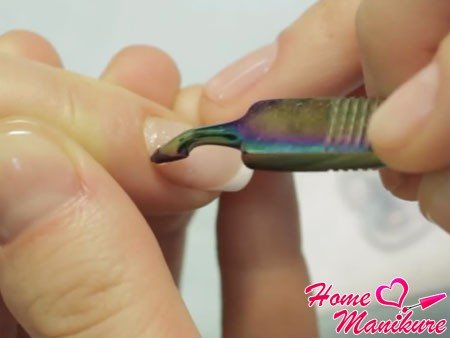
- Next you will need a napkin. Cut it into ten small triangular or square pieces. Their size should correspond to the nail, i.e. completely cover it. Each piece is soaked in a special gel polish remover, applied to the nail plate and covered with foil on top. We leave this entire “structure” for ten minutes. After this, we “unpack” the fingers and remove the remaining coating with a pusher;
- Another option for removing the coating is sawing. The varnish is removed with special equipment or a simple coarse abrasive file;
- After the coating is removed, it is necessary to process the cuticle, giving the same shape and length to all nails;
- Polish with a buff, shake off the dust;
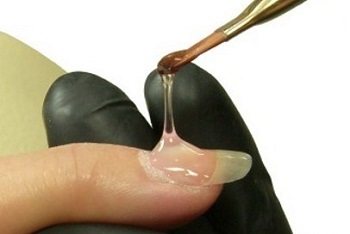
- A strengthening coating is applied and the shape of the future nail is formed;
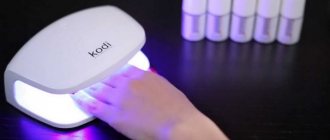
- Dry your nails under ultraviolet rays;
- The color coating is applied in two or three layers, each of them is dried in an LED lamp;
- Apply finish, dry and remove sticky layer;
- At the last stage, it is necessary to treat the cuticles with lotion or cream.
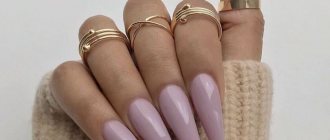
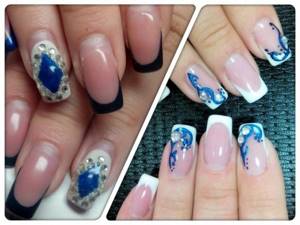
In the photo you can see how to hide an overgrown nail if you do not want to carry out correction work. For example, cover the resulting space with rhinestones or perform a moon manicure.

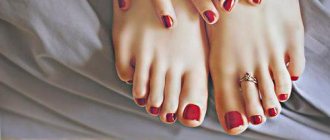
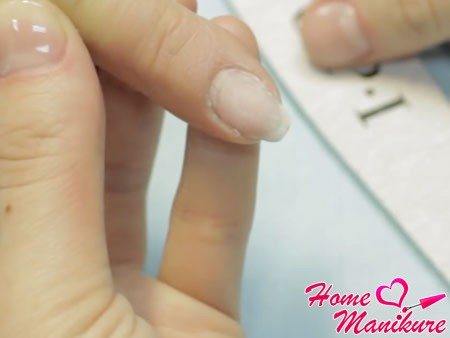
Appearance of nails before and after correction
Gel polish correction is not a complicated procedure. The main thing when performing it is to be careful, take your time and be attentive. Over time, when you get better at it, you will be able to perform correction work quickly and efficiently.
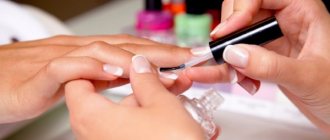
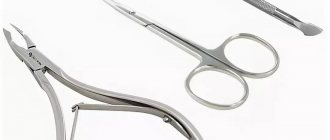
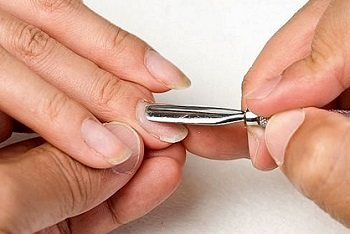
Tools and materials for nail correction
To perform correction you need the same set of tools as for extensions. It includes:
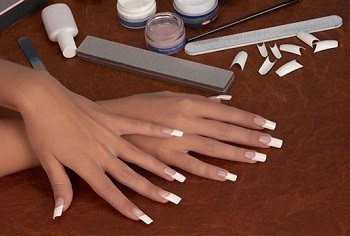
Before the correction procedure, it is necessary to prepare all the necessary materials and tools
- gel;
- forms or types;
- disinfectant;
- file;
- primer;
- wire cutters;
- orange stick;
- buff;
- tassels;
- cuticle oil;
- lamp;
- materials for design.
Is it possible to repair a nail or make a full correction on your own? Yes, but if you haven't done this before, it's better to make an appointment with a specialist.
What you need
For proper correction, you need to have all the tools at home. What to use:
- files of various hardness;
- means for degreasing the surface of the nail plate;
- primer;
- gel of different phases;
- to change the length of the plate, special stencil stickers are used;
- ultraviolet lamp for drying the gel.
A machine for hardware manicure helps you quickly and easily get rid of the old layer of gel. But, this device is not included in the mandatory list of tools, since the machine will not affect the final result and quality. Instead of cutters, you can use saws.
Correction of gel nails is performed in stages, each individual point is performed in turn.
Types of nail correction
Correction happens:
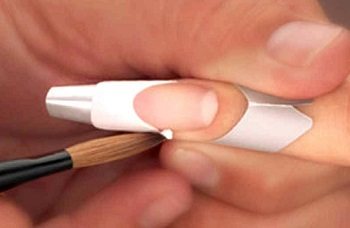
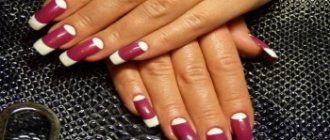
Nail correction with French gel
- Small, medium and large : small is performed for minor damage, medium involves filling the regrown part of the nail bed, large corrects even the most serious defects (detachment, breakage, displacement of the artificial nail).
- French gel – with re-growth of the free edge of the nail – the French line.
- With design restoration – involves restoring the design on the regrown nail.
The more serious the defect, the longer it will take to fix it, and the higher the price for this service.
Type of nail adjustment
Manicurists note that the difficulty of manicure processing does not depend on whether it is acrylic or gel. The general appearance of the nail and its shape play a role.
There are several types:
- For small damage, small chips, detachments - minor correction.
- Medium correction is needed for larger problems. It is done after 4 weeks to hide the overgrown natural nail.
- Large corrections are made when changing shape, breaking nails, or peeling. A step-by-step guide to correcting nails is presented below.
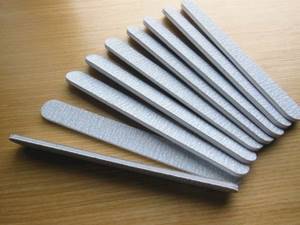
Nail files
Performing Gel Nail Corrections: Step-by-Step Guide
The general flow of the procedure, regardless of the type of modeling (form or tip), is as follows:
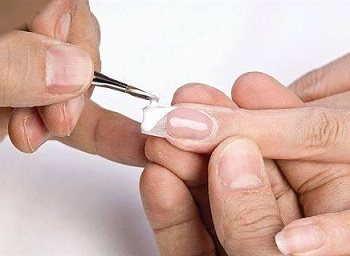
Before correcting your nails, you need to get a manicure.
- First of all, a manicure . It is best to trim the cuticle a few days before the correction, and during the correction push the cuticle to the hole using an orange stick.
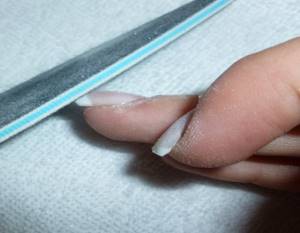
- Using a special file the length of the free edge is adjusted and it is given the desired shape (in the so-called stress zone, two-thirds of the coating must be removed).
- The natural shine of the regrown part of the nail is removed with a buff in the direction from the cuticle. Manicure peelings are also treated with a buff, and this is done especially carefully on the side surfaces of the nail.
- Dust is removed , the regrown area of the plate is degreased and disinfected.
- Uneven edges are glued using a special solution to smooth out the edges.
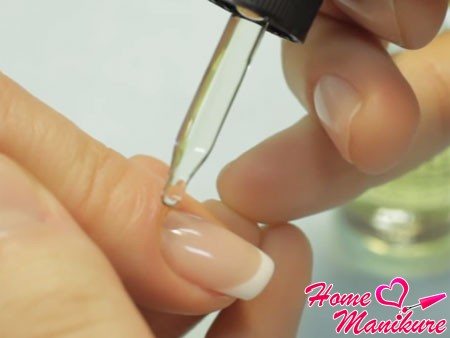
- The natural part is treated with a primer .
Nail correction with gel
Next, modeling is carried out into types or shapes . The tips are glued to the nail with a special glue, the top gel or acrylic layer is filed off along with the design. The first thin layer of material is applied, the design is made, and the next layer of material is applied. Nails are dried in a lamp and filed.
When applying extensions to forms, the material is laid directly on the filed nail. To avoid peeling, be careful not to apply the material to your skin.
If you decide to correct your nails yourself, then this video tutorial, where the whole process is presented step by step, will be useful to you:
The highest aerobatics in the nail correction procedure is French modeling of the free edge of the nail. How to do it is shown in detail in the video master class:
Peculiarities
All preparatory measures that are carried out before correction of gel nails are absolutely similar to those done during extensions. You only need to degrease the regrown part, since the degreaser can negatively affect the gel coating. In fact, it is a rather aggressive substance.
When filling air pockets and voids under the gel, it is important to do this very carefully. Otherwise, a fairly rapid development of infection is possible, which may lead to the need to remove the entire extended nail. The same thing is associated with wounds that can occur when the gel plate breaks. If blood appears, that is, an open wound, it is necessary to disinfect it and immediately restore the plate to avoid inflammation.
The videos posted in this article show how to correct extended nails of varying degrees of regrowth.
Important facts about the correction procedure
Formation of a stress zone of the nail
- It consists of several stages and always involves hand treatment.
- Nails must be shortened.
- The free edge of the nail decreases in thickness.
- And only then can you begin to form a stress zone in the central part of the nail plate, evenly distributing the material.
- The final stage of correction is drying and polishing.
Correction with acrylic
Always fashionable and attractive, the French jacket is still relevant in 2014. We offer you step-by-step instructions for correcting snow-white ends. Photos will help you better master extension lessons, with the help of which you can create the perfect manicure yourself.
Correction of acrylic nails consists of the following stages:
- After disinfecting the hands of the master and the client, it is necessary to treat the cuticle and remove skin particles from the natural nail.
- Using a 150-180 grit file, treat the area where the artificial ends are peeled off from the natural plates and remove excess length. Now, using a file or a manicure machine with a special attachment, you need to remove 2/3 of the thickness of the artificial ends.
- Next, the acrylic nails are directly corrected by applying a new layer of artificial material, while all stages of extension are followed.

- Using files from 150 to 180 grit, the hardness of which increases during use, a perfectly smooth and shiny nail surface is created.
- Next, you need to lubricate the cuticles with oil and, if desired, decorate your nails with a design that is fashionable in 2014.
Watch an interesting video tutorial on how to recreate snow-white tips using acrylic material.